

DIY Aquarium Divider
So our water babies had arrived and we thought we were ready to go, when we realized that they were different sizes and couldn’t be housed together. You can read about our axolotl tank set-up here.
The other thing we learned was that they were too young to have even fine-grained sand in their tank. This was a simple, if not easy fix. We took out the sand and are saving it for future.
In terms of keeping the larger axolotl from the smaller two, our options were to have two separate tanks, or to install a divider to keep them apart. We opted for the divider, since we had already invested so much time and money into setting up the main tank. This way, they could all benefit from from the filter, chiller, and large habitat.
The problem we encountered was that aquarium dividers for sale were either designed for smaller tanks, too flimsy, or too expensive for something we hope to be a short term solution. For this reason, we decided to make our own.
How to make your own tank divider and save a lot of money
In our research, we found a lot of ideas using plastic binder bars and mesh. Here’s one using plastic embroidery canvas from ratemyfishtank.com with a nice explanation of how it was made.
However, once we saw this one made of acrylic, our choice was made:

This one can be bought for a 75-gallon aquarium for $50 but we figured we could make our own for less. Plus, it’s more fun to DIY!
Supplies:
- Plexiglass – We bought ours from the local hardware store but you can also find them online. Just make sure you measure your tank first to get the right size (see directions below).
- Airline tubing
- Plastic cutter
- Pliers
- Drill with various-sized bits
- Razor blades
- Exacto knife
- Carpenter square or large ruler to make a straight cut
- Measuring tape
- Pencil
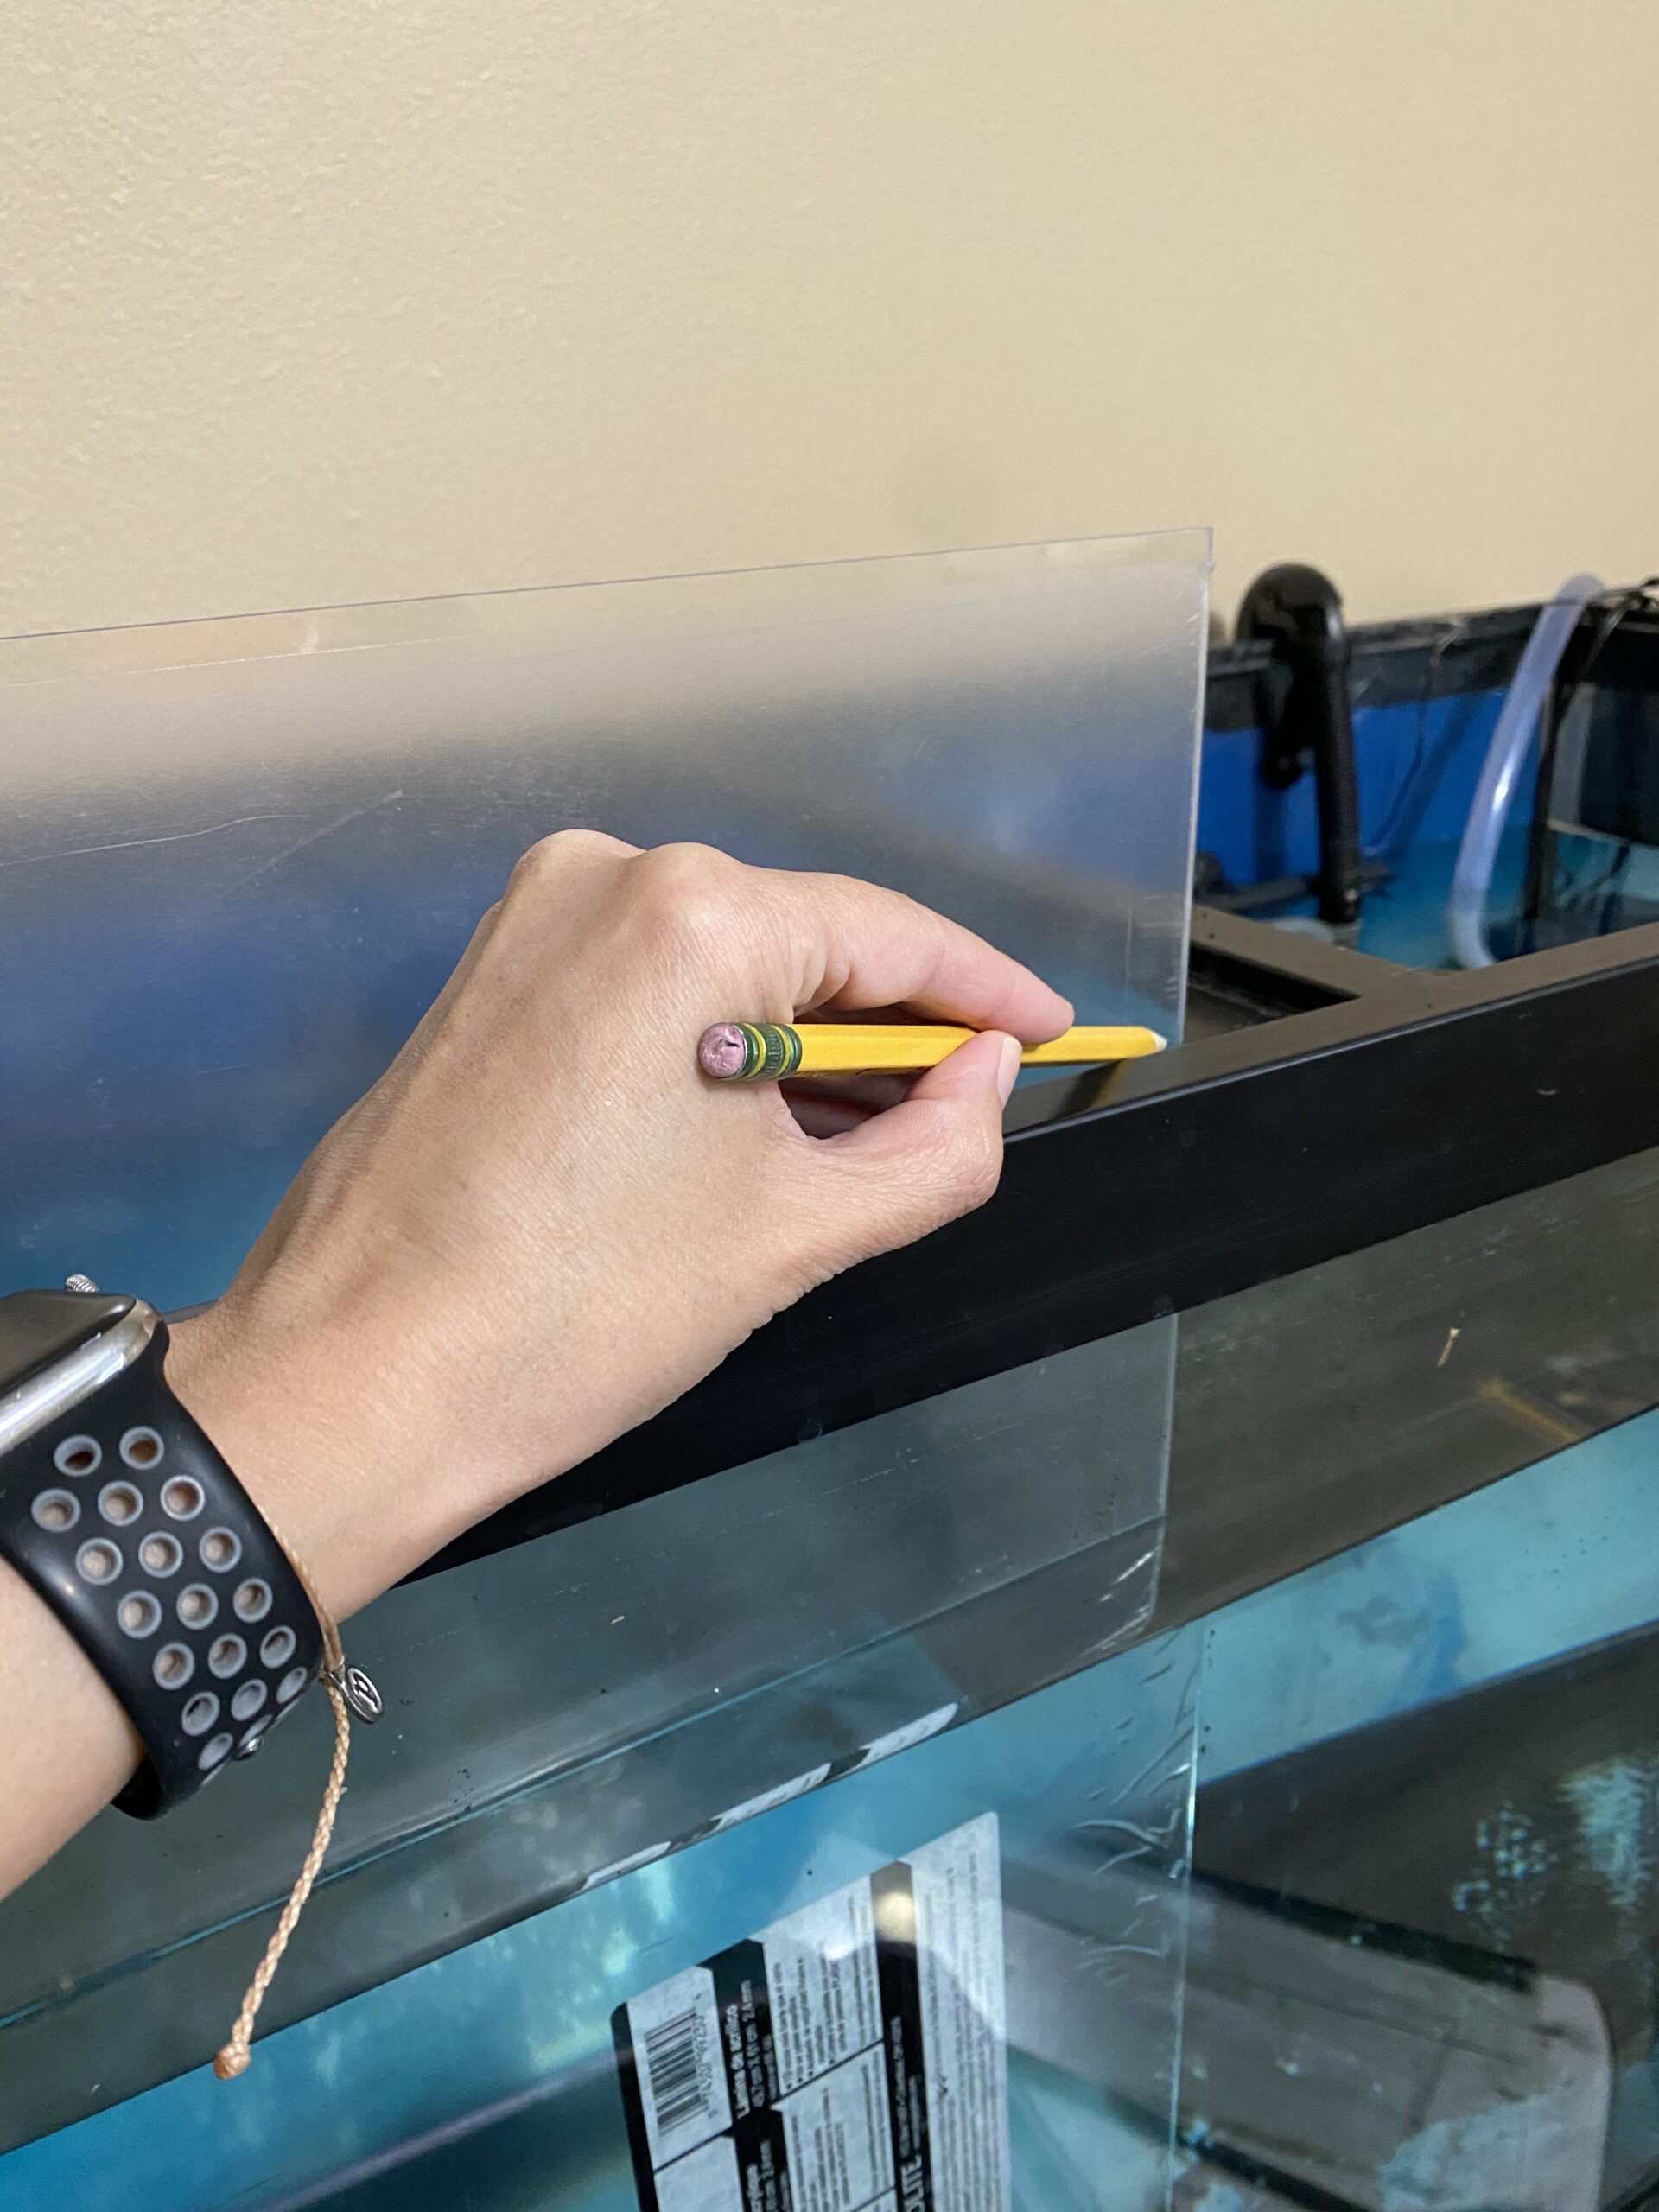
Step 1: Measure the tank
To determine the size needed for your barrier, measure the inside height and width of your tank. Subtract a couple of millimeters from each measurement. The airline tubing will take up the extra space and hold the barrier in place. Try to make the top and bottom as close to the tank measurements as possible. You will want a tight fit.
Using your measurements, minus a couple milimeters, mark the plexiglass where the cut will be made.

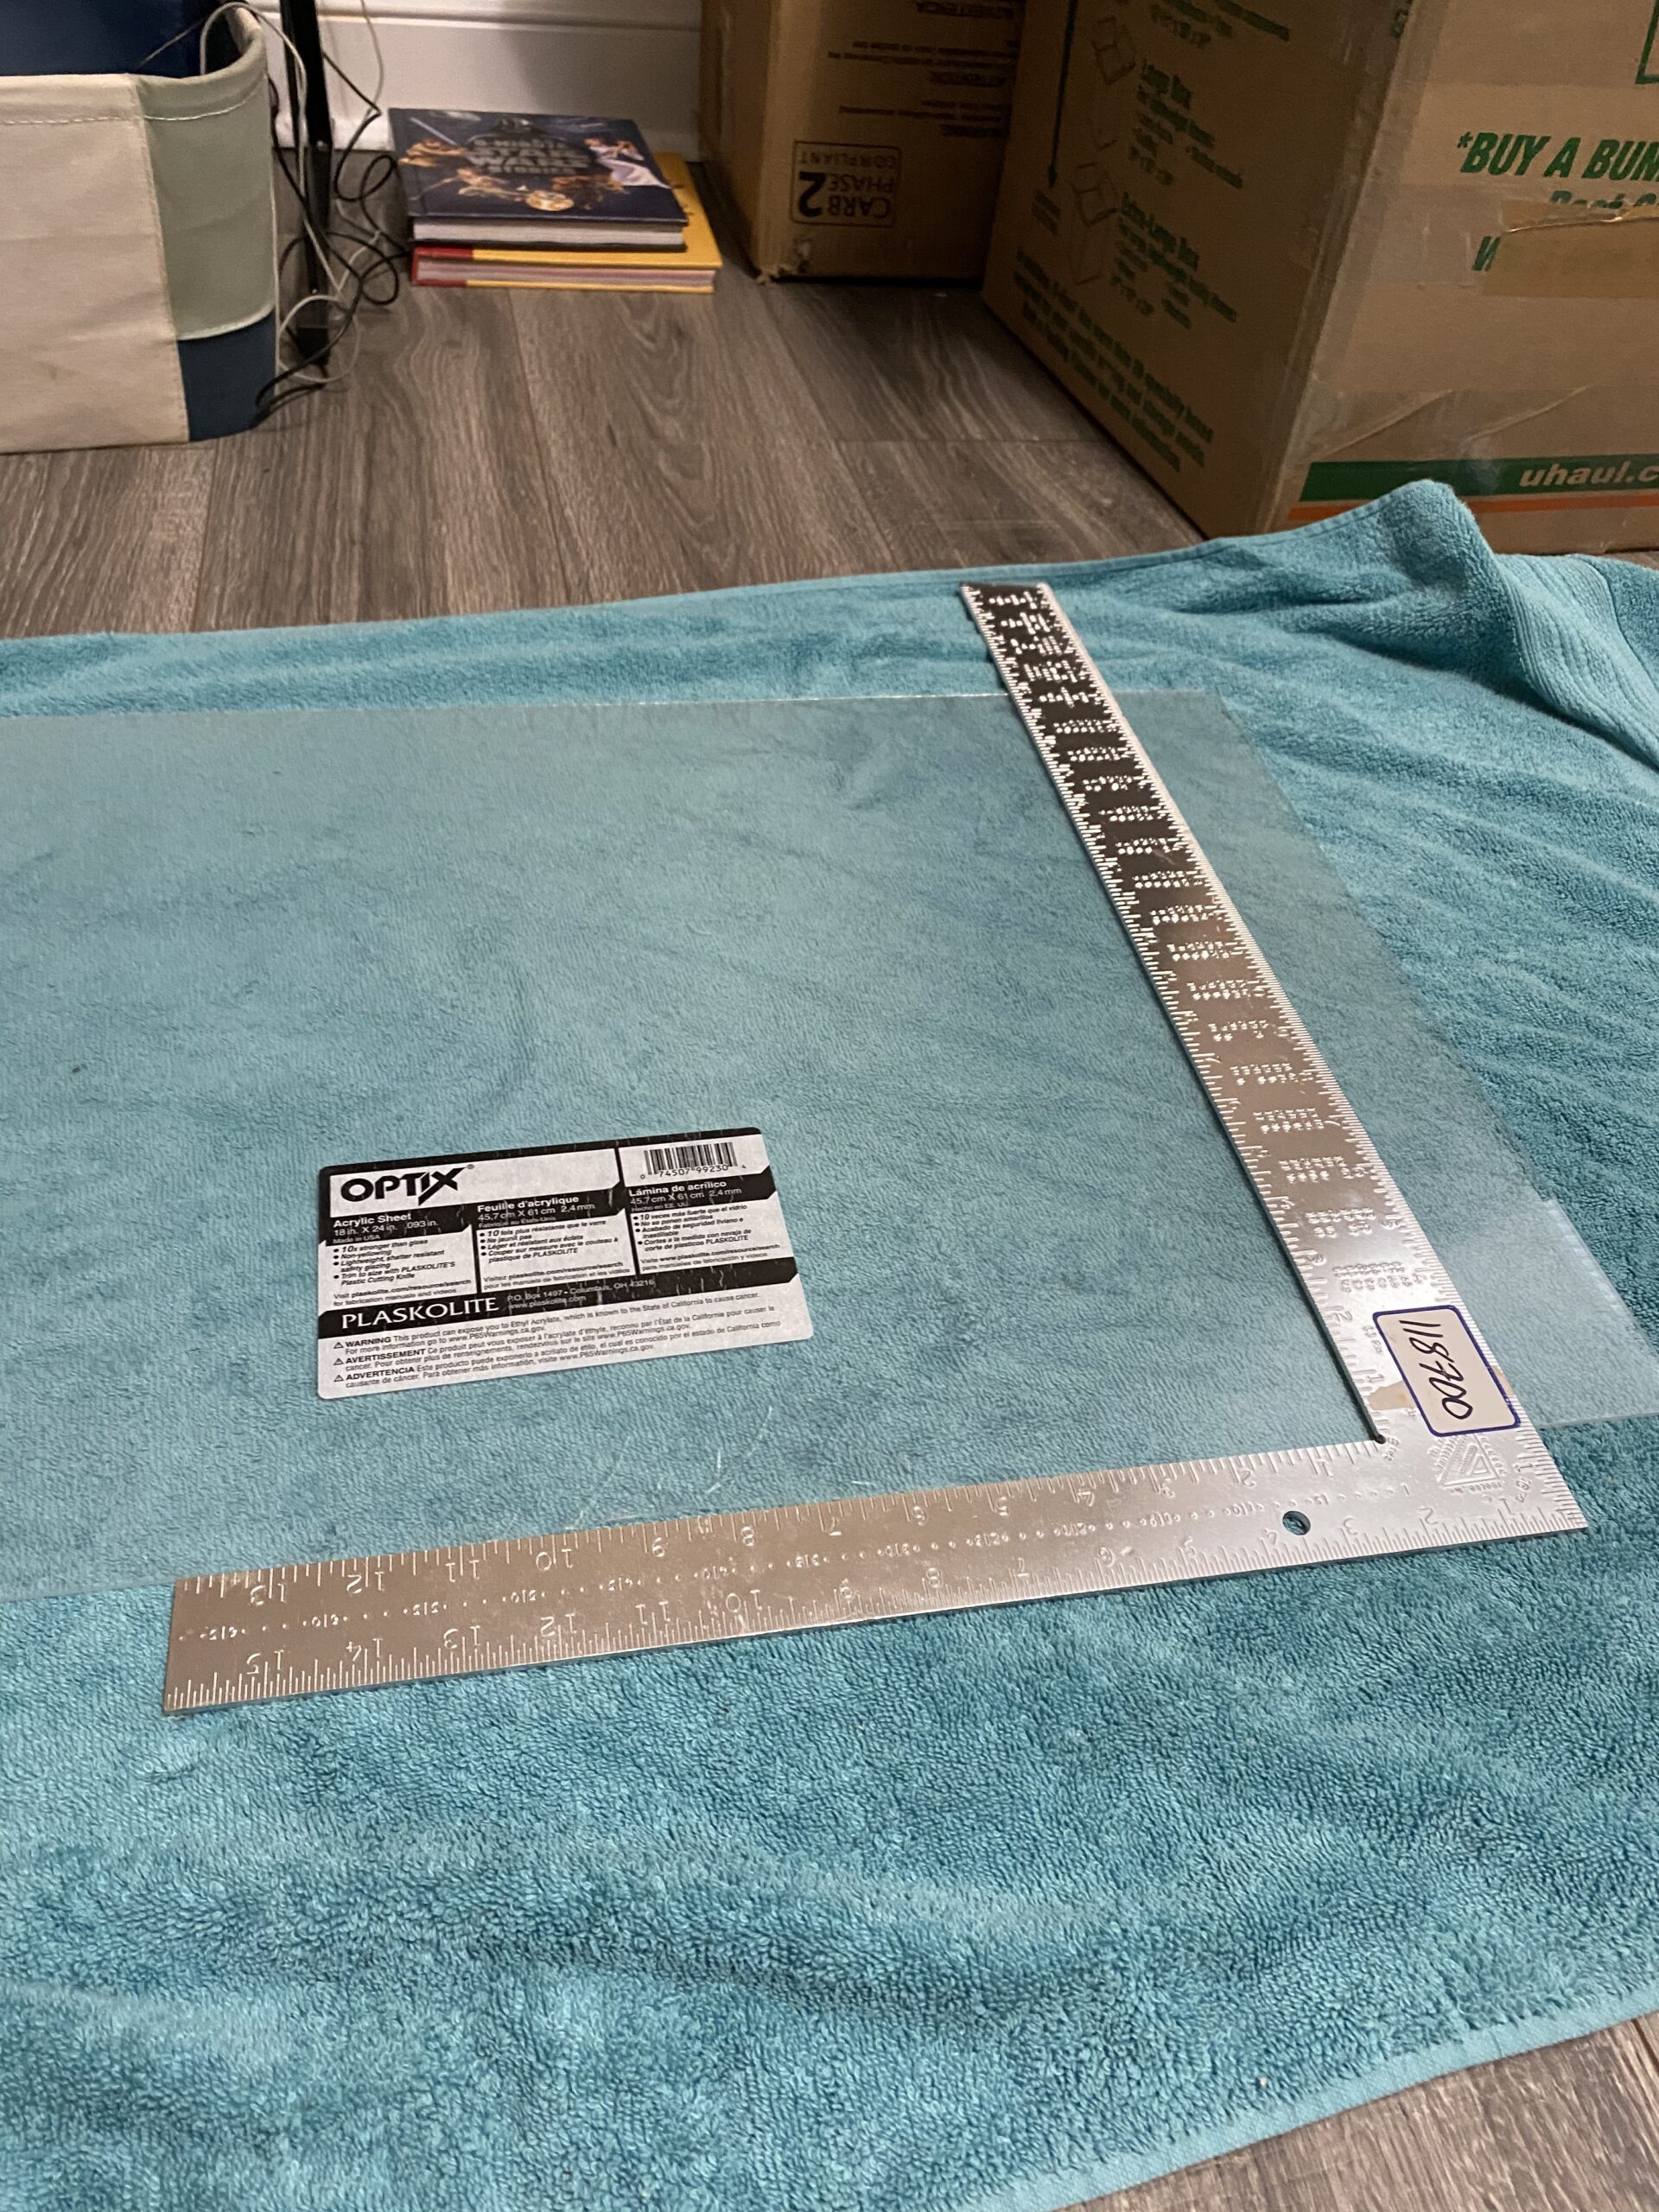
Step 2: Cut the plexiglass
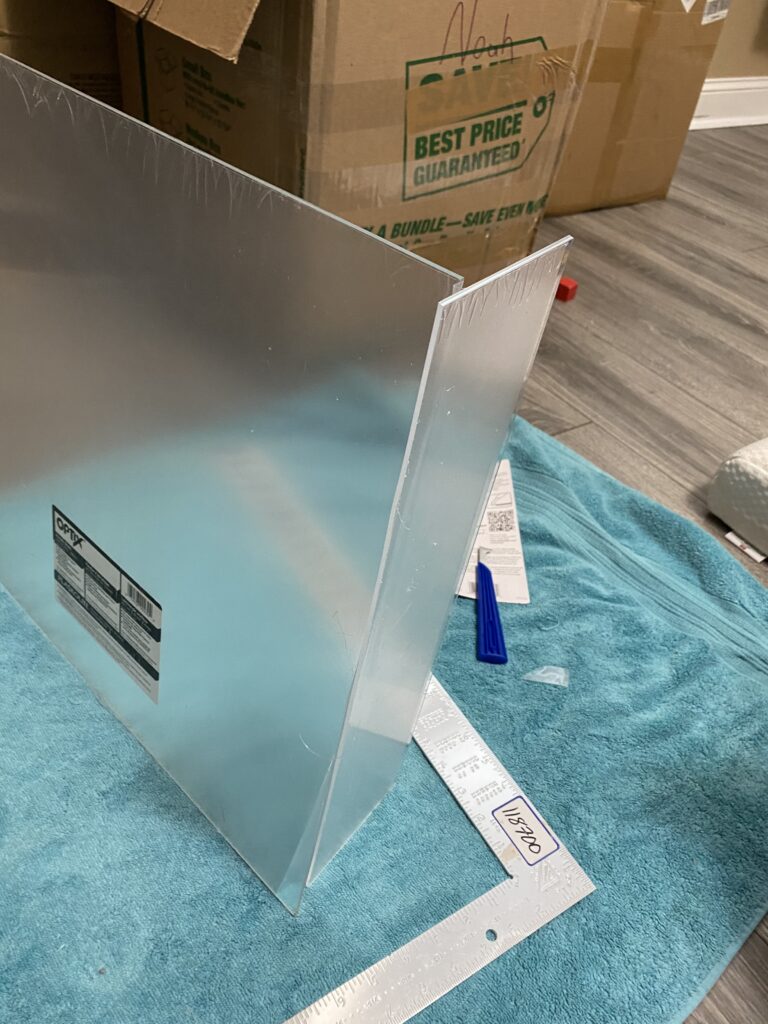
Using a plastic or glass cutter, score the plexiglass along the line to be cut. I used a carpenter square but you can use whatever will allow you to make a straight edge. I left the film that comes on the plexiglass in place until the last moment to protect it as long as possible.

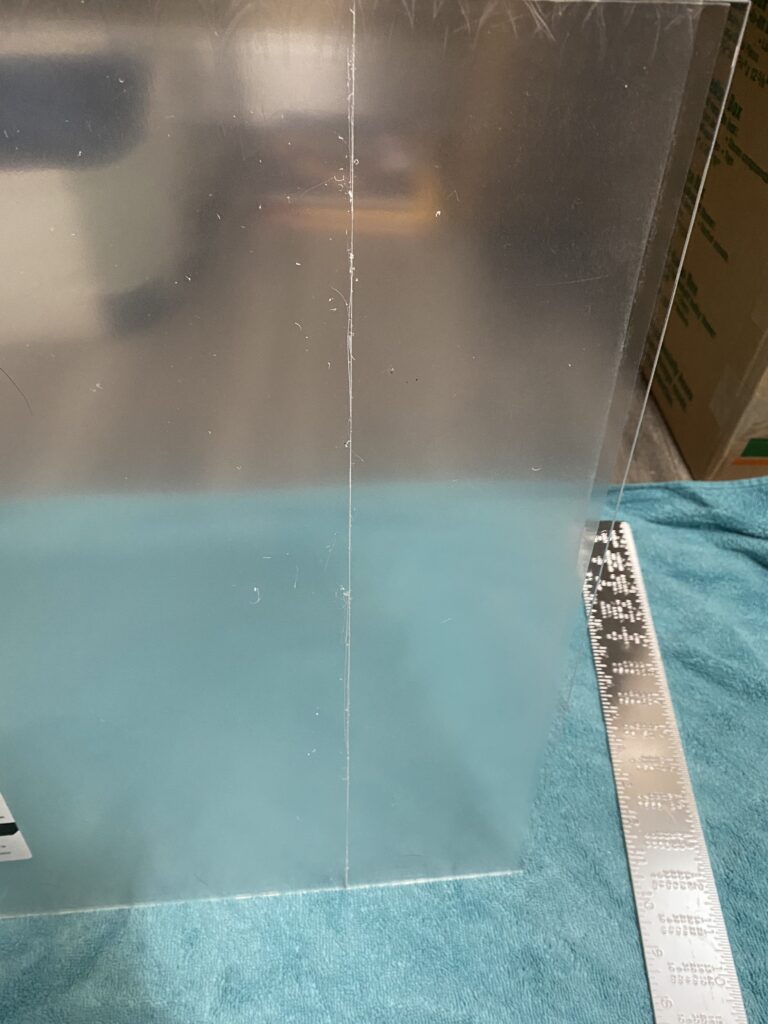
Once you score the plexiglass, carefully snap along the line to break the piece off. Use this same procedure to get both the height and the width needed for your tank.
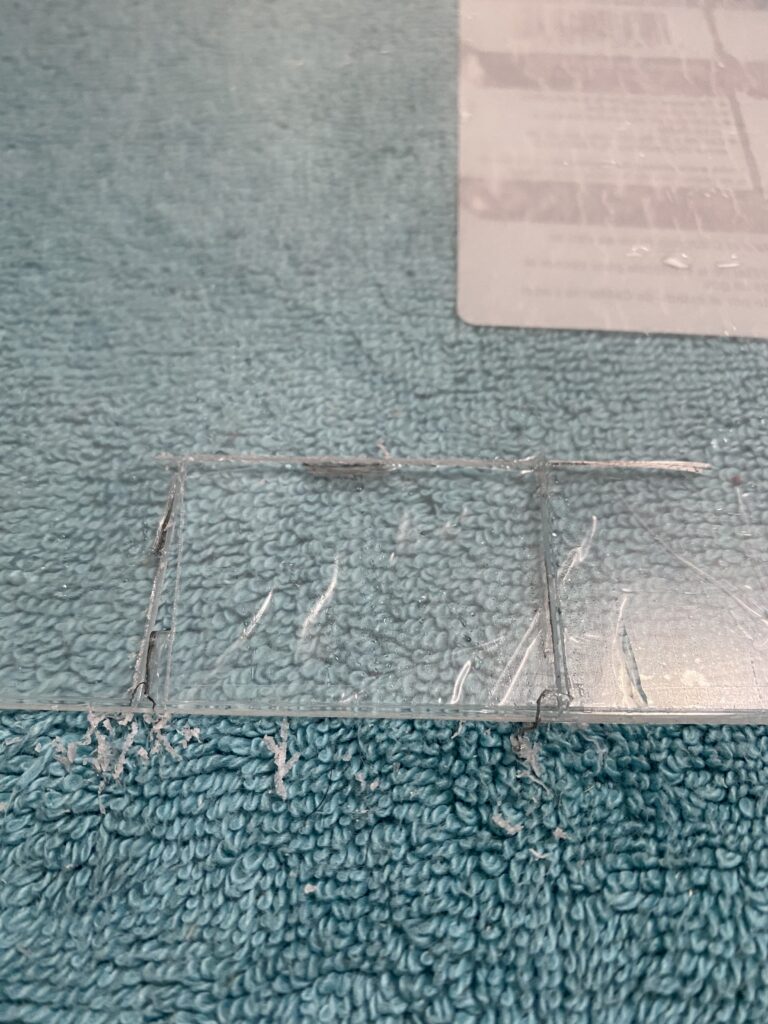
We also needed a hole for our spray bars to fit through the divider. I measured and scored the plexiglass for these dimensions and used pliers to gently snap off this piece. It’s more difficult to break off a piece connected by three sides so be careful here.
Check that the plexiglass you cut fits well in your tank and make any more cuts that are necessary. You want it to fit with only a few mm space on each side.
Step 3: Drill barrier holes for water flow
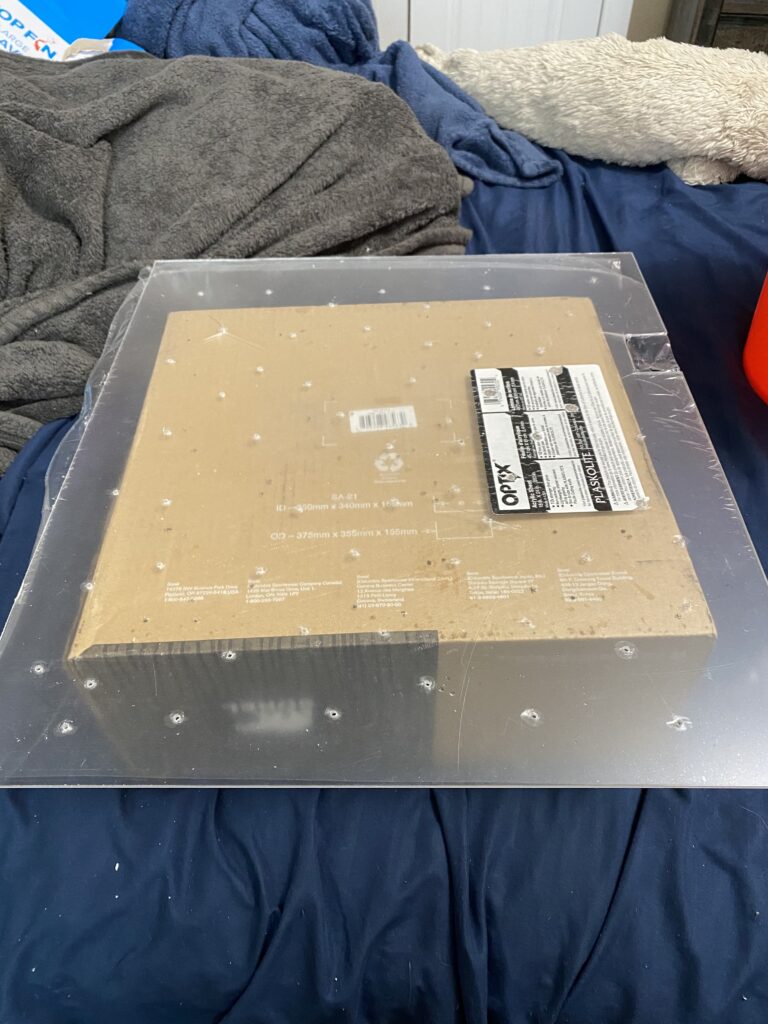
Unless you plan on having separate filters on each side, you will need a way for water to pass through the barrier. After cutting the plexiglass to the size of your tank, you can use a drill to make holes.
The plexiglass cracks easily so start with a small drill bit and gradually move up in size, re-drilling the holes until you get to the diameter you want.
Tip: Put a cardboard box under the plexiglass while drilling to help hold it and give it support to prevent cracking.
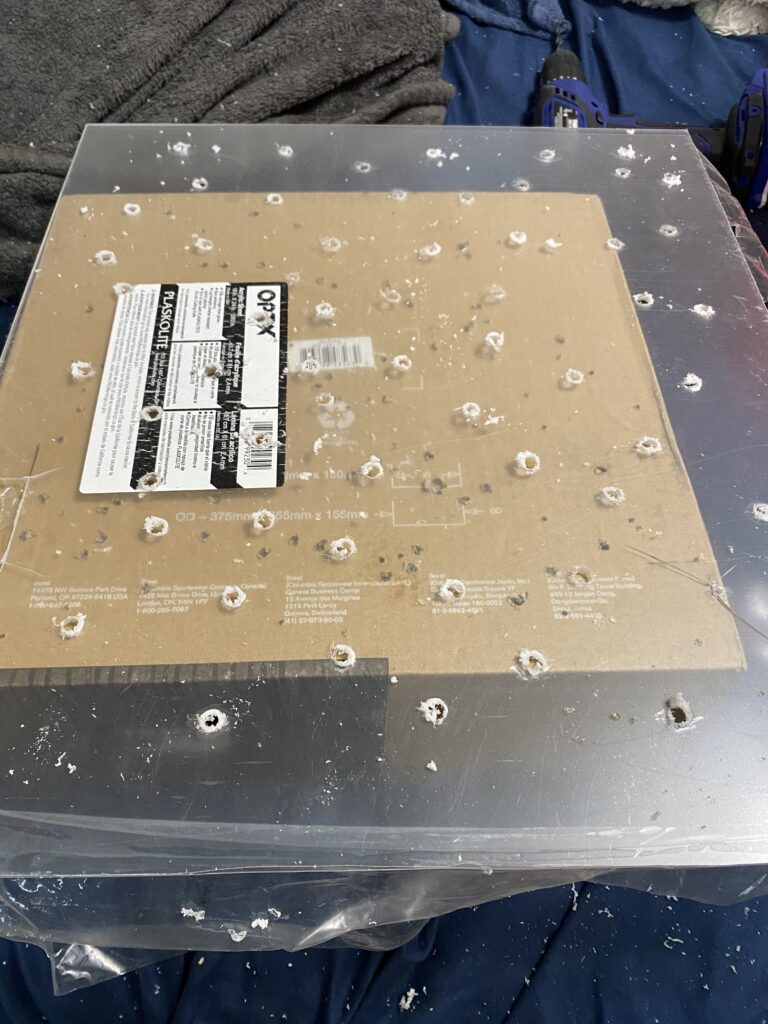
After the holes were drilled, use a razor blade to shave off the sharp edges of melted plastic that the drill has left behind.

Step 4: Cut and add airline tubing
Next, I re-measured the sides of the plexiglass and cut two pieces of airline tubing to fit. (For our tank, we only needed it on the sides of the barrier. Depending on yours, you may elect to add it to the top and bottom as well.)
Tip: Cut the tubing a little longer than you need and trim it after it is in place on the plexiglass.
Once you have the length you need, cut the tubing along its long end so it can wrap around the barrier (see the pic below).

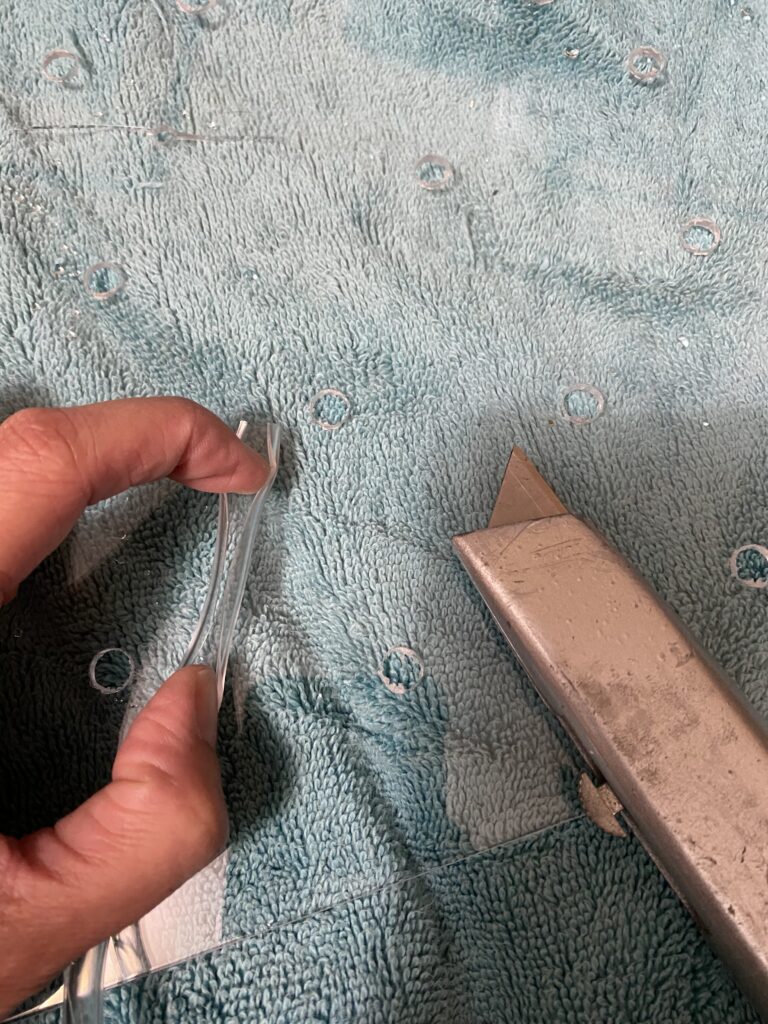
Wrap the airline tubing around the sides of your plexiglass. (If you have left the protective film on your plexiglass, remove it before you start this step). As I mentioned earlier, you will likely only need to do this to the sides that butt up against the glass sides of your tank. You can bury the bottom of the divider in your substrate or add tubing to the bottom if you choose.
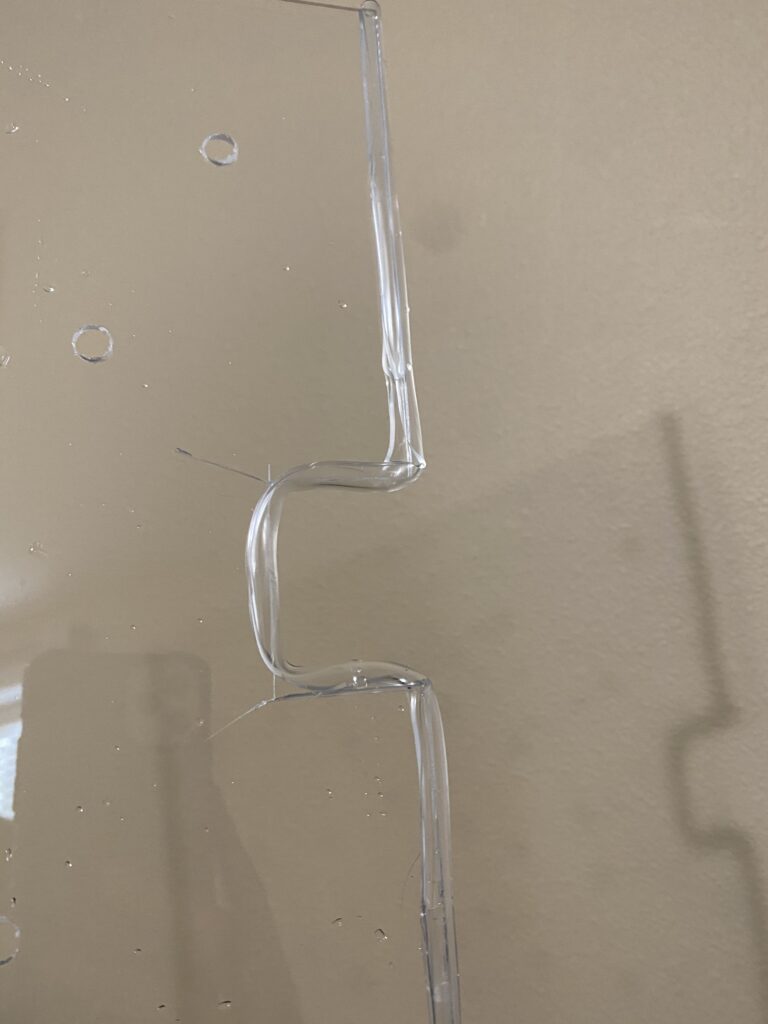
Oops! You can see in the picture above that I cracked the plexiglass a little while cutting out the spraybar hole.
Step 5: Place the divider in your tank
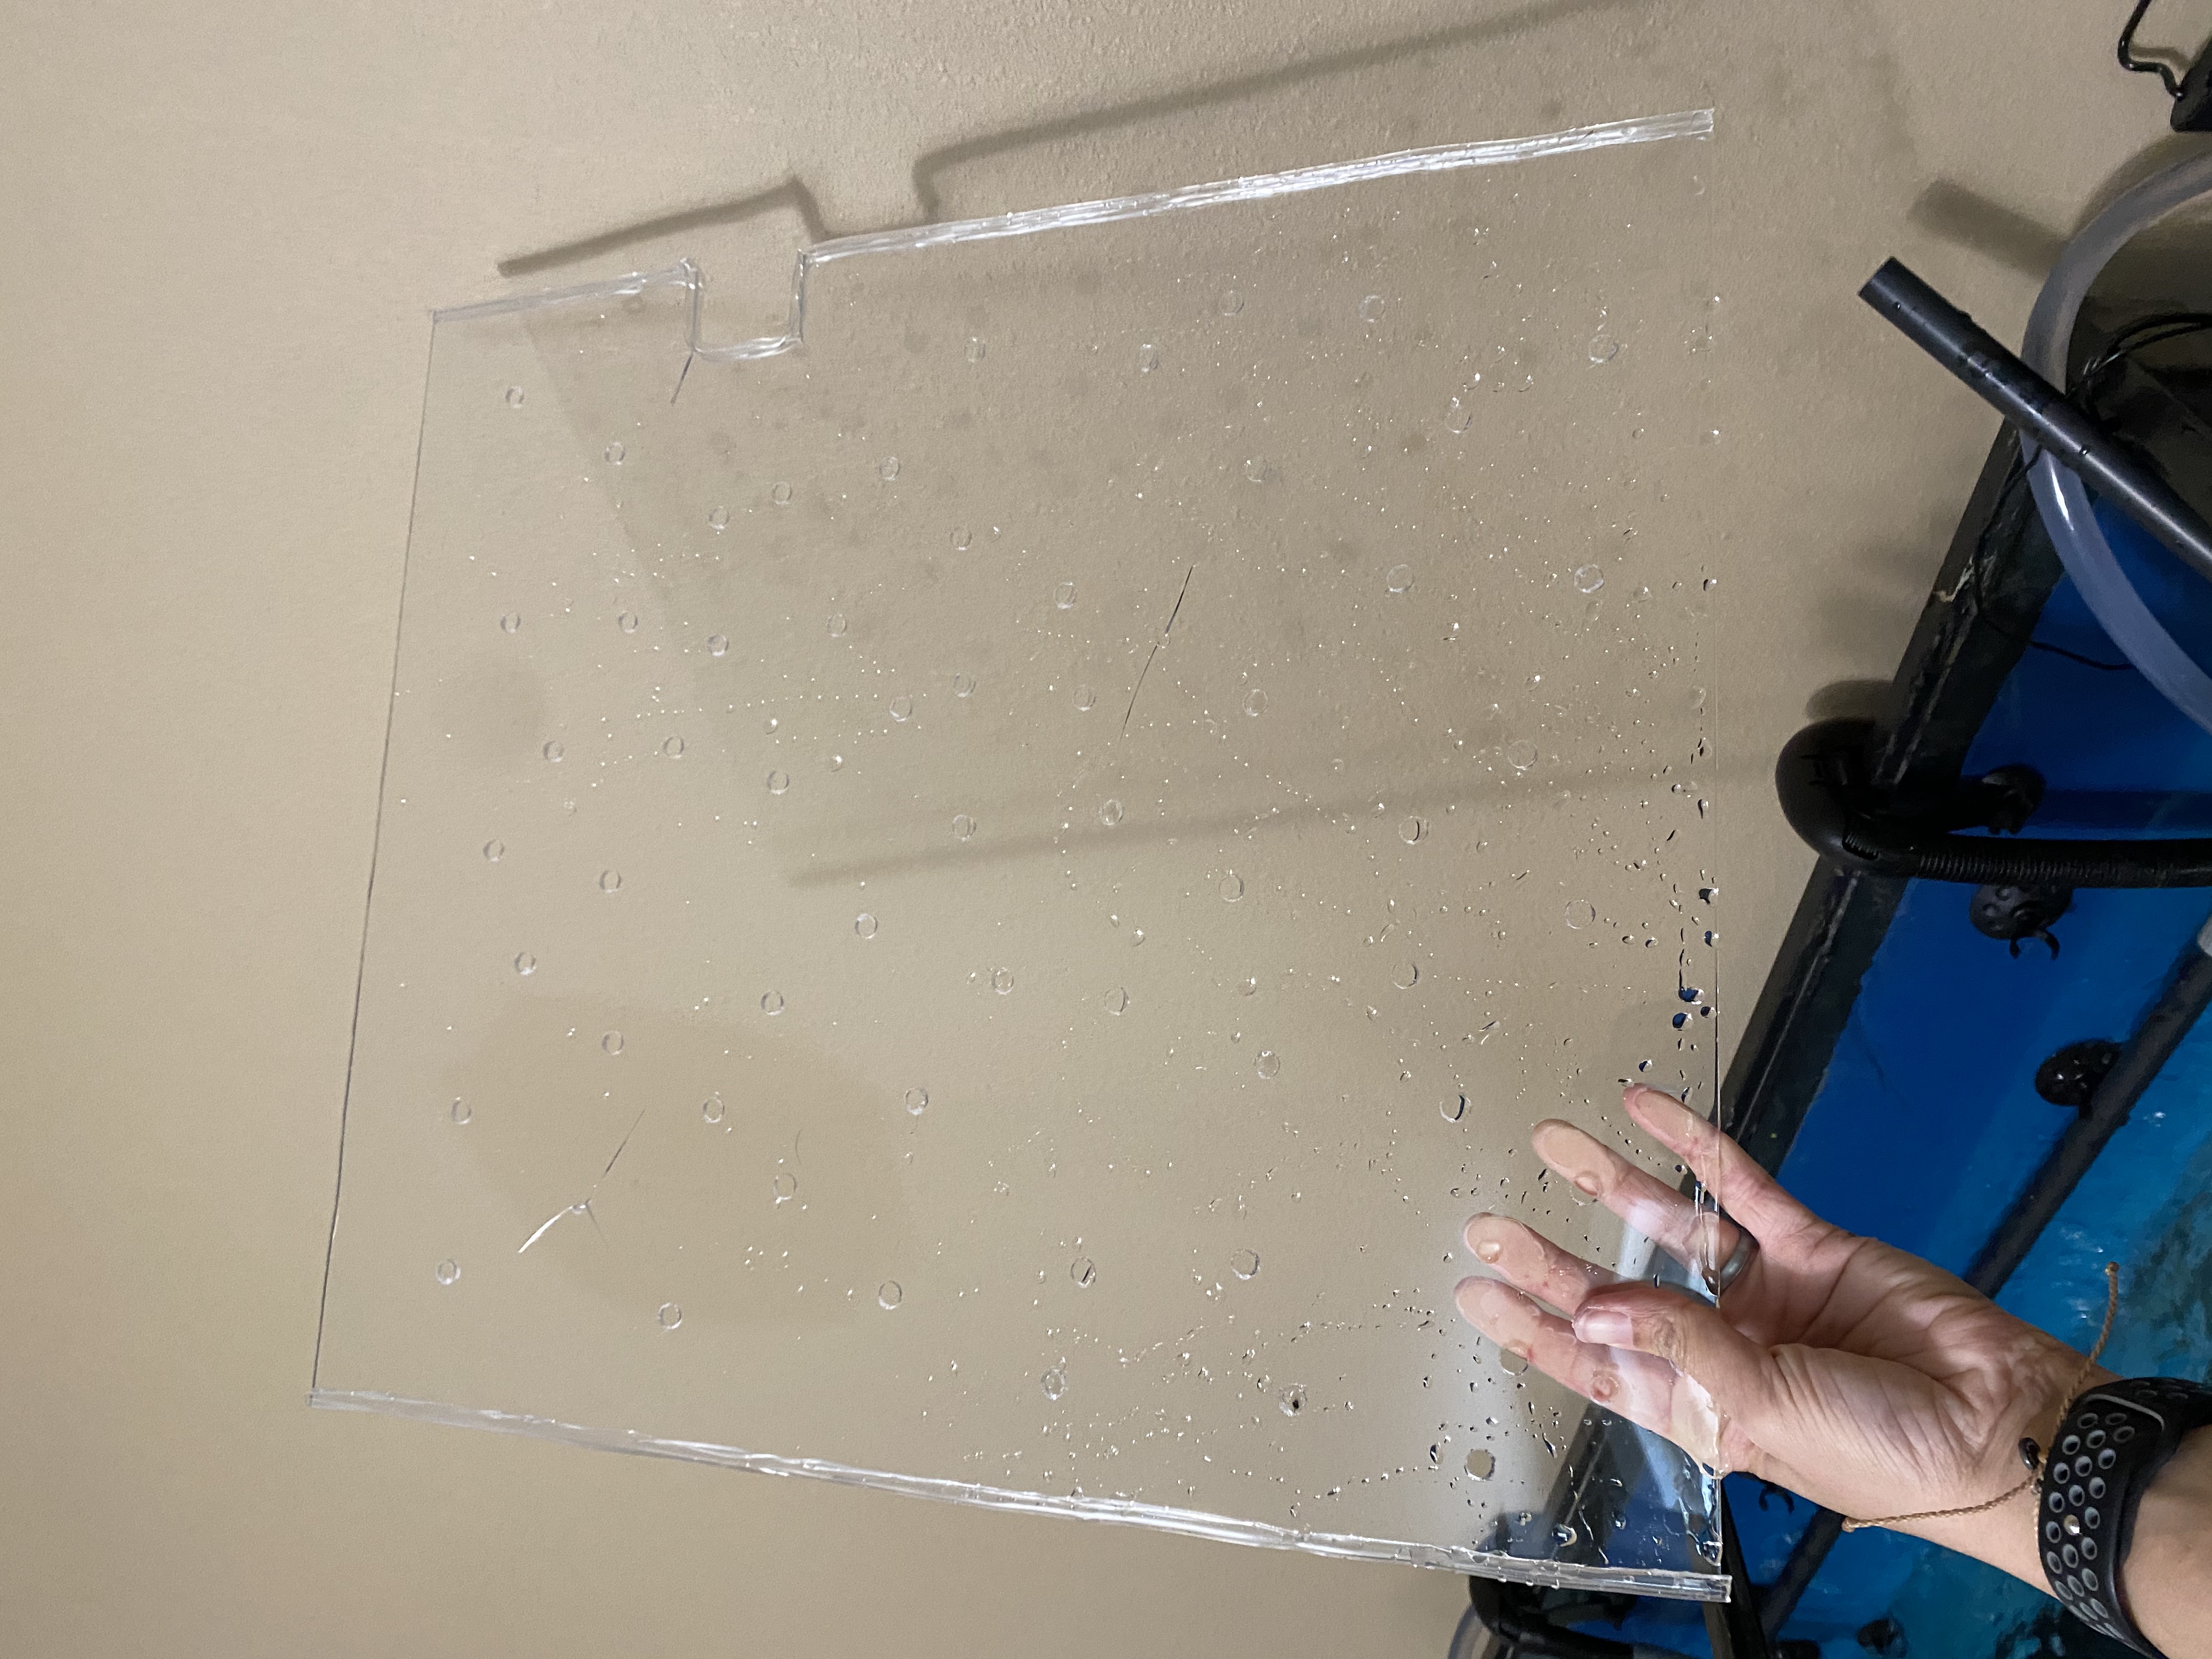
With the airline tubing wrapped along the sides, it should be a tight enough fit to hold itself in place in your tank. (You can see in the image below a spiderweb from an early attempt at drilling holes before I started using cardboard underneath).

Once the barrier was in place, I noticed the spray bar hole was big enough that Professor Krieger might be able to shimmy his way through. I wedged a piece of tubing in the extra space just in case. Make sure you inspect yours for any spaces large enough for your water babies to sneak through.

Finally, we added the caves and plants back into the tank and it was ready for the water babies to explore!
Below you can see the tank now set up without the sand bottom:

Once they are all more similar in size and it’s safe for them to be together, we will removed the barrier and add back in the sand. For now, they seem to be happy in their new home.
If you’re interested in reading about we set up the rest of our aquarium, check out this post:


You May Also Like

Skyline Arch

Devils Garden and the Primitive Trail Loop – Arches National Park