


Axolotl Tank Setup
Our son had been waiting for his axolotls for months. You could even say he’d been waiting for years, since that’s how long he had been asking to get them. He did his research on habitats, feeding, and care. He reminded us often how cute they were by sharing photos. He even formed an argument about how we could help a species survive extinction by keeping them since their natural habitat in the wild is all but gone.
Finally, when we decided to move, we made an agreement that once we were settled he could get them.

Axolotls?
What are axolotls you may ask? (I did). They are salamanders.
Unlike the rest of their Family, they retain their larval form into adulthood. Remember learning about the life cycle of frogs back in the day?
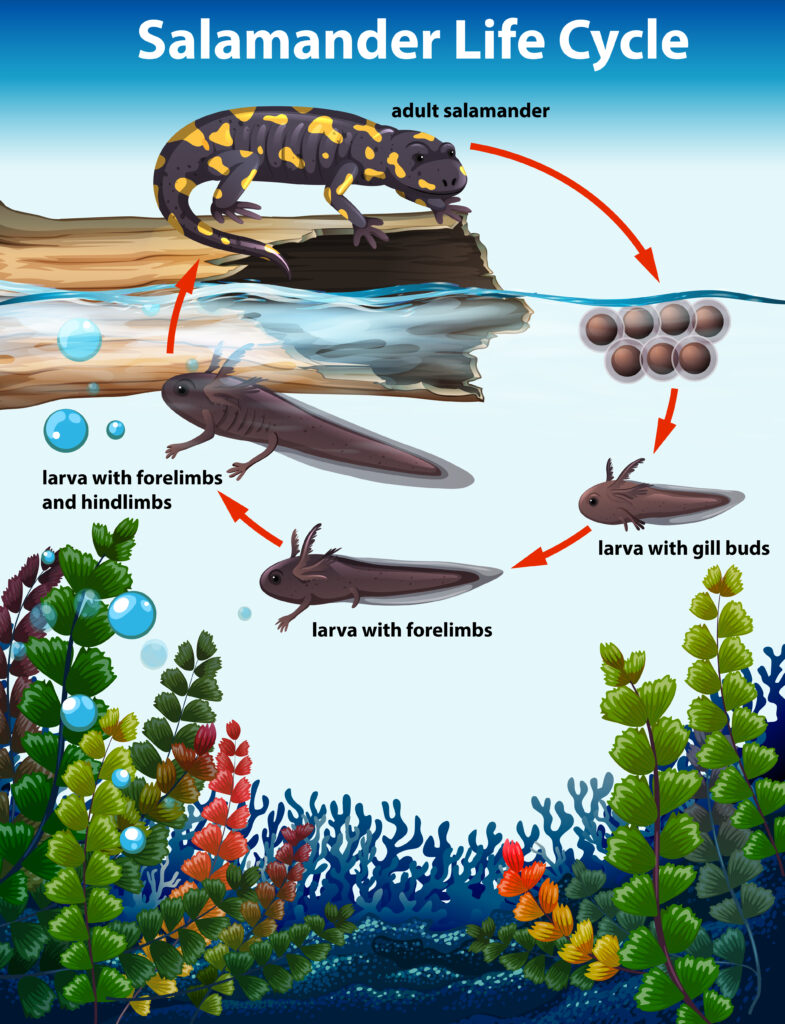
Axolotls never reach the terrestrial form that the rest of adult salamanders do. As adults, they look like tadpoles with four legs. They have external gills that look like feathers sprouted from their heads, which make them look an awful lot like Toothless from How to Train Your Dragon.
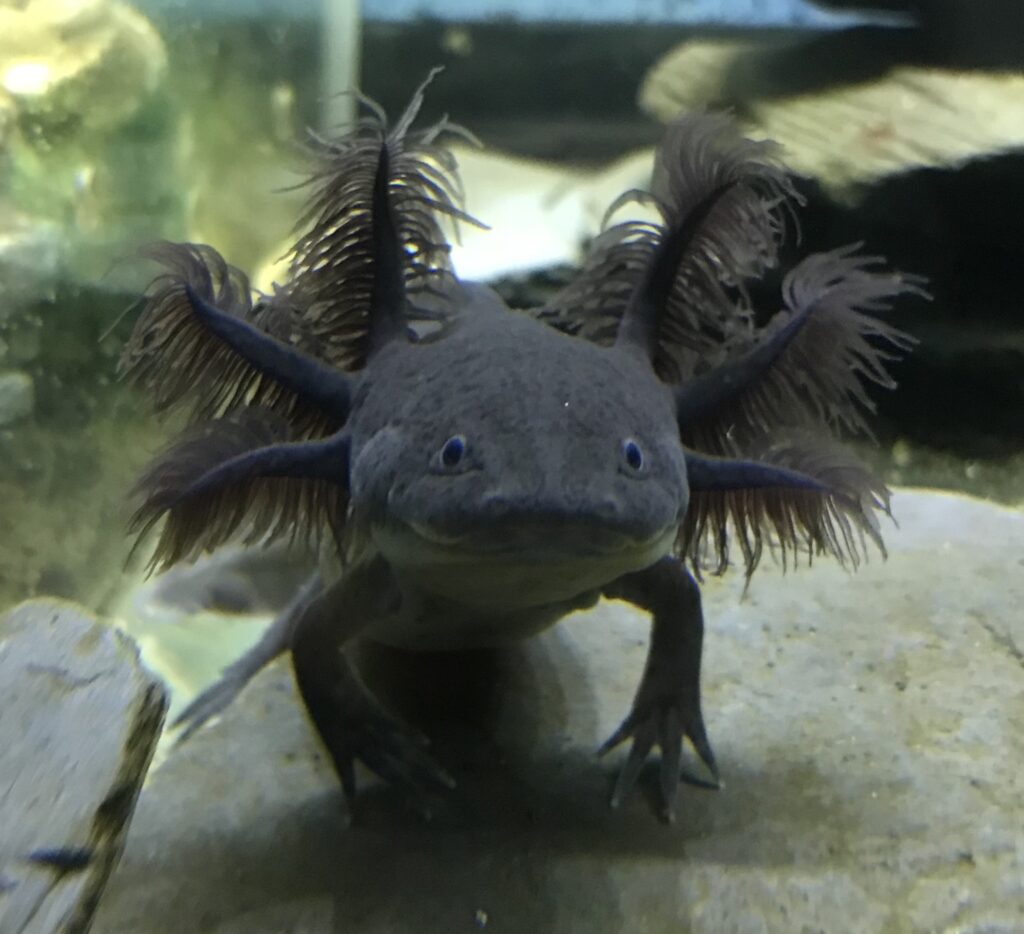
Astronotl 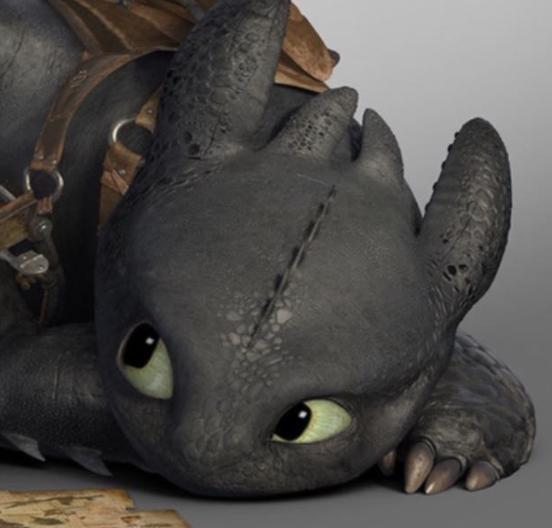
Toothless
Even though they mostly use gills to exchange oxygen, they also develop rudimentary lungs and can rise to the surface to take a gulp of air every now and again. Sometimes when they do this, they end up floating near the surface until the air escapes and they can zoom back down to their caves.
Axolotls really are amazing creatures. Once we began learning more about them we realized they were much more than simply adorable water babies.
You can read more about them at Axolotl.org if you’re interested. Also, check out this video about their amazing regeneration powers:
Supplies:
- Tank – Marineland 75 gallon (bought used)
- Fluval 407 Canister Filter
- Spray bar
- Water chiller – We have the AquaEuro 1/10 HP but what you”ll need will depend on your tank size.
- Pump for water chiller
- Thermometer
- Aquarium sand
- Cave rocks
- Driftwood
- Freshwater aquarium test kit
- Cleaning supplies
- Airline tubing
- Cinch clamps – The size you’ll need will depend on what your setup includes. These are for securing tubing to filter, pumps, etc.
- Live plants
- Aquarium decorations
- Book on axolotl care:

Tank set-up
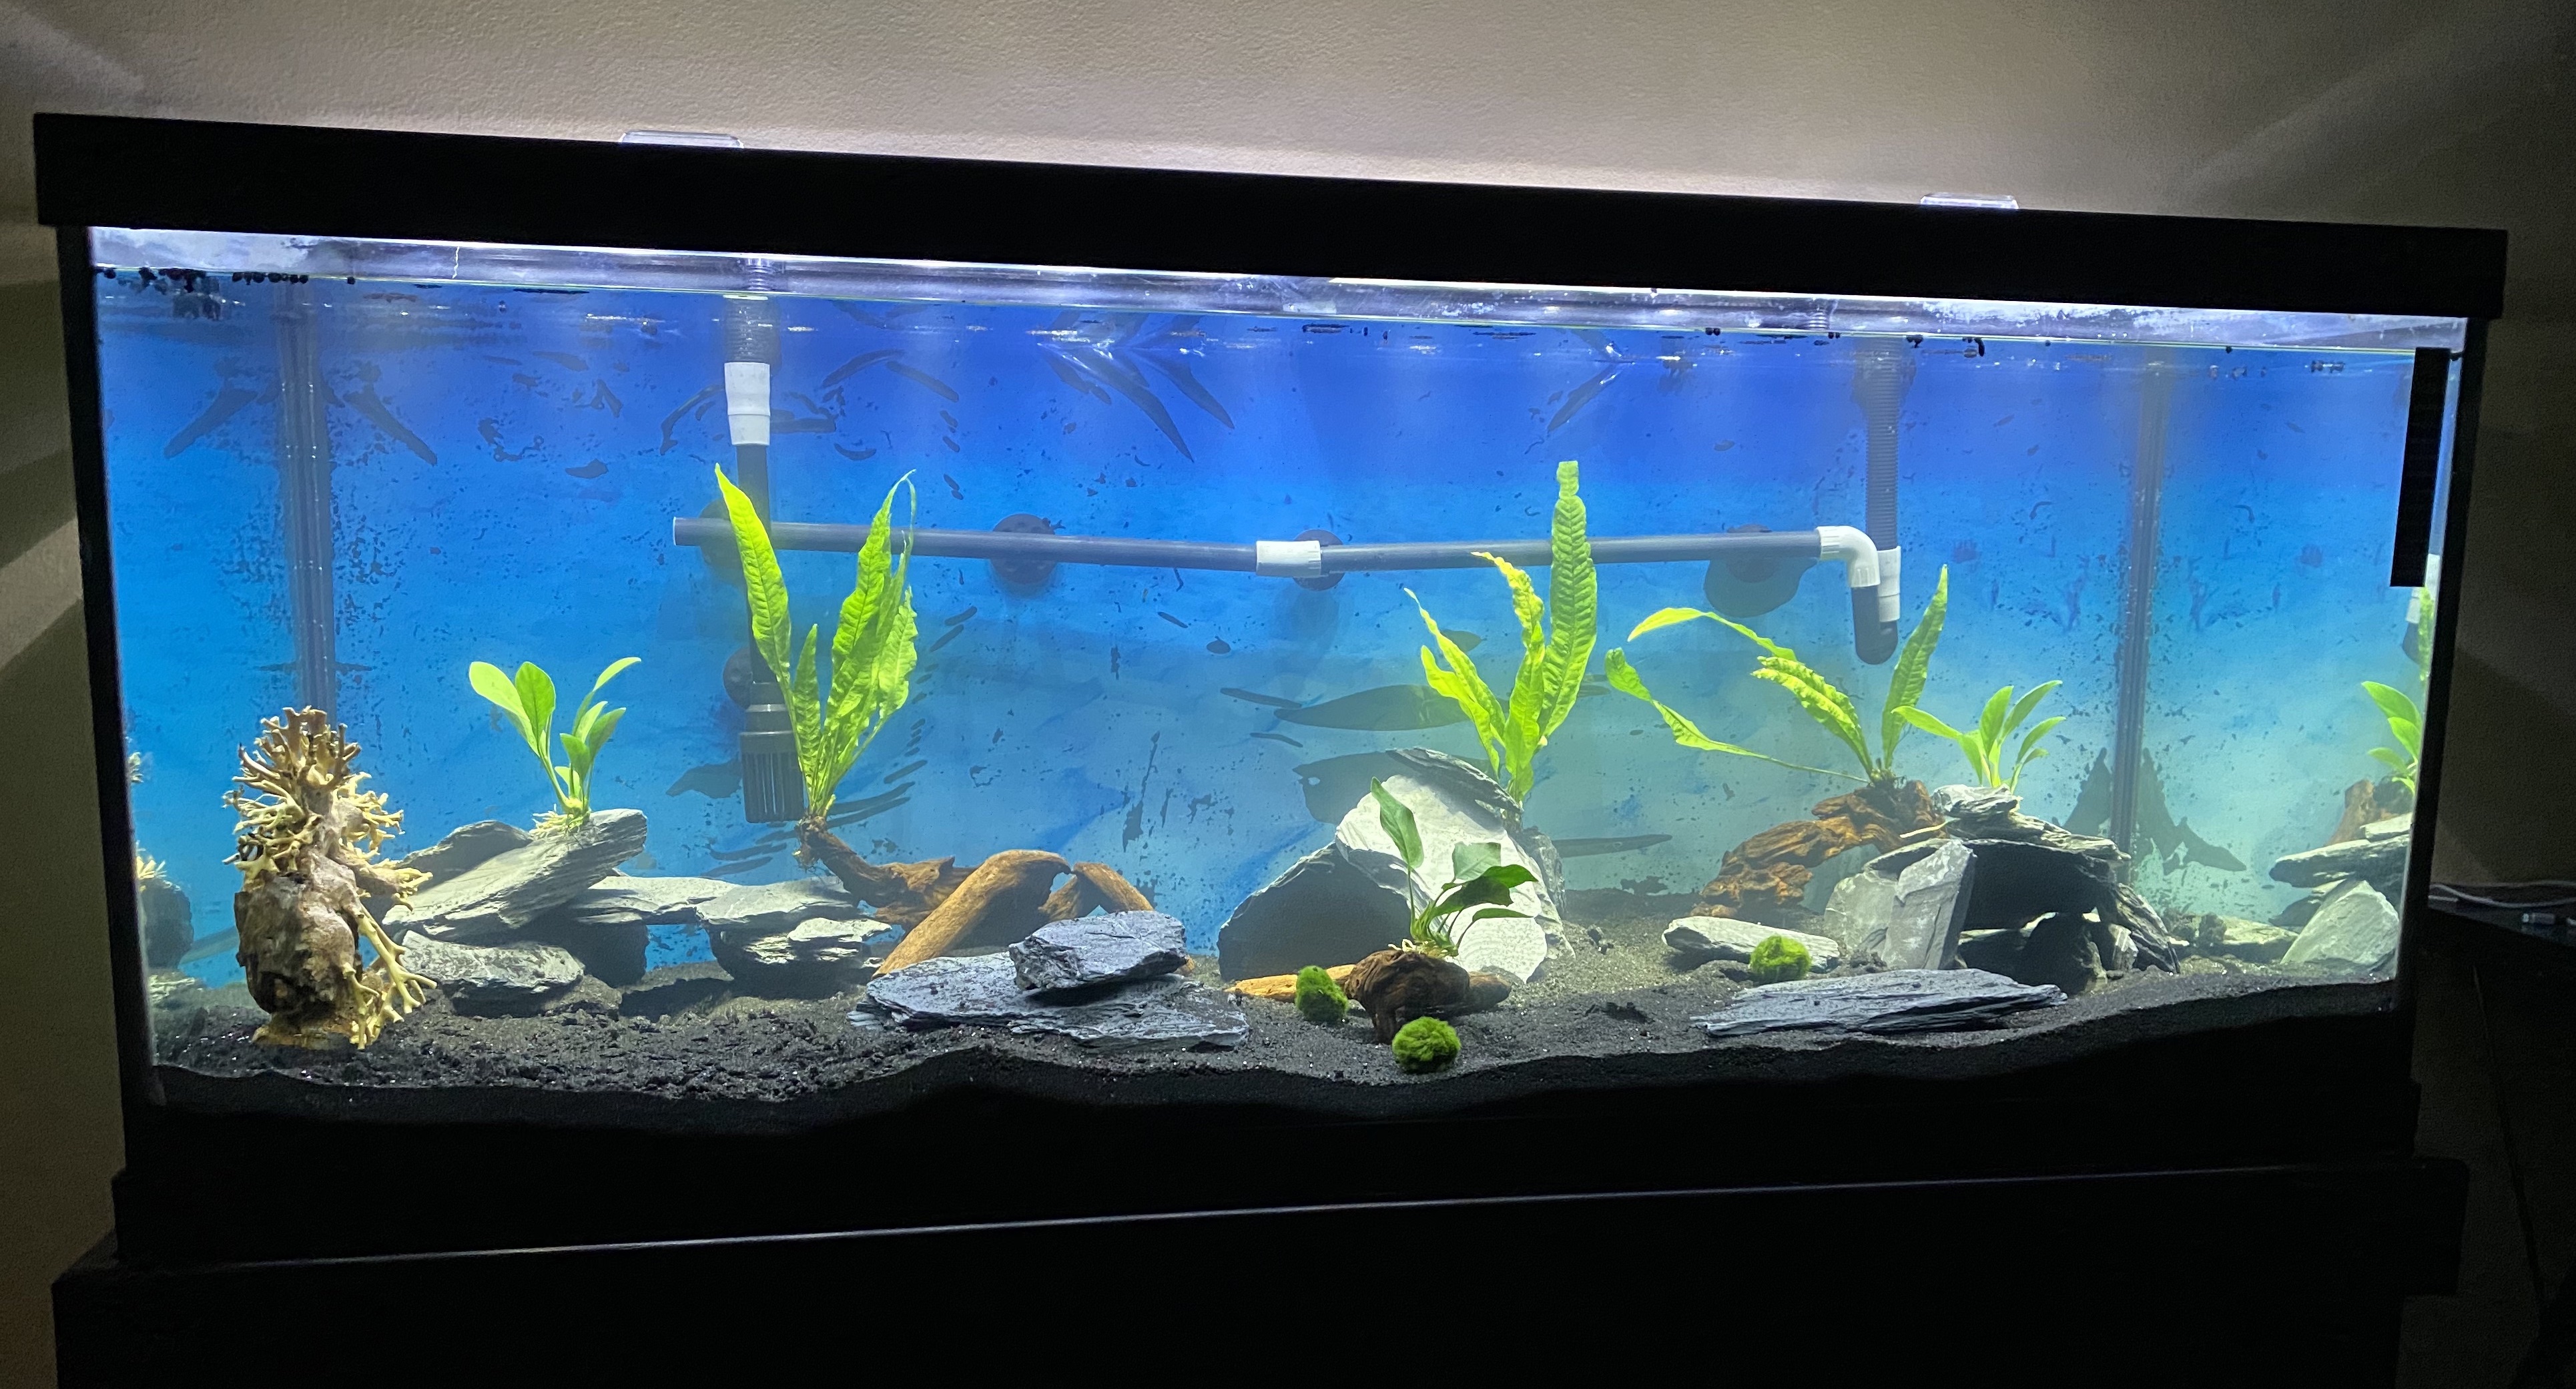
My mom gave our son everything he’d need to set up his axolotls’ new home. We found a gently-used 75-gallon aquarium. We knew we wanted our water babies to have enough space. A larger tank is also easier to care for in the long run. Our purchase came with a tank cover and LED lighting.
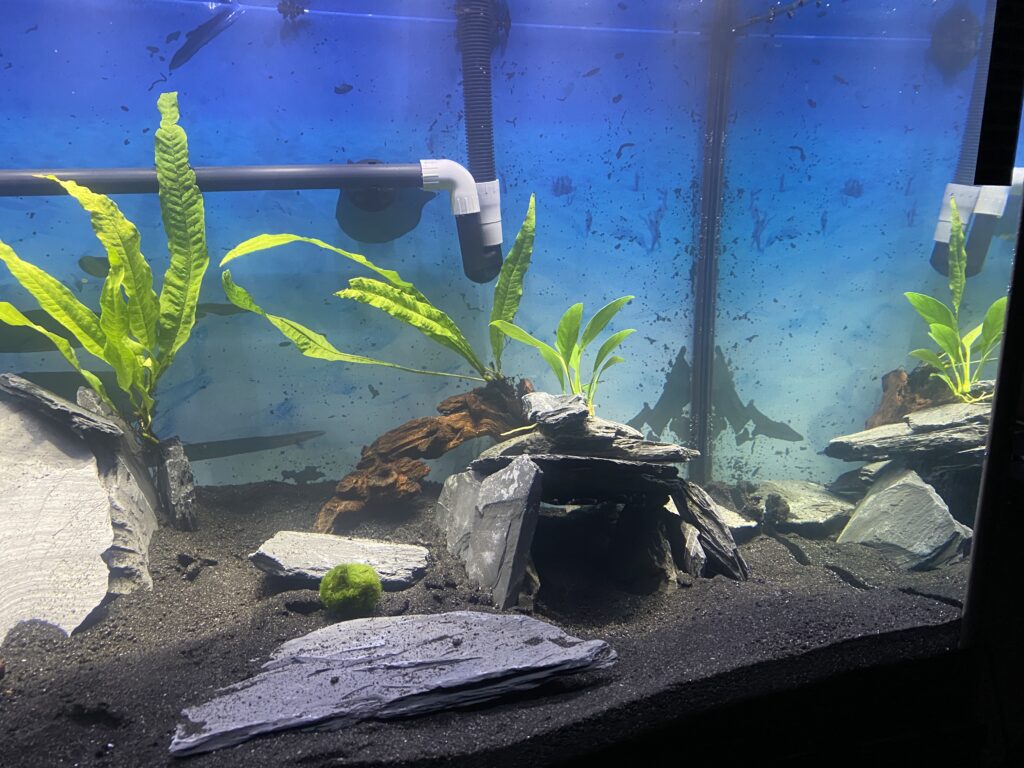
Filter and Spray Bar
We researched filters and decided on a canister filter, and then learned that we’d need a spray bar to decrease the water flow, since axolotls get stressed with strong currents. If you’re interested, Axolotlnerd has a great site all about axolotls and their care.

Substrate
The next step was deciding on a substrate for the bottom of the tank. Axolotls are little vacuums and do not do well on gravel. They will eat anything they can fit in their mouths and gravel ingestion could lead to impaction and death. Some other options are bare-bottomed tanks, large rocks that cannot be ingested, and fine-grain sand. Our son decided on very fine-grain sand, which we rinsed and added into their tank.
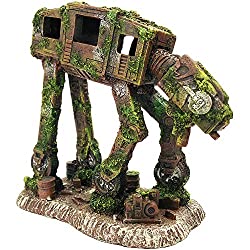
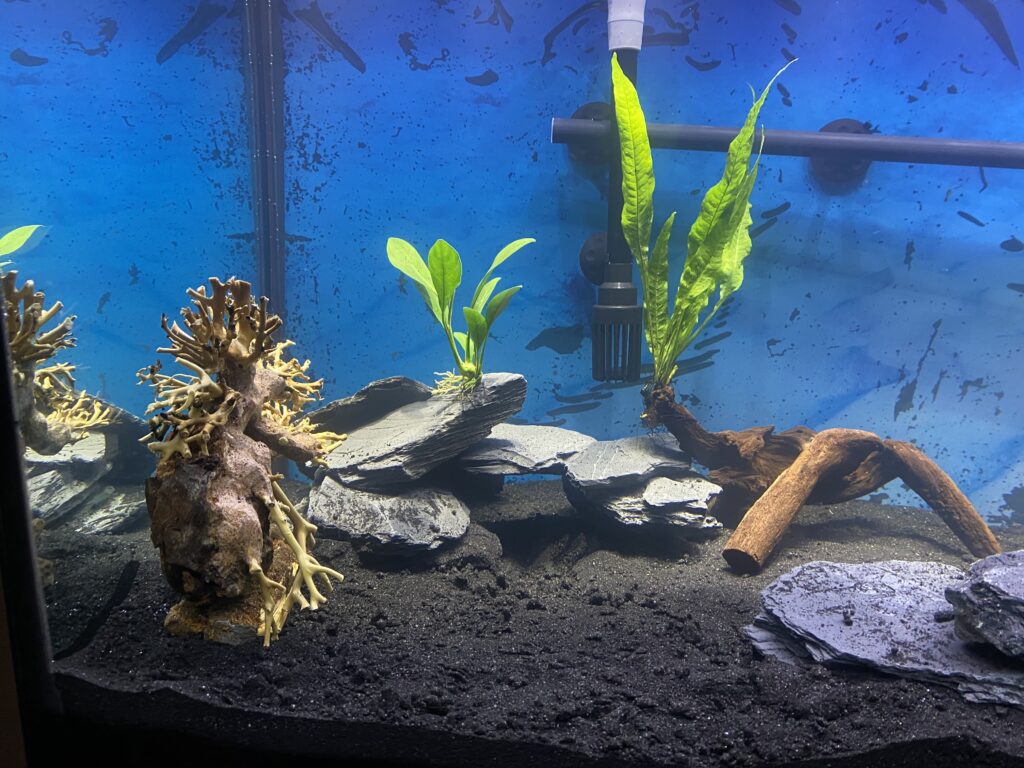
Decor
The final step was to add the decor. We built caves for them to hide in as they do not have eyelids and need shade from any bright lights. You can make shelters from any aquarium-safe objects you can find. There seems to be an endless supply of caves you can buy at pet supply stores or online. Another idea is to make your own using terra cotta pots or large PVC pipes. We didn’t see this one before our set-up but how cool!
Another feature we chose to add was driftwood and live plants. We bought these from our local pet supply store. You can have a lot of fun with options here. Keep in mind that live plants will have their own light and nutrient needs. Since axolotls don’t enjoy bright lights, you may want to choose plants that don’t have high light requirements themselves.
Cycling the tank
Once the tank was set-up, we cycled the tank using the fishless cycle method. Axolotls, as well as any other living aquarium animals, produce waste that will quickly become toxic if not removed. Cycling a tank introduces enough beneficial bacteria to offset this. There will still be leftover nitrate at the end of this cycle but that can be removed with weekly water changes. I will explain more about in a future post.
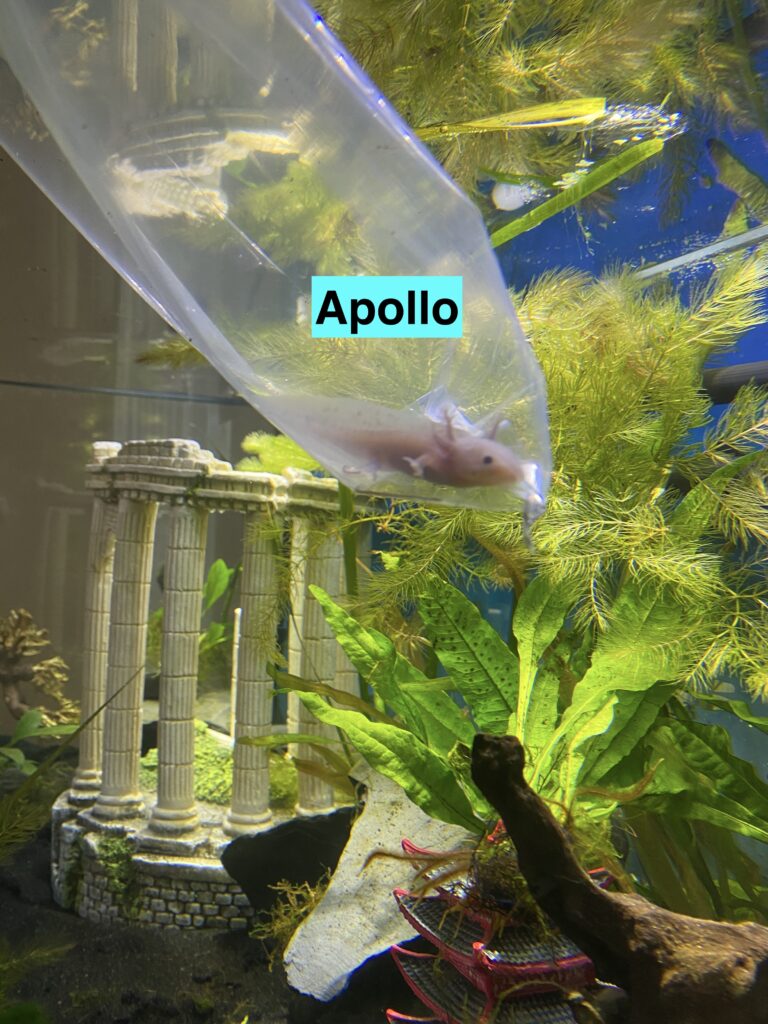
Finally, time for the unveiling:
After much anticipation, our axolotls arrived and and we were so excited to meet the little guys. (We have no way of telling if they are little guys or gals so I just call them guys.)
Here they are!
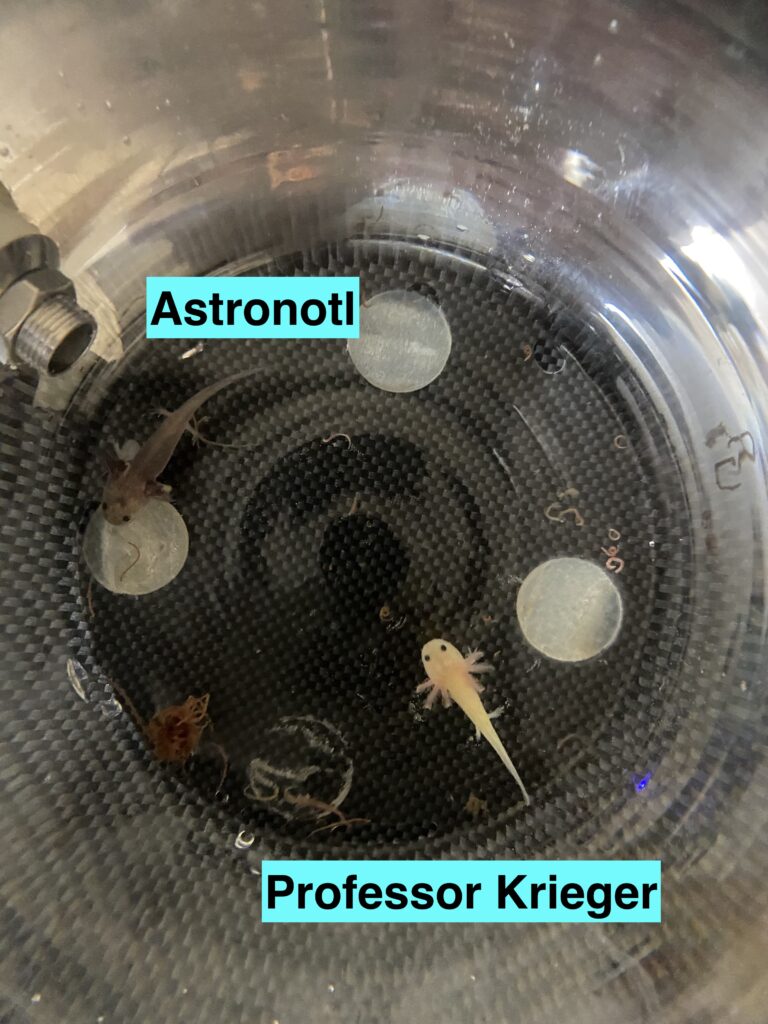
The Problem
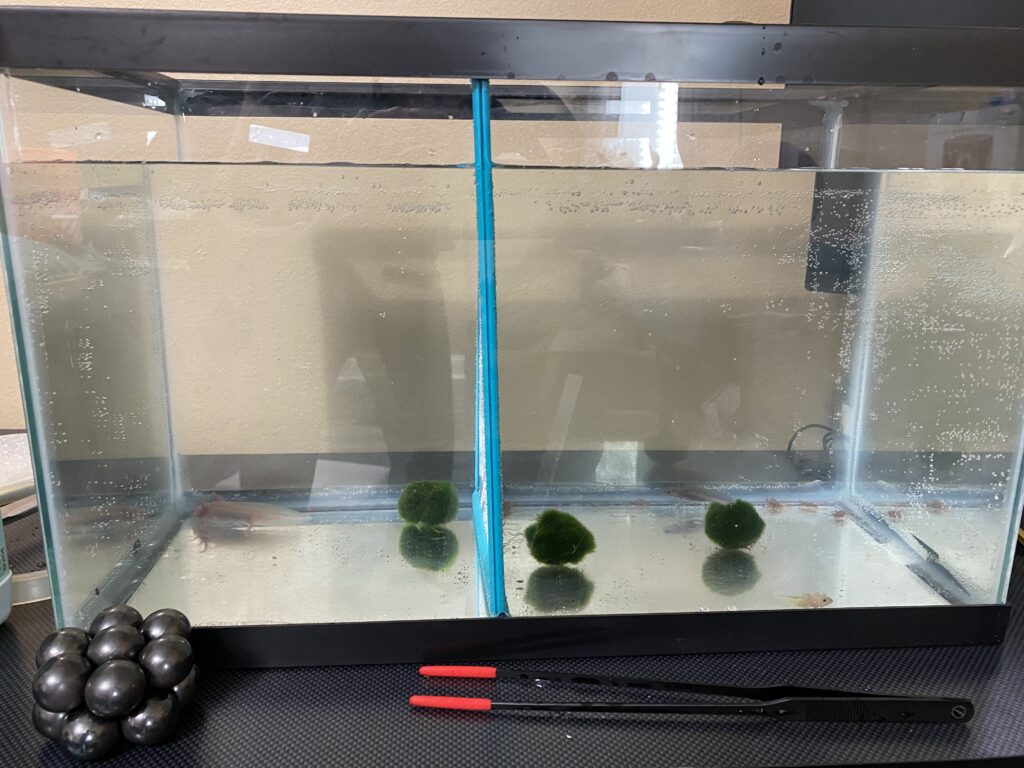
Well, we thought we were ready for them. We didn’t realize just how little they were going to be. They were tiny babies! Professor Krieger’s back legs looked like they had just sprouted and he didn’t even seem to realize they were there yet. Here’s a picture of them in a 10-gallon tank to give you an idea of how small they were:
Don’t get me wrong, we were happy to get them so young. The problem with this was that we had set up a tank for older axolotls and our set-up could potentially have been dangerous them. That beautiful sand bottom could be an impaction risk for such small babies.
Another difficulty was that one of them was a great deal bigger than the other two. Remember the part I told you about them eating anything smaller than their heads? Well, this includes other axolotls. We couldn’t house them together until they reached more comparable sizes.
Back to the drawing board…
Check out our solution in this next post: