

How to Set Up Your Raspberry Pi 4
What is a Raspberry Pi, you may be wondering? It’s a tiny, inexpensive computer that you can hook up to a screen of your choice and any other peripherals you might use with a regular desktop computer.
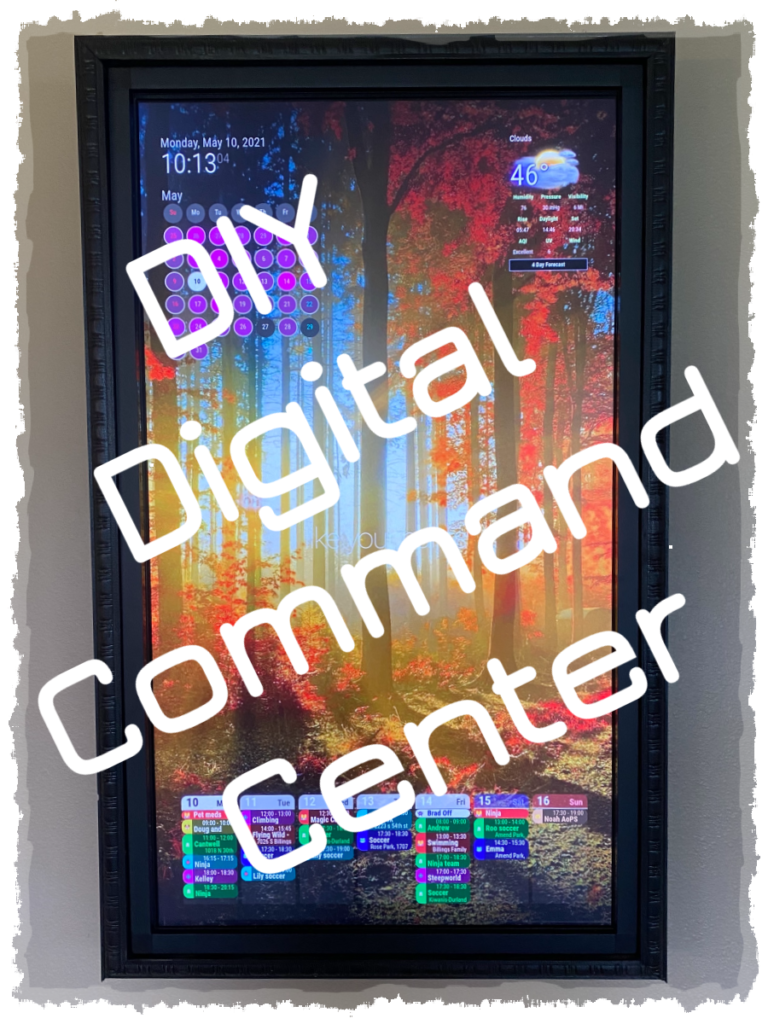
We used ours to run our Digital Family Command Center, but there are limitless fun projects you can do with these little babies.
You can check out more project ideas on my Pinterest board:
Supplies:
Are you setting up a Raspberry Pi for the first time? Here’s what you need to get you started.
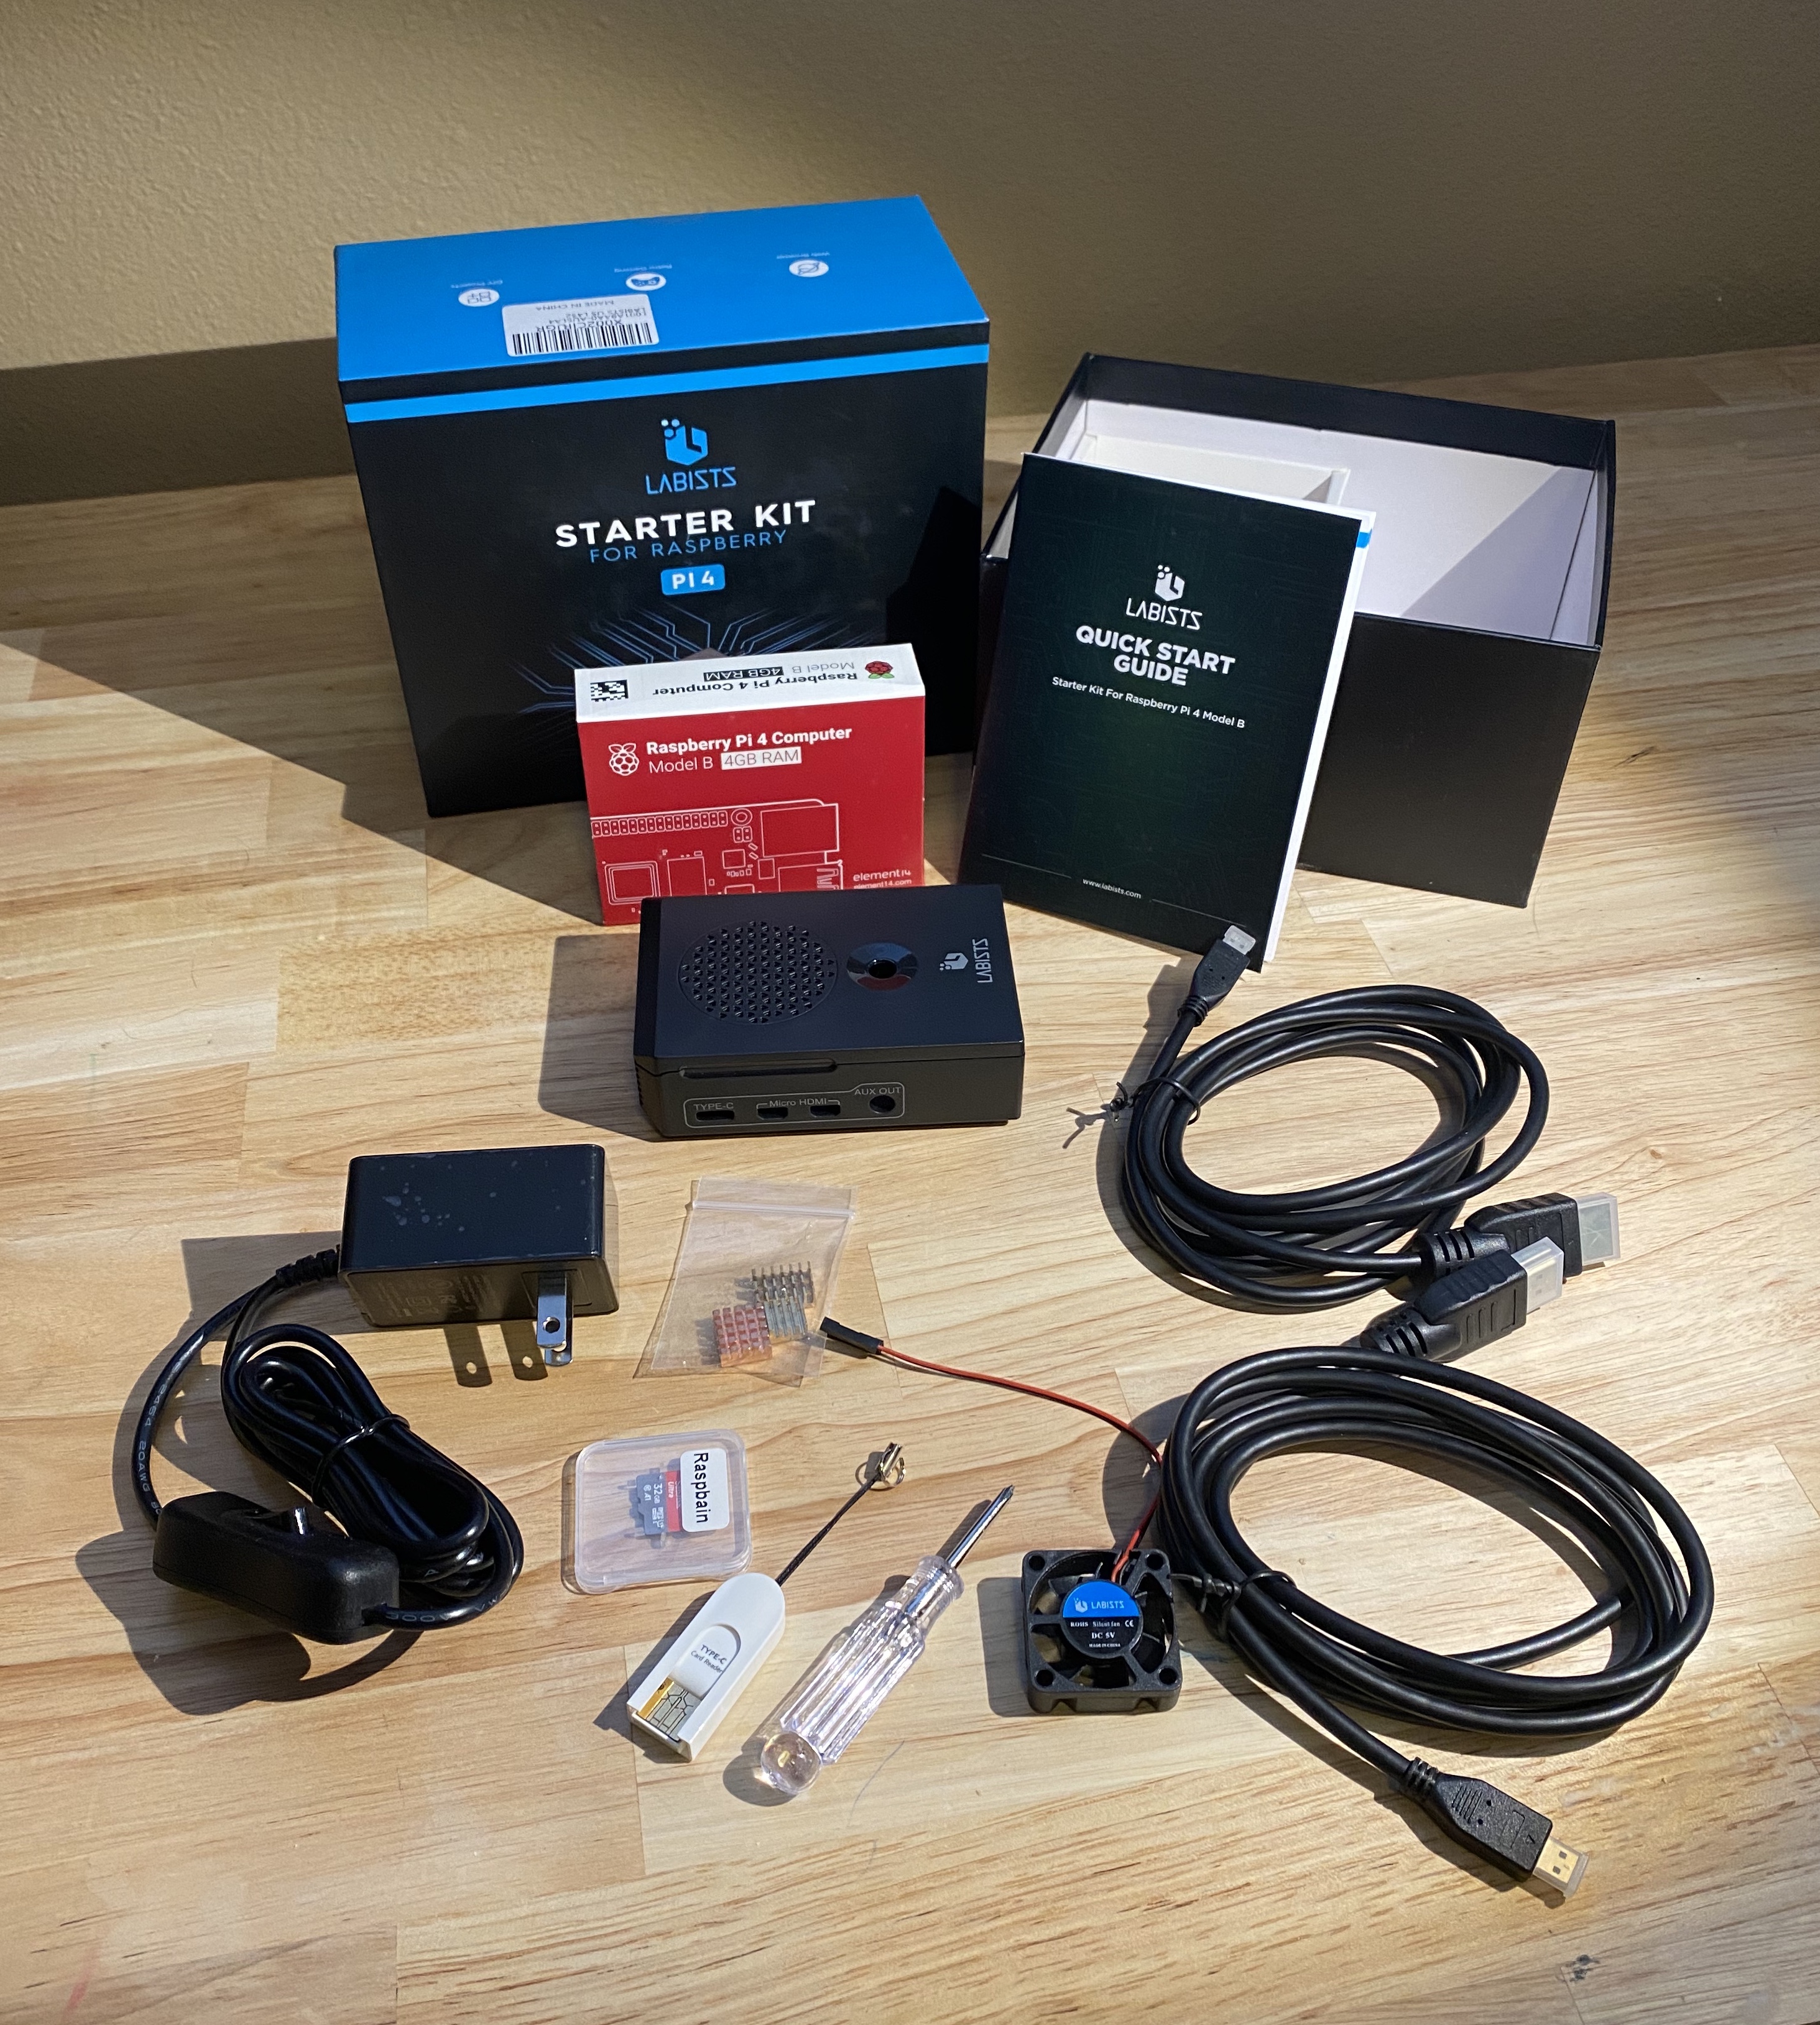
- I used the Labists Starter Kit for Raspberry Pi 4, which contains:
- Raspberry Pi 4 Computer Model B with 4GB RAM (Raspberry Pi is also available with 2GB or 8GB RAM)
- 1.5M/5 Feet USB-C Power Suply with On/Off Switch
- Case
- SD Card reader
- 32GB Micro SD card preloaded with Raspberry Pi OS (Raspbian)
- Fan
- 3 Heat Sinks
- 2 Micro USB to HDMI cables
- Screwdriver
- Quickstart guide
- USB mouse and keyboard (Once the Pi is set up you can keep using these or run it from another computer connected over the internet).
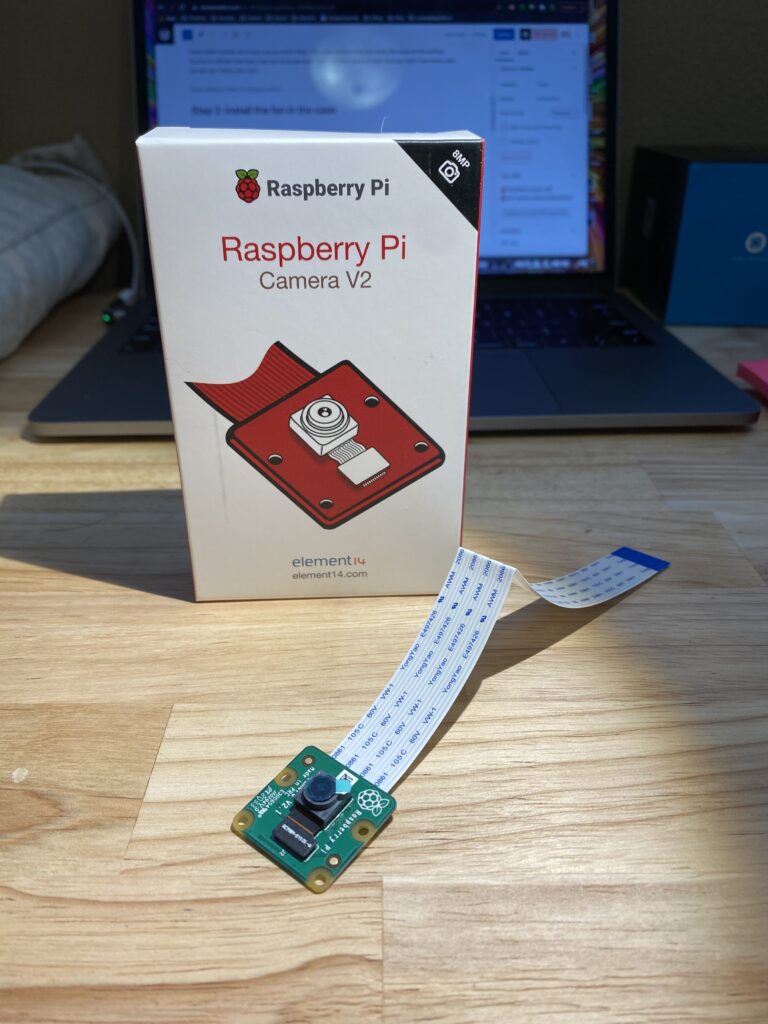
- You may also want the Raspberry Pi camera module (sold separately from the kit)


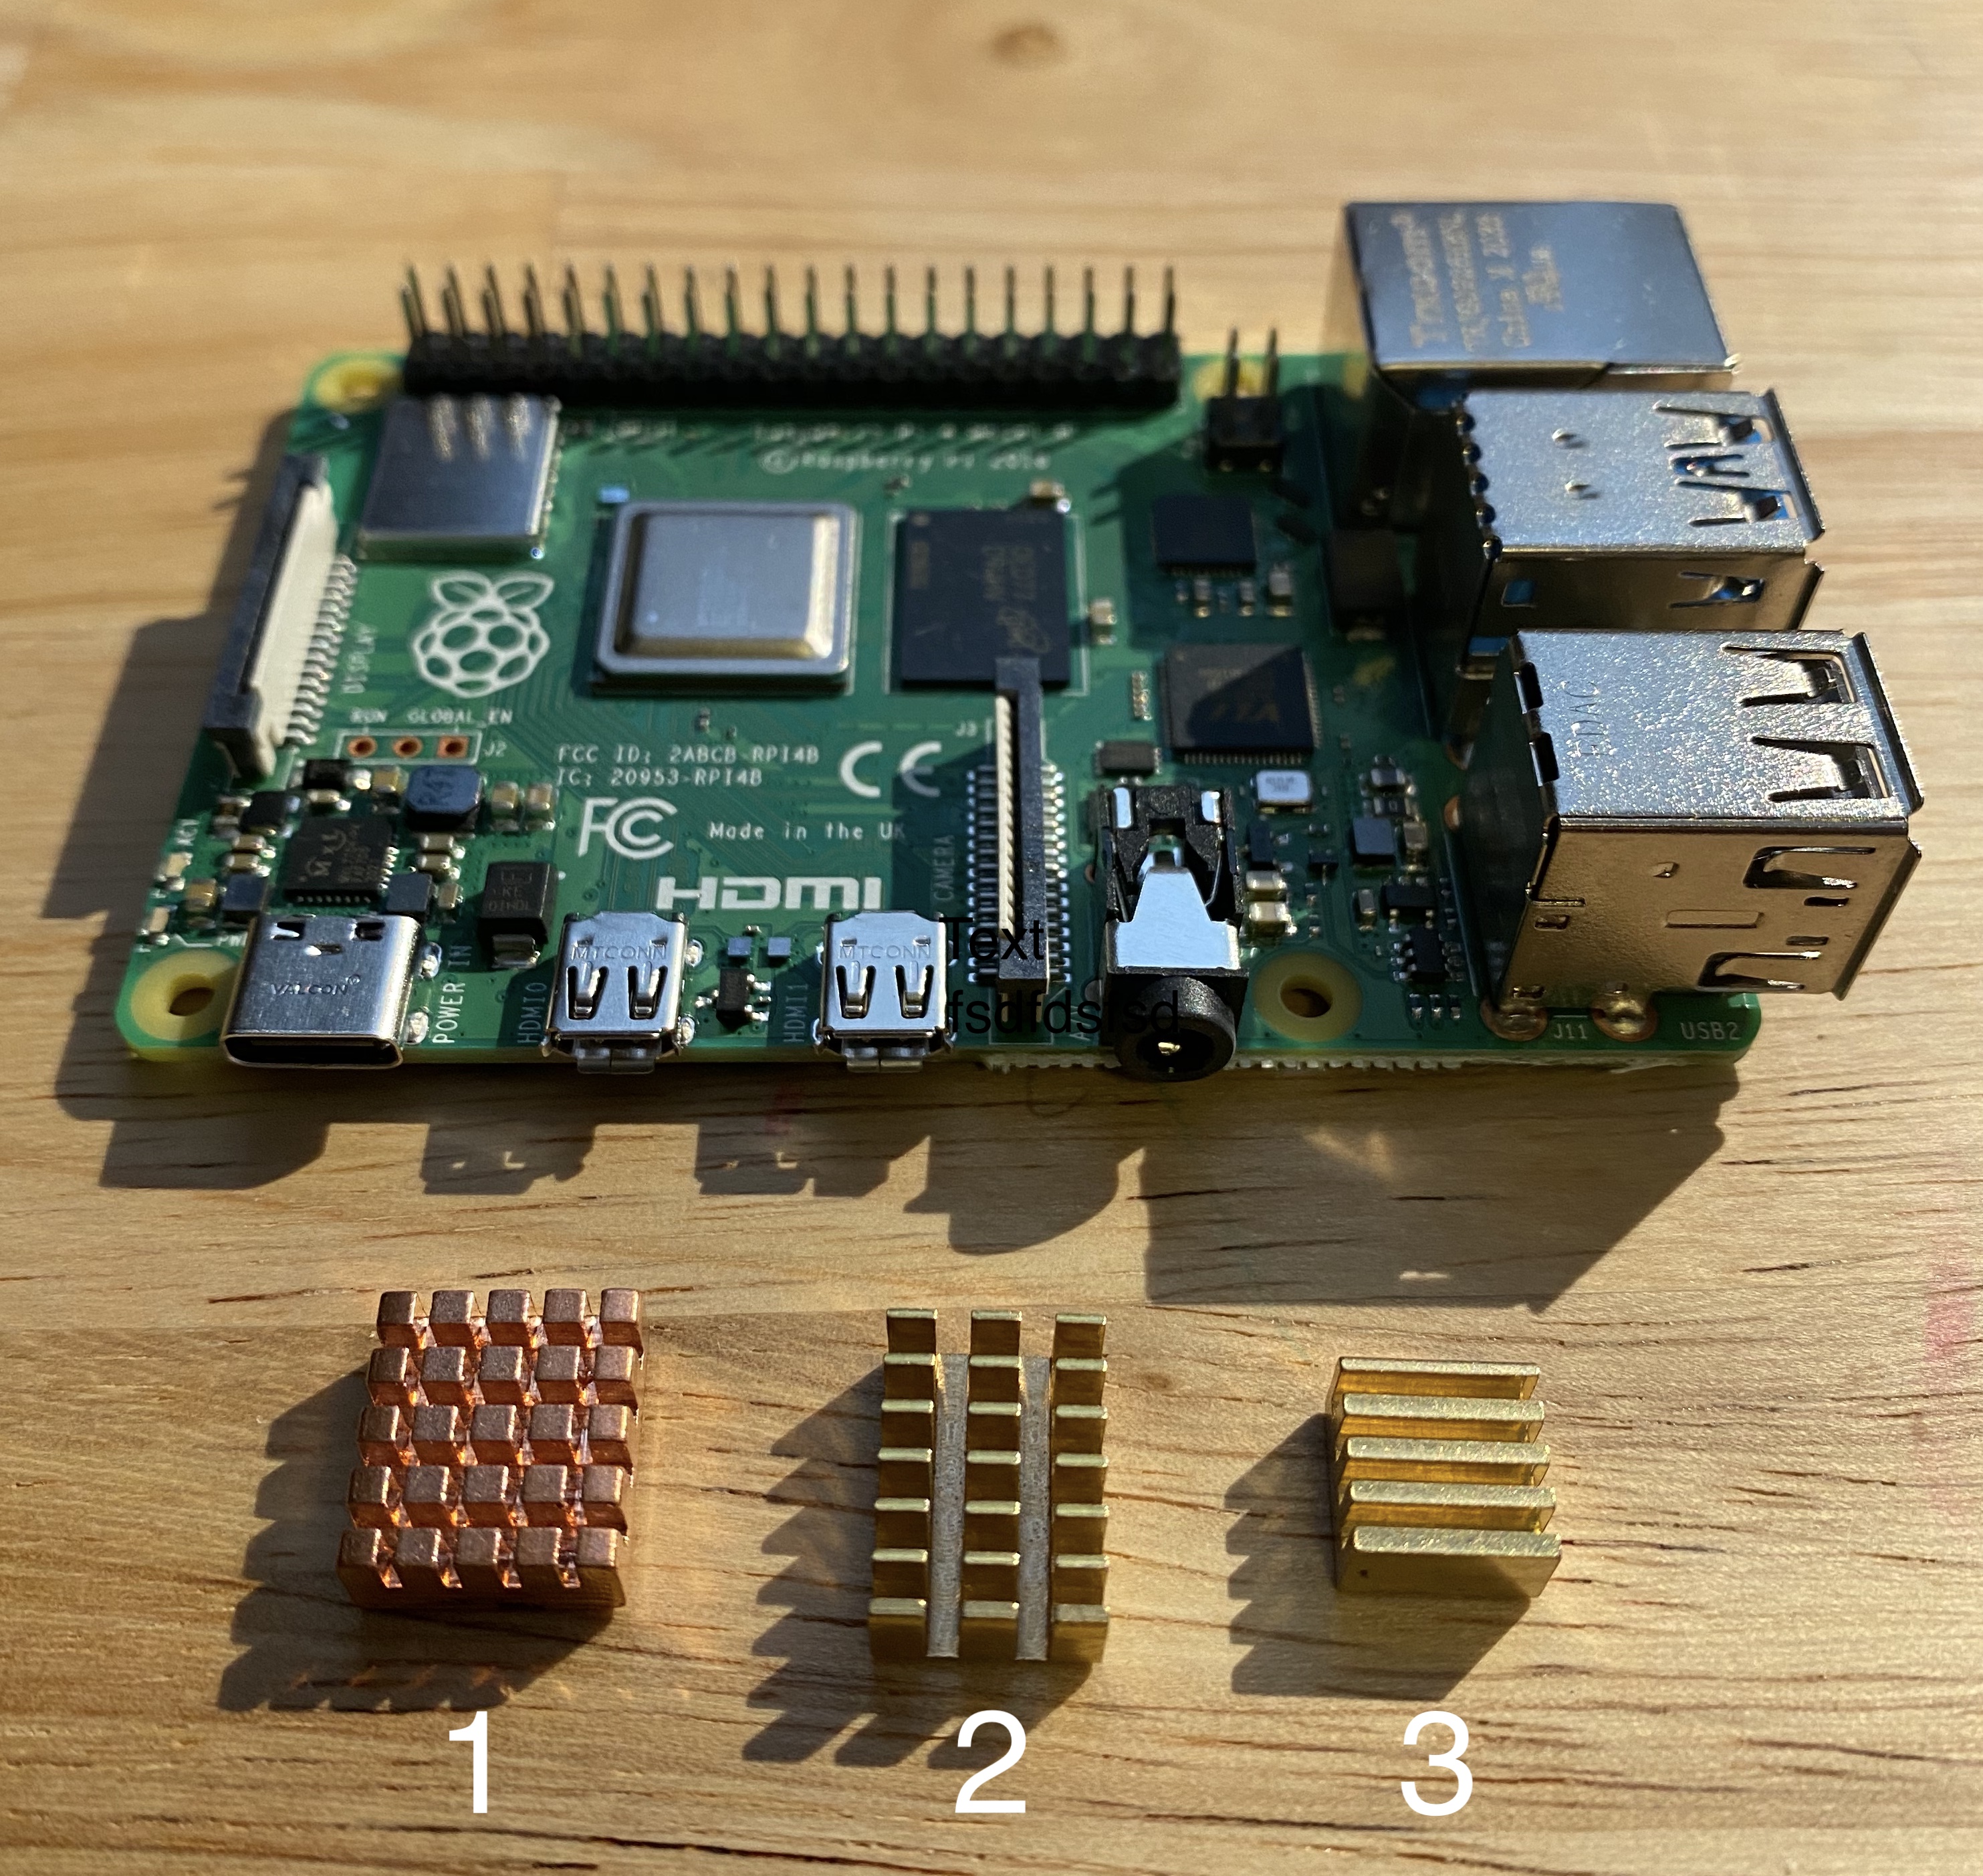
Step 1: Install heat sinks
Heat sinks are components used to protect chips on the Raspberry Pi that can get too hot while functioning. Basically, they are the computer chips’ way of taking off clothes on a hot day to cool off.
As the chip heats up, they become higher temperature than the heat sink. Heat will move from a higher temperature down the thermal gradient to a lower temperature through the heat sink material via natural conduction. Then, in the same way, heat will again transfer from the heat sink into the lower temperature air. This is why the heat sinks have many small notches and empty spaces within them. The more surface area they have, the more air the surface touches to diffuse heat away from the computer chip. There are other kinds of heat sinks but that’s how these ones do their job. Pretty cool, huh?
The heatsinks have peel-and-stick backing that you simply stick into place. See the images below for positioning.


Step 2: Install the fan in the case
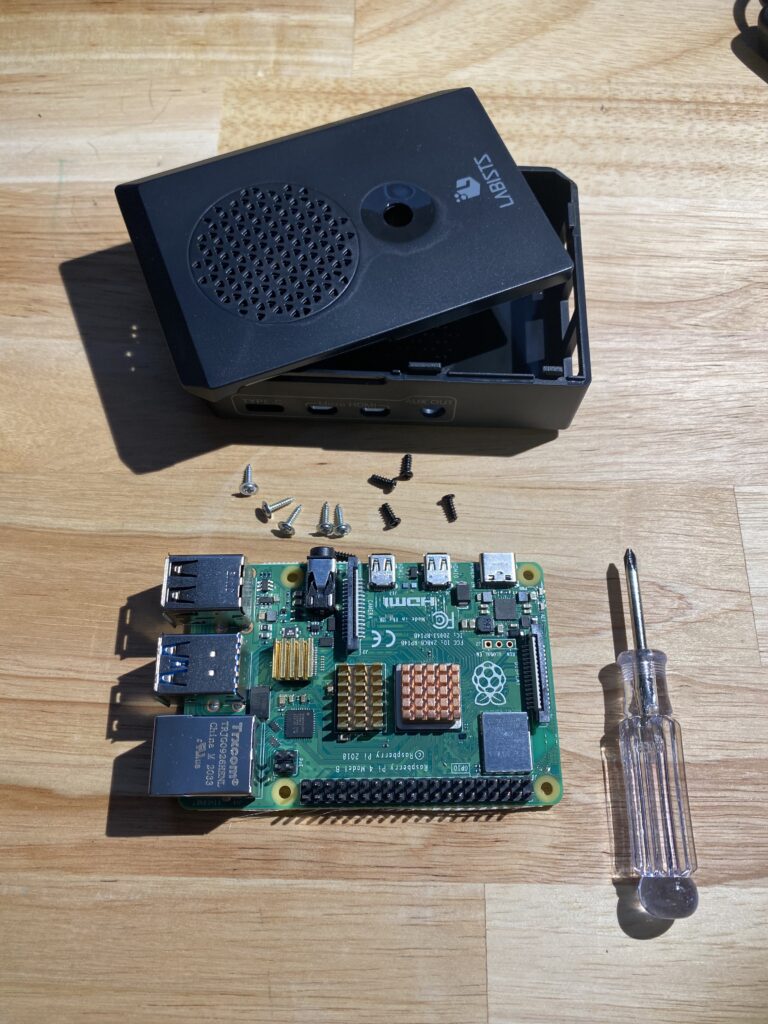
For this step you will need the case, fan, silver screws with the sharp end, and screwdriver.
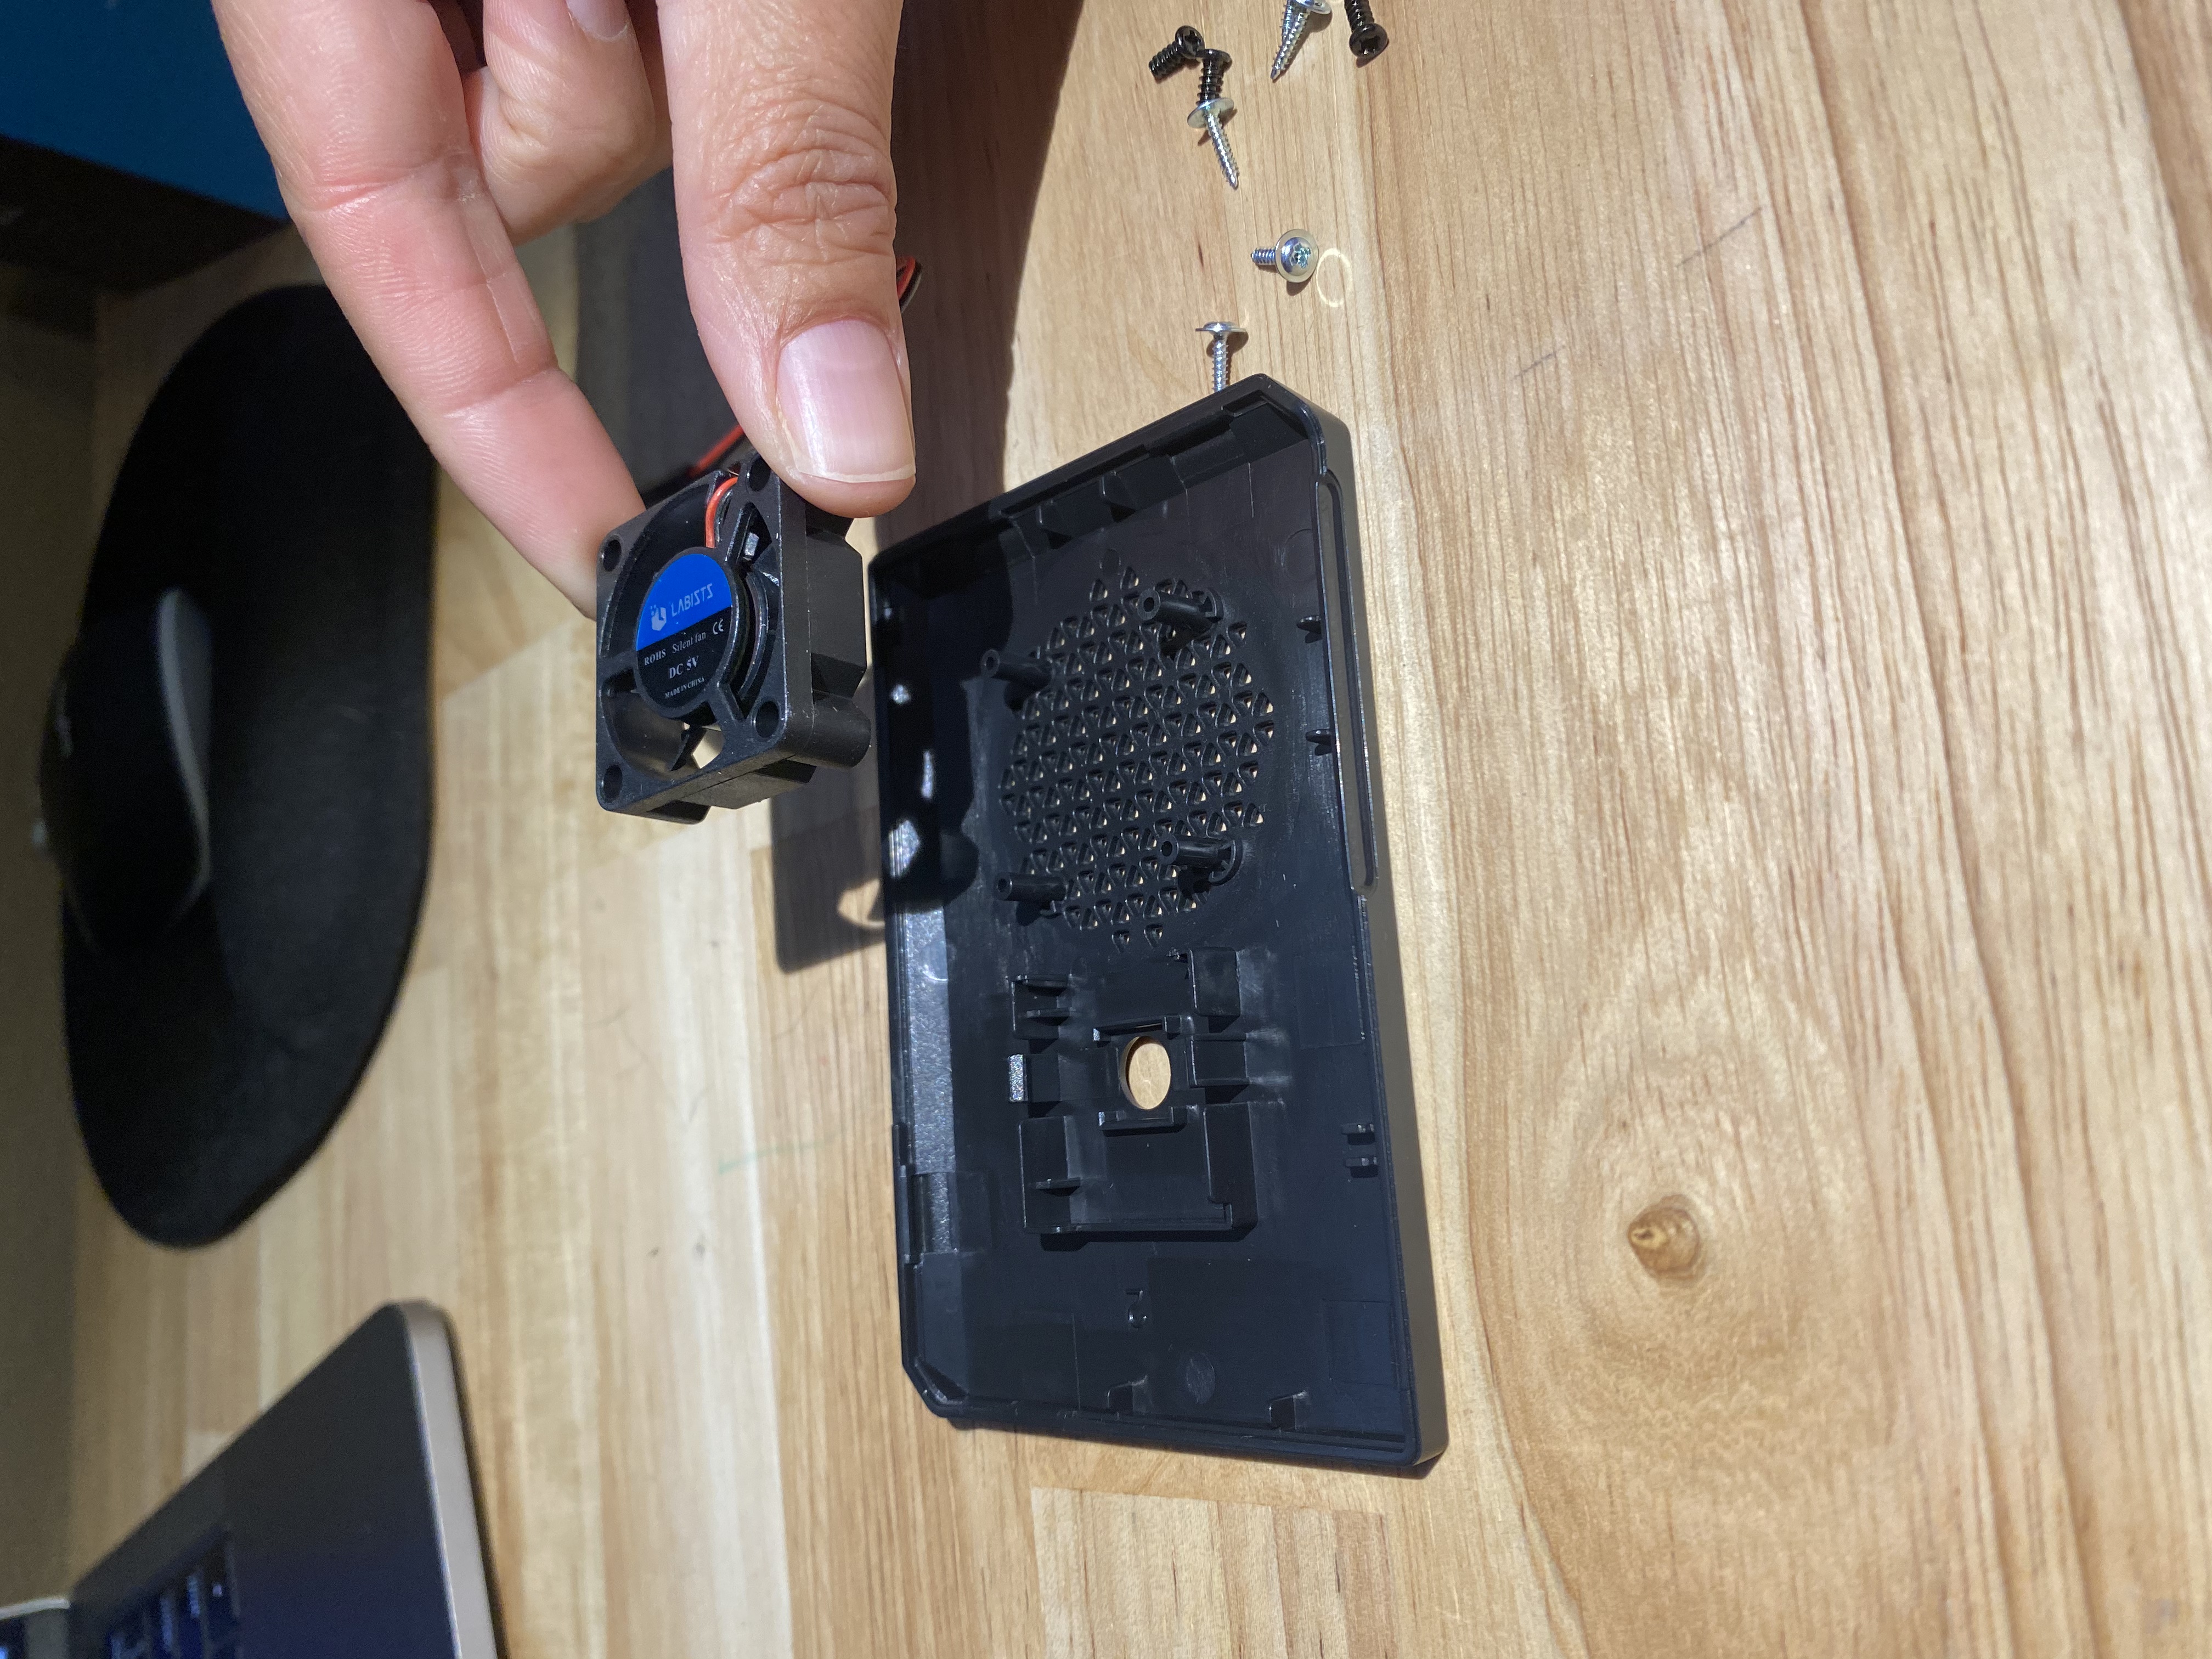
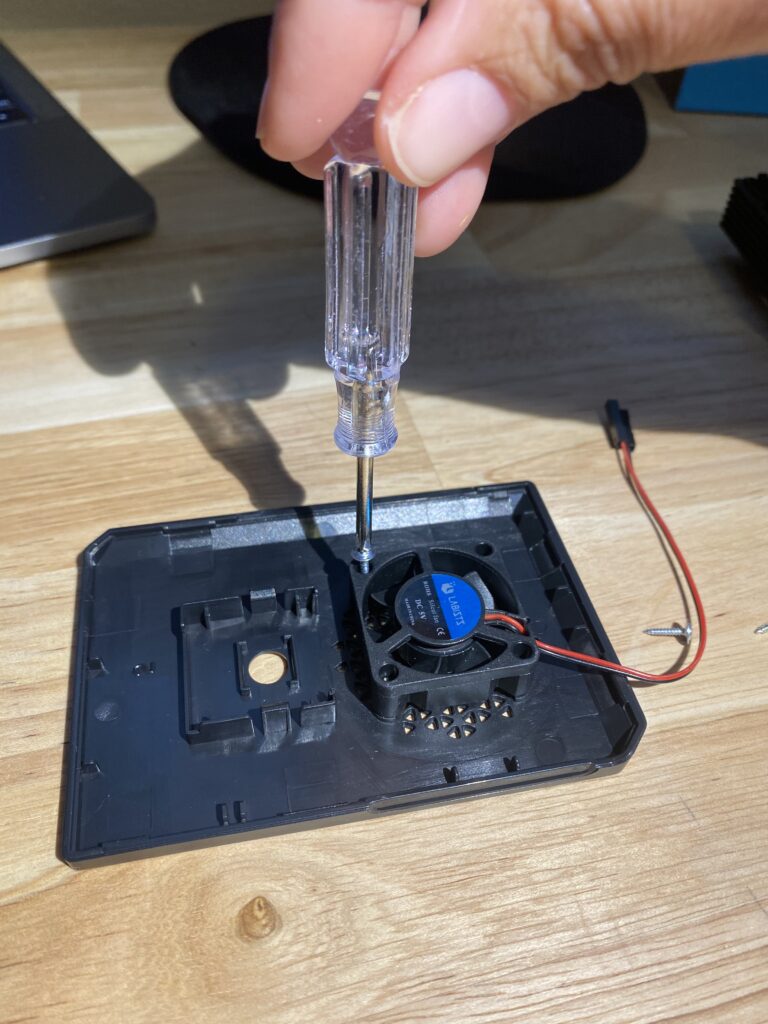
Slide the fans four holes onto the matching four pegs on the underside of the top of the case. Then screw in four of the silver screws with the sharp ends. You will connect the fan wires to the Pi board in step 5.

Step 3: Install the camera module (optional)
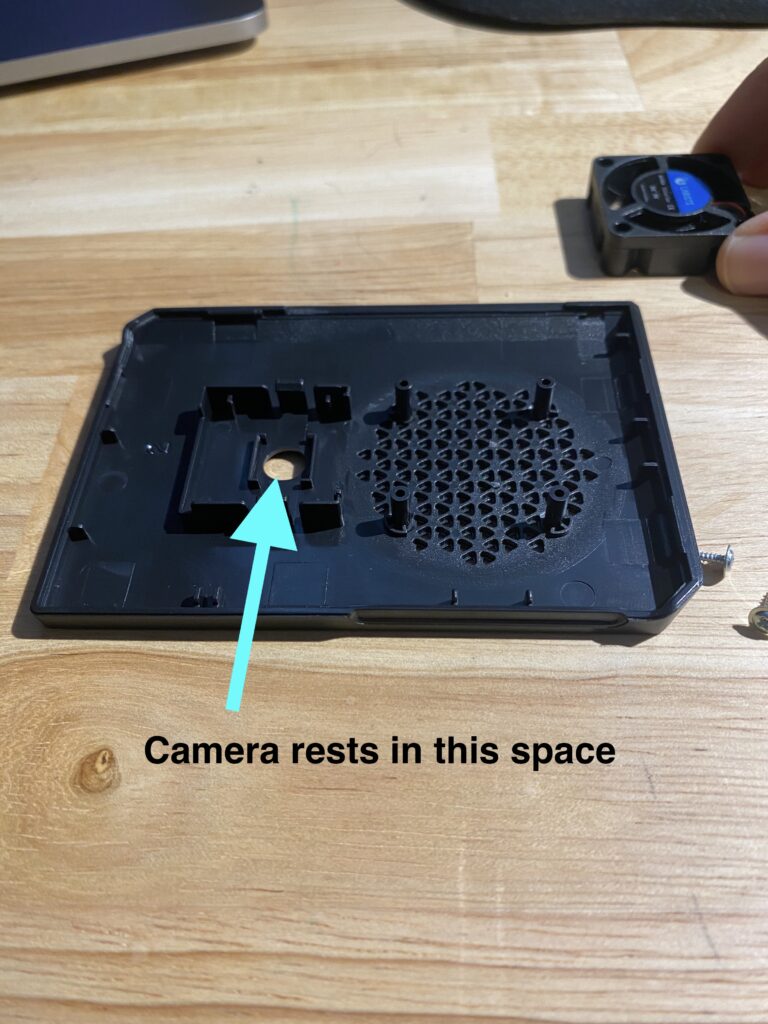
To install the camera (sold separately from the Labists kit), snap the camera into the space next to the fan as shown in the photos below.

Next you attach the camera’s ribbon cable to the Pi board. Pull up on the black plastic tab of the camera module port, slide the ribbon cable inside, and then push the black tab back down to hold the ribbon in. As you can see in the photos below, the blue side of the ribbon cable needs to be facing toward the USB ports.

Test the connection by gently pulling up on the ribbon to make sure it doesn’t detach.
If you need more help, here’s a helpful explanation and animation of how to install and configure the camera on Raspberrypi.org.
Step 4: Secure the board into the case
Set the Raspberry Pi board into its case and make sure all the ports are matched up.
Push the Pi toward the HDMI ports.
Be sure to check that the SD card slot lines up with the hole for it in the case.
Attach the board to the case using the black screws with the flat ends in the holes shown below.

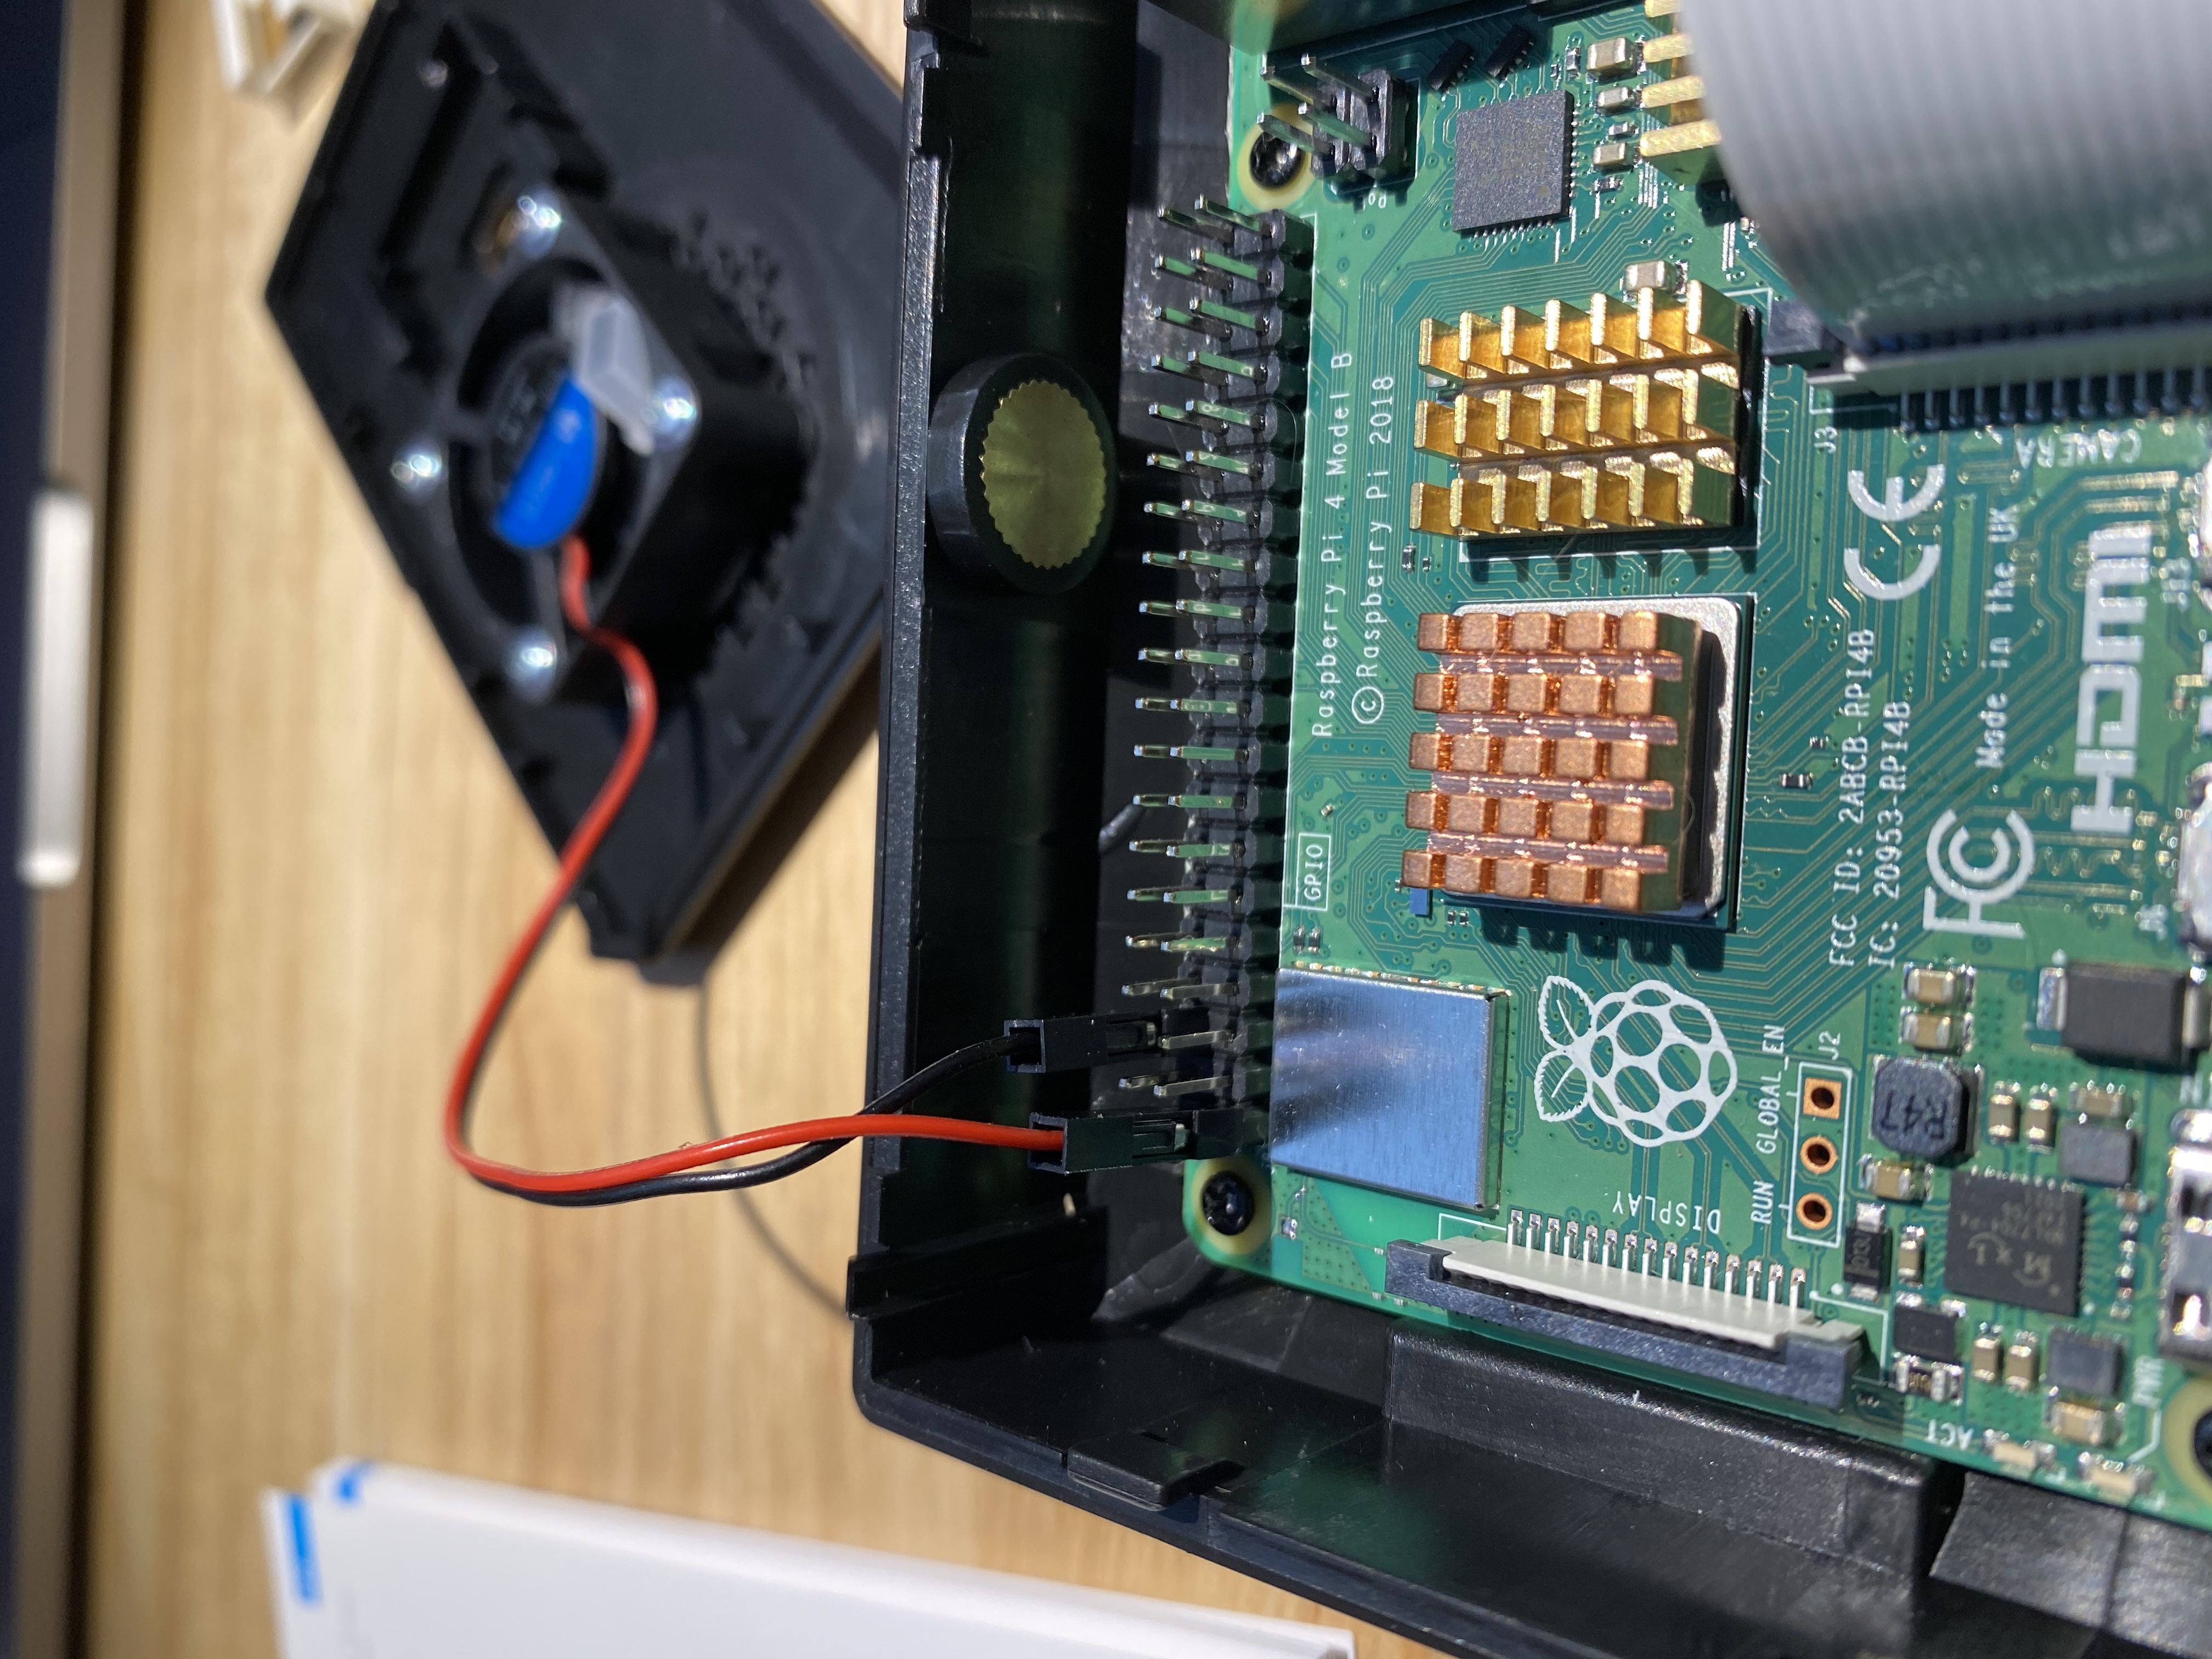
Step 5: Connect the fan wires to the GPIO ports:
Gently push the wire connectors down onto the GPIO port pins. The red wire connects to GPIO port 1 for power and the black wire connects to GPIO port 6 for ground.

Step 6: Attach the case cover
Help the fan and camera module cables into place and snap on the top of the case.

Step 7: Format the Micro SD card and load Raspberry Pi OS
You can skip this step is you’re using the SD card from the Labists kit because Raspberry Pi OS comes preloaded.
If you’re using a Micro SD card without Raspbian or another operating system preloaded, then you’ll need to format your card and add it yourself. You can get Raspberry Pi OS (previously called Raspbian) from Raspberrypi.org free here. If you’re using the Labists Kit, this has been done for you. You can also buy Micro SD cards seperately that have been preloaded.
Step 8: Connect peripherals and power supply
Plug a USB keyboard and mouse into the USB ports in the Raspberry Pi.
Plug in Micro HMDI cable into the Pi and the regular HMDI at the other end into your screen.
Plug in any other peripherals you choose at this point as well, like USB Wi-Fi, Ethernet, a hard drive, etc.
Plug in the power supply cable and connect to power.
Step 9: Boot up your new Raspberry Pi!
When you first boot up your Pi, the welcome screen will direct you to set up the basics like your preferred language and time zone. Then you can explore the desktop and start thinking of projects to do!
If you need more help with setting up your Pi, getting started with the software, or even finding ideas for projects, check out the official Raspberry Pi website here. You can also get a lot of great ideas from other sources online.
Have fun!