

Skyline Arch
This one is a quickie but goodie. It’s a short hike from the car to an arch high up in a rock wall. It won’t take much time to stop here on the way to Devils Garden and have a quick peek. If you’re pressed for time though, I would recommend the other hikes on our list before this one. This is difficult for me to say because every place in Arches National Park is amazing. As one of my friends once aptly noted, there aren’t enough adjectives to describe the Moab region. I feel like I’m repeating myself when I keep saying how wonderful every site here is- but it’s true!
Want to read more about Arches National Park?
This post is a continuation of a series on Arches National Park. You can find the others by clicking on these links:
Logistics:
- Distance: 0.4 mile (0.6 km)
- Elevation: 0
- Difficulty: Easy
- Facilities: None
- Dogs Allowed: No
- Parking: At trailhead
Getting there:
First Head to Arches National Park
You will need to pay an entrance fee, which is good for 7 days, or have an America the Beautiful Pass. There are also certain Fee Free days and did you know that 4th graders can get a free annual pass?
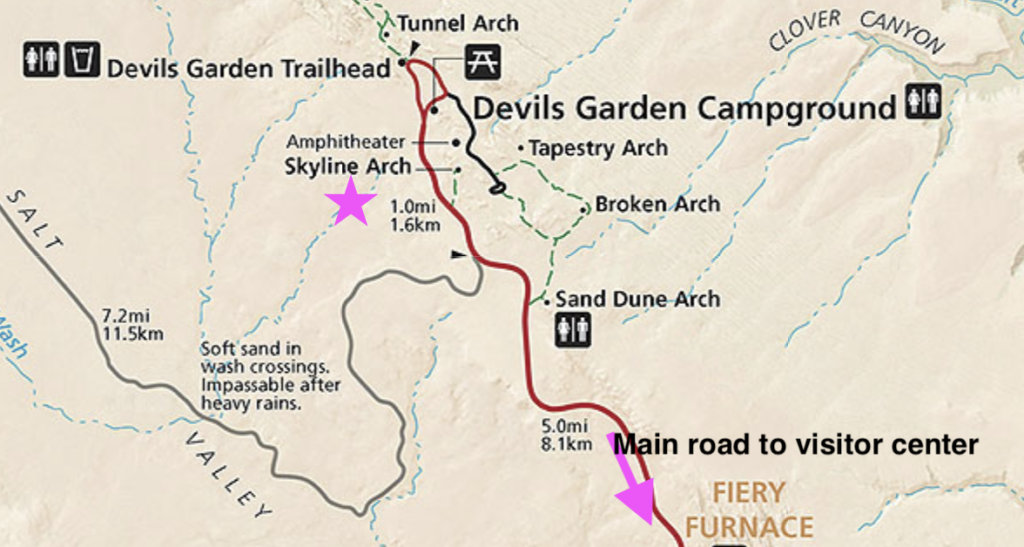
To get to Skyline Arch, you continue down the main road from Sand Dune Arch for 0.7 mile (1.1 km). If you’re coming straight here from the Visitor Center, you will drive 16.6 miles (26.7 km) to this trailhed.
The Trail
The Skyline Arch hike is an out-and-back from the trailhead. The trail is easy to follow and will lead you straight to the arch.
The beginning is a bit uneven and requires walking up a small rocky slope. If you have a stroller or wheelchair, you can see a closer view than from the car via a sidewalk from the Devils Garden campground on the other side of Skyline Arch. To get here, drive a short way past the Skyline Arch trailhead and turn right when you see the signs for the campground amphitheater parking area. (You can also hike to Tapestry Arch, Broken Arch, and even Sand Dune Arch from this parking lot).
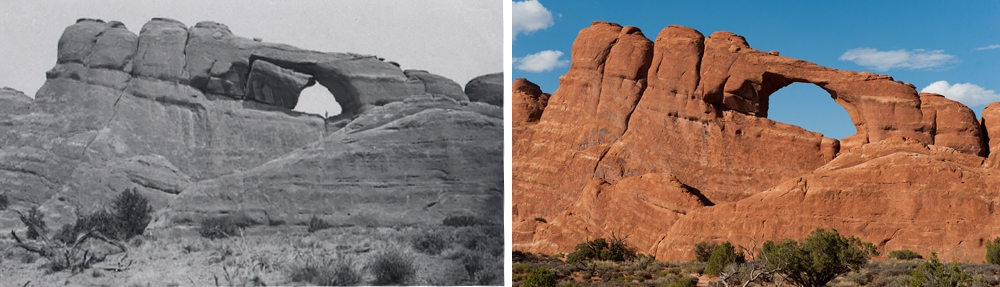
Geology lesson time:
Usually arches are slow to form, but Skyline’s story is more dramatic. As you reach the arch, look for a rock pile at the bottom. In 1940, the arch doubled in size when a huge chunk of rock fell out of it, becoming this pile. Click on the picture below, from the Canyonlands Natural History Association, to read more about how arches form and more.

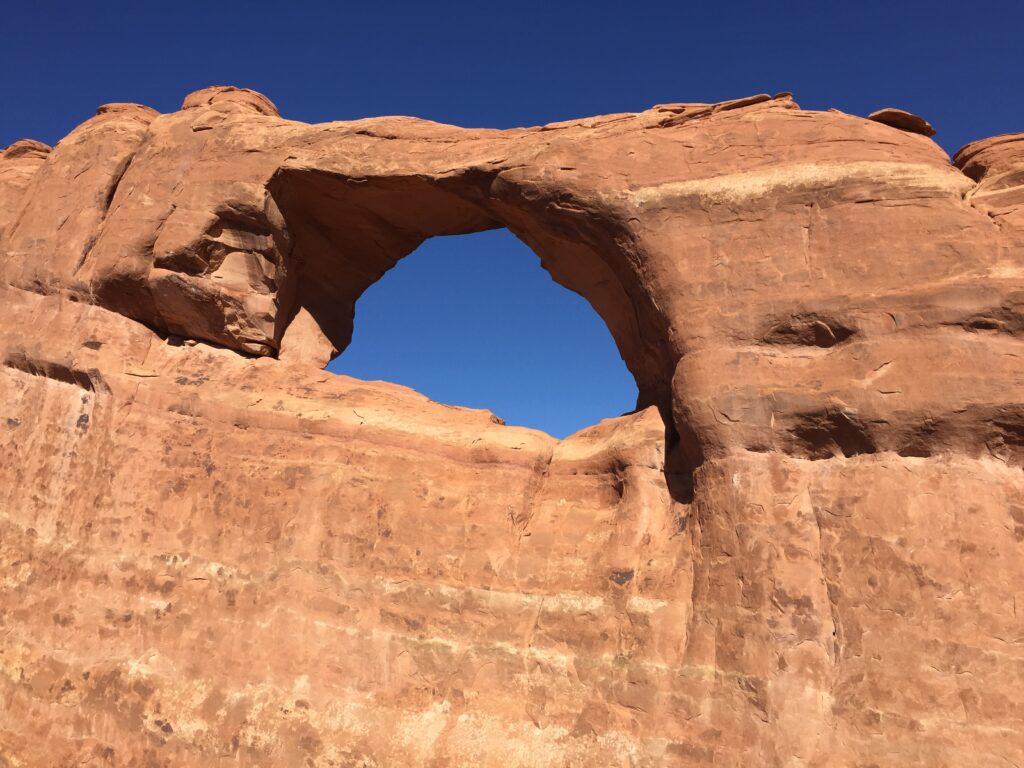
Here’s a view of the arch looking back toward the way we hiked in:
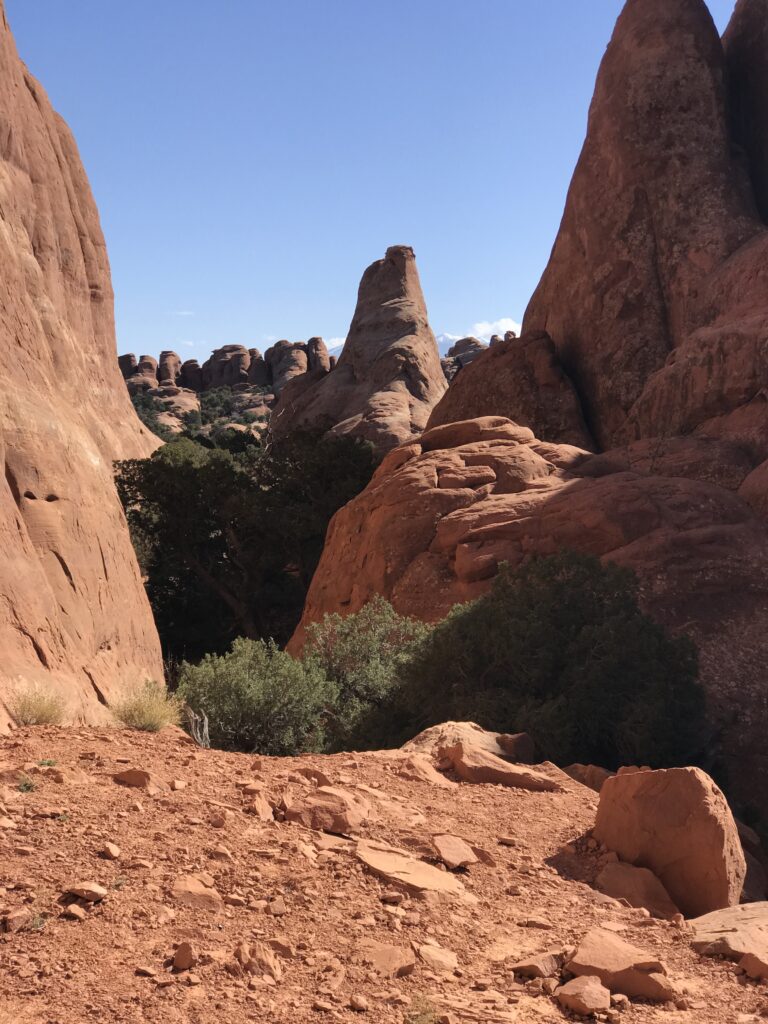
This image shows a view looking in the opposite direction, over to the Fiery Furnace area:
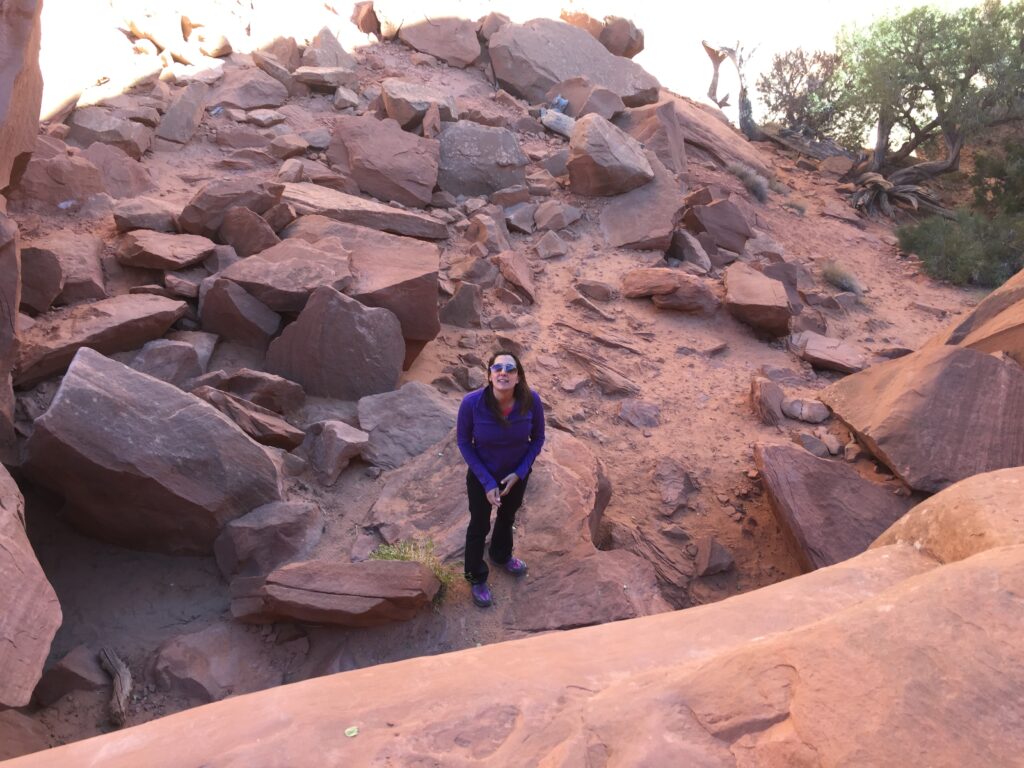
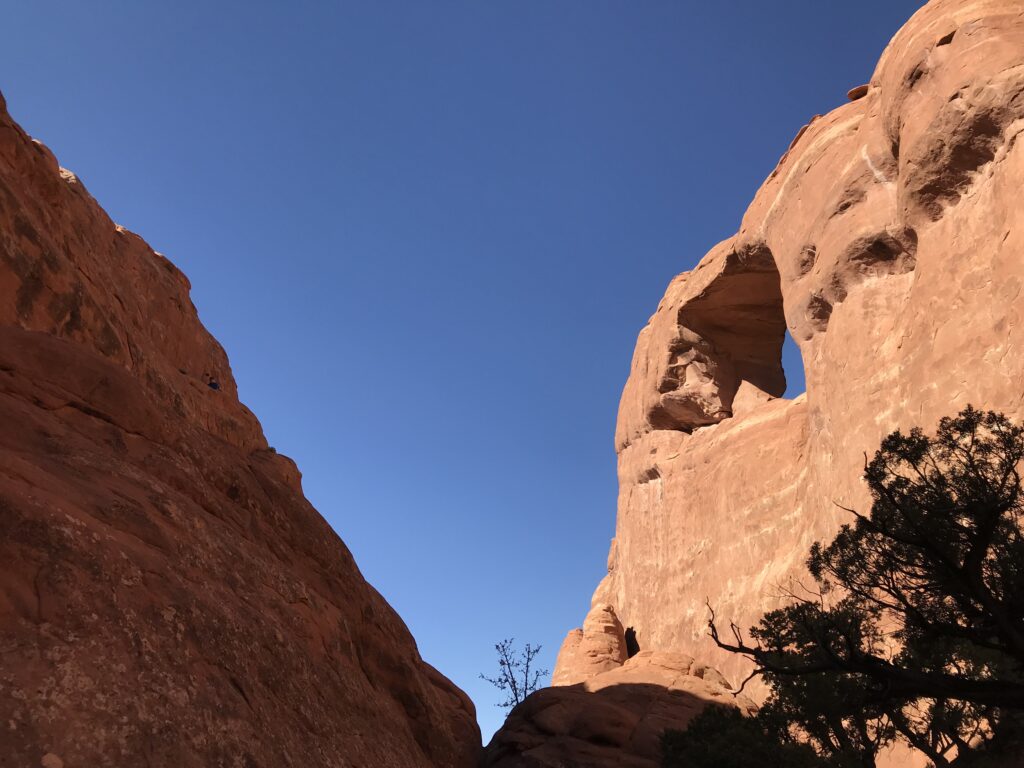
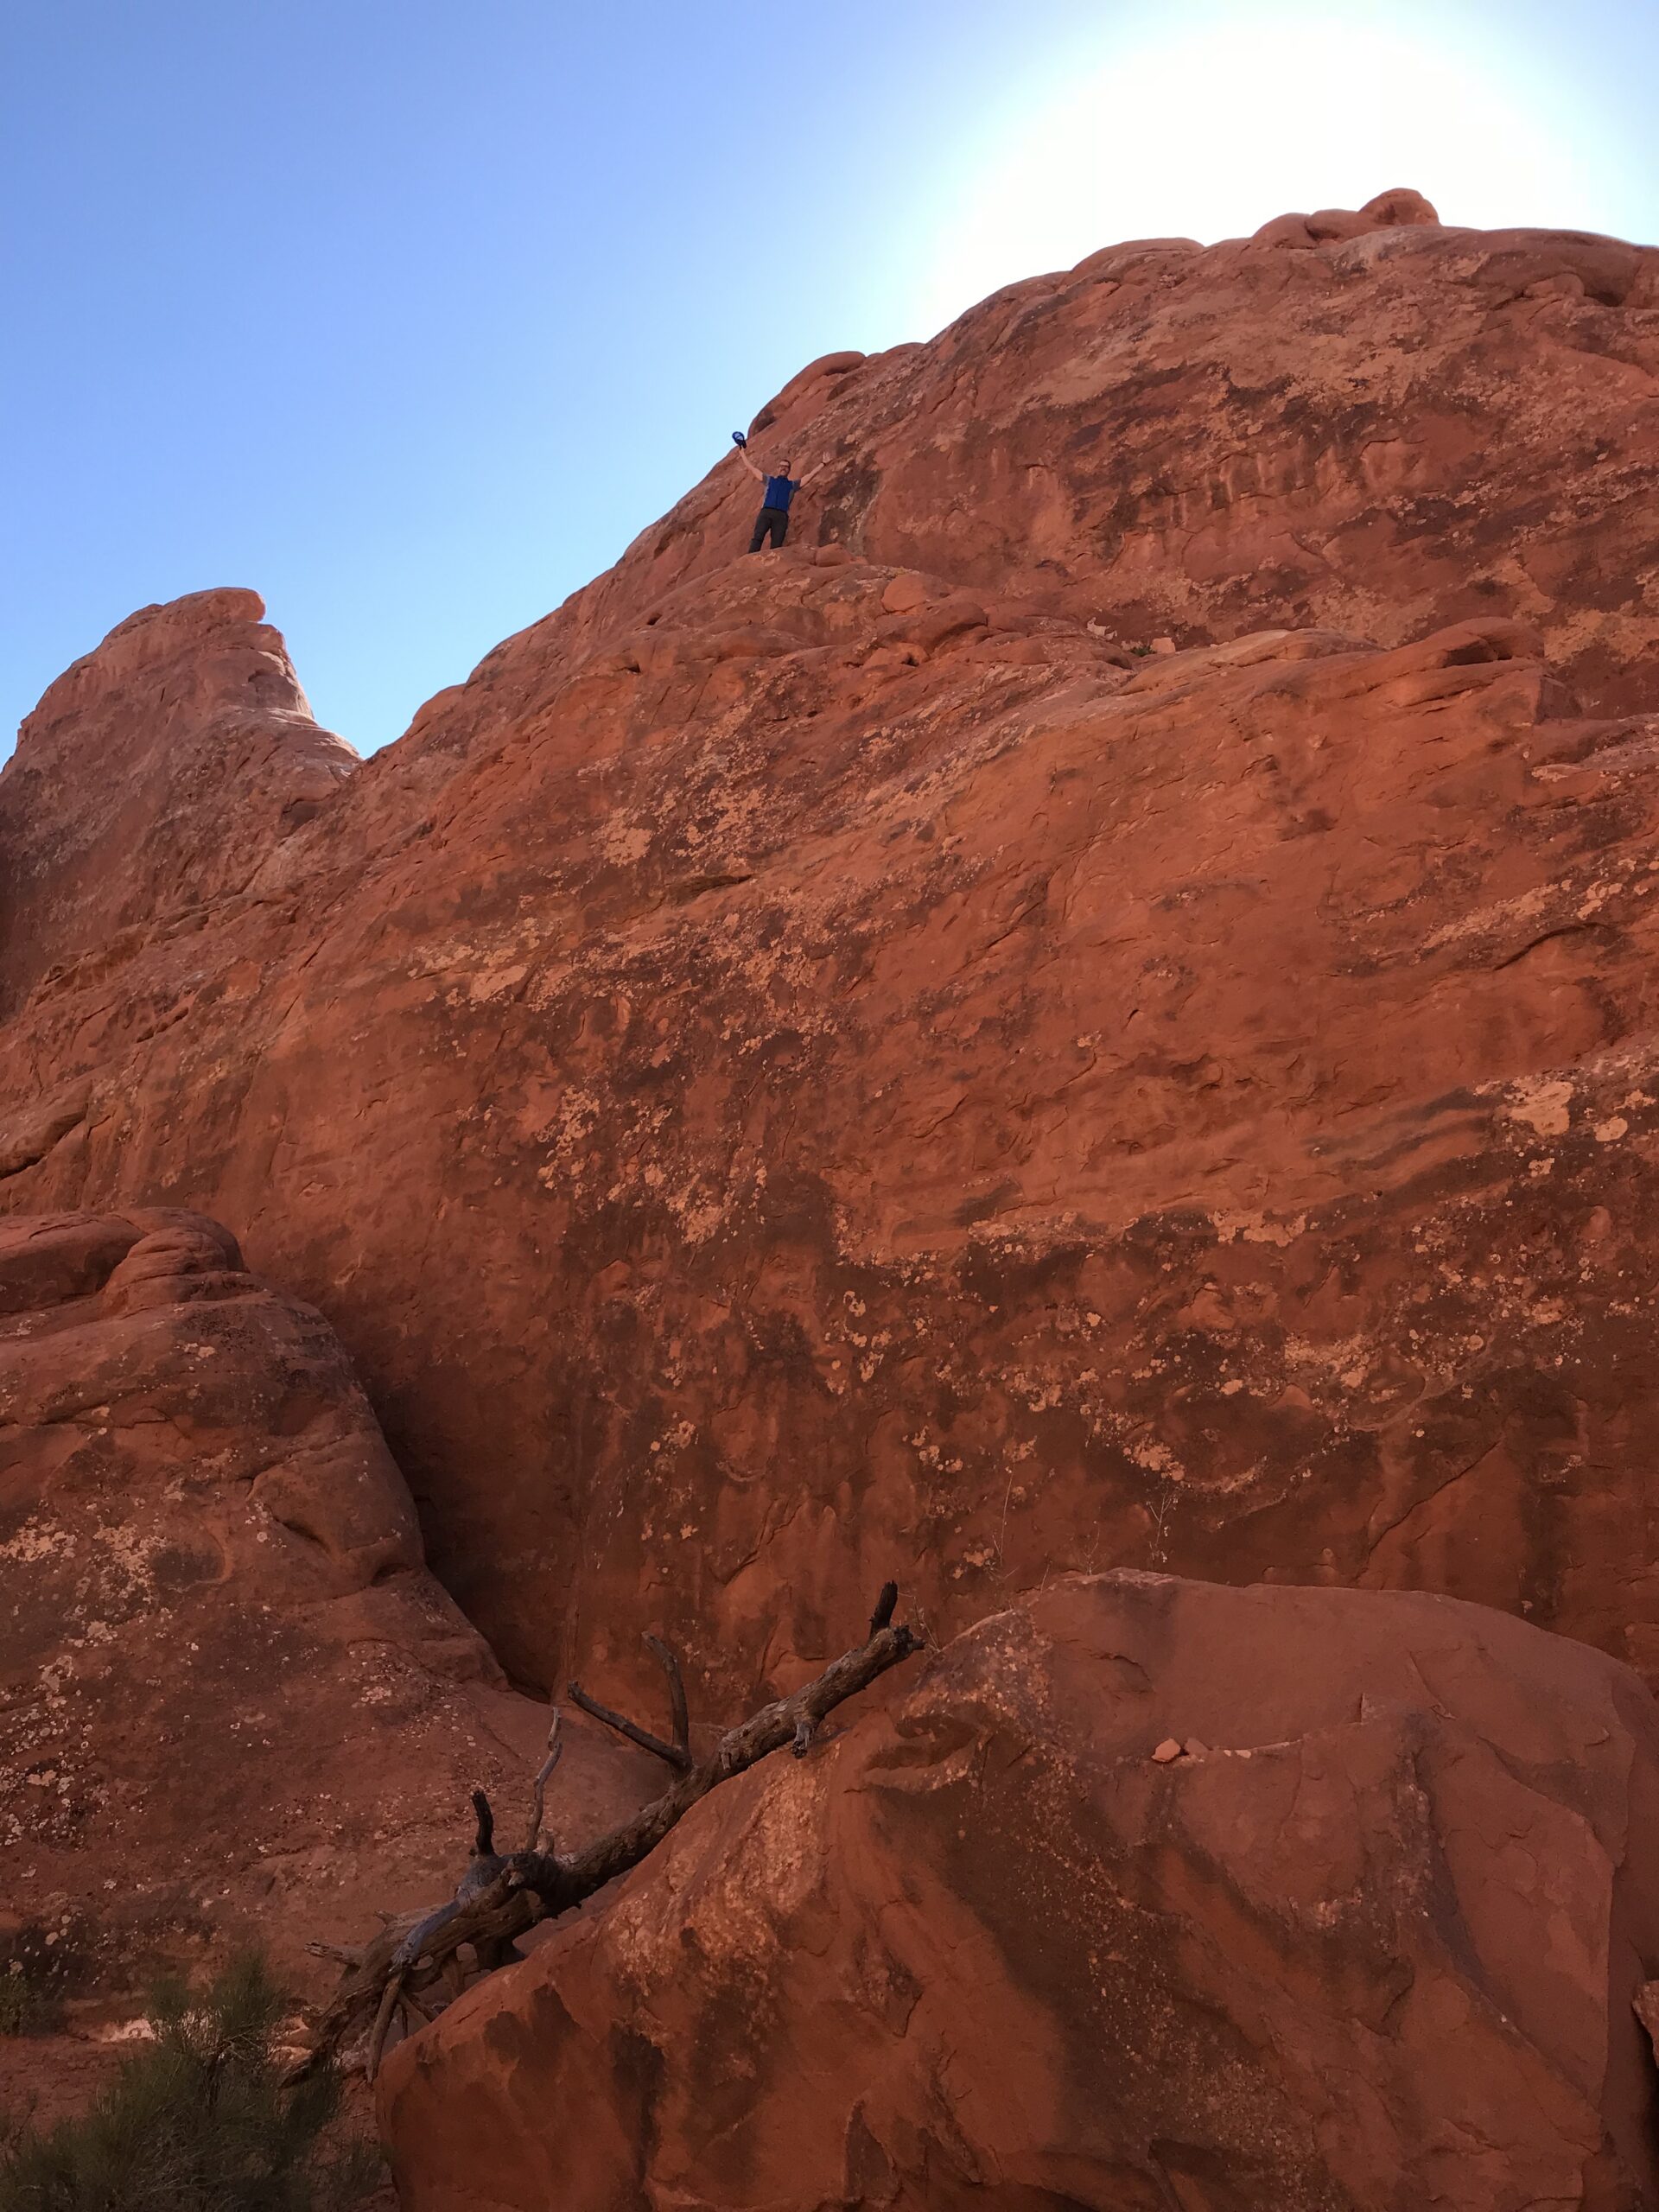
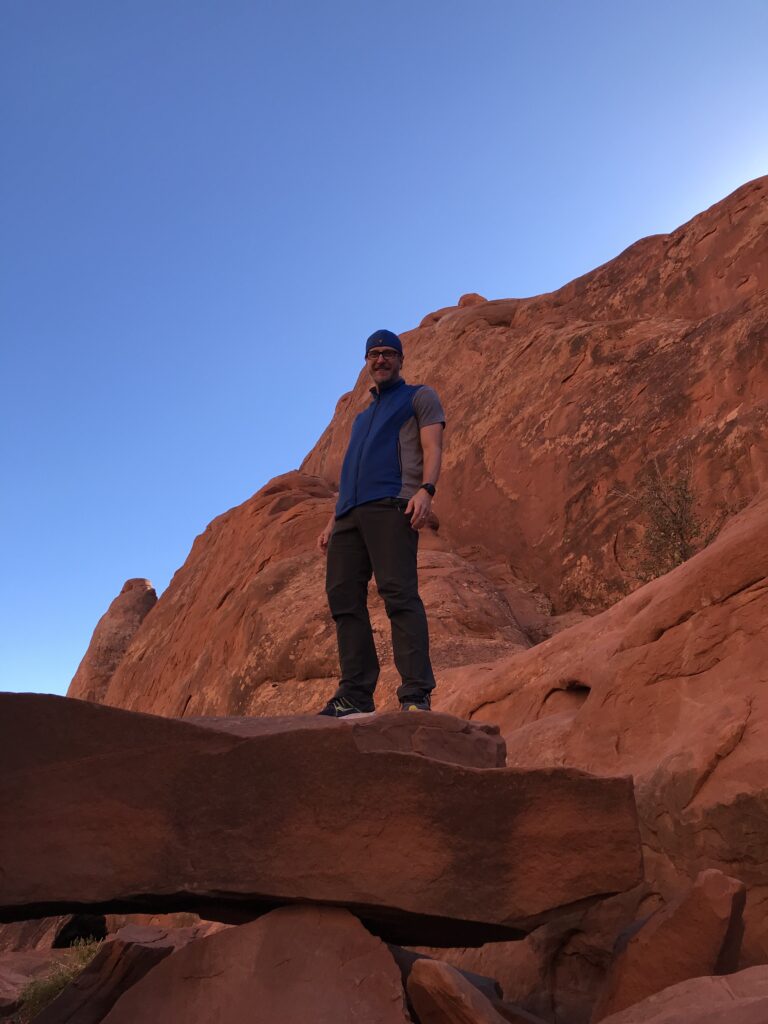
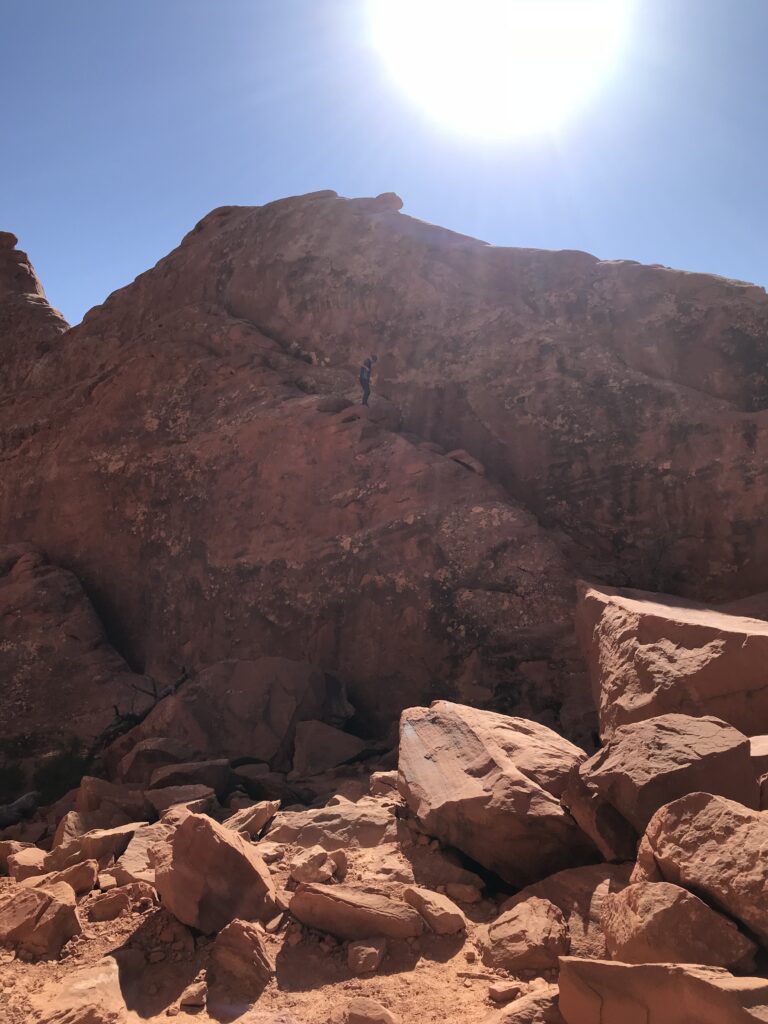
Even without the kids, you can find us climbing. I wonder where they get it from? Try to find the tiny Brad in the pictures below.
As always, I recommend checking out the Arches National Park Service website before you go for operating hours, alerts, information about road conditions, and other pertinent information. You don’t want to drive all the way to your destination only to find out that something is closed.
Next up in the Arches National Park tour is Devils Garden.


You May Also Like

How to Set Up Your Raspberry Pi 4

4Runner Dash Mount Install by ICS Fab