

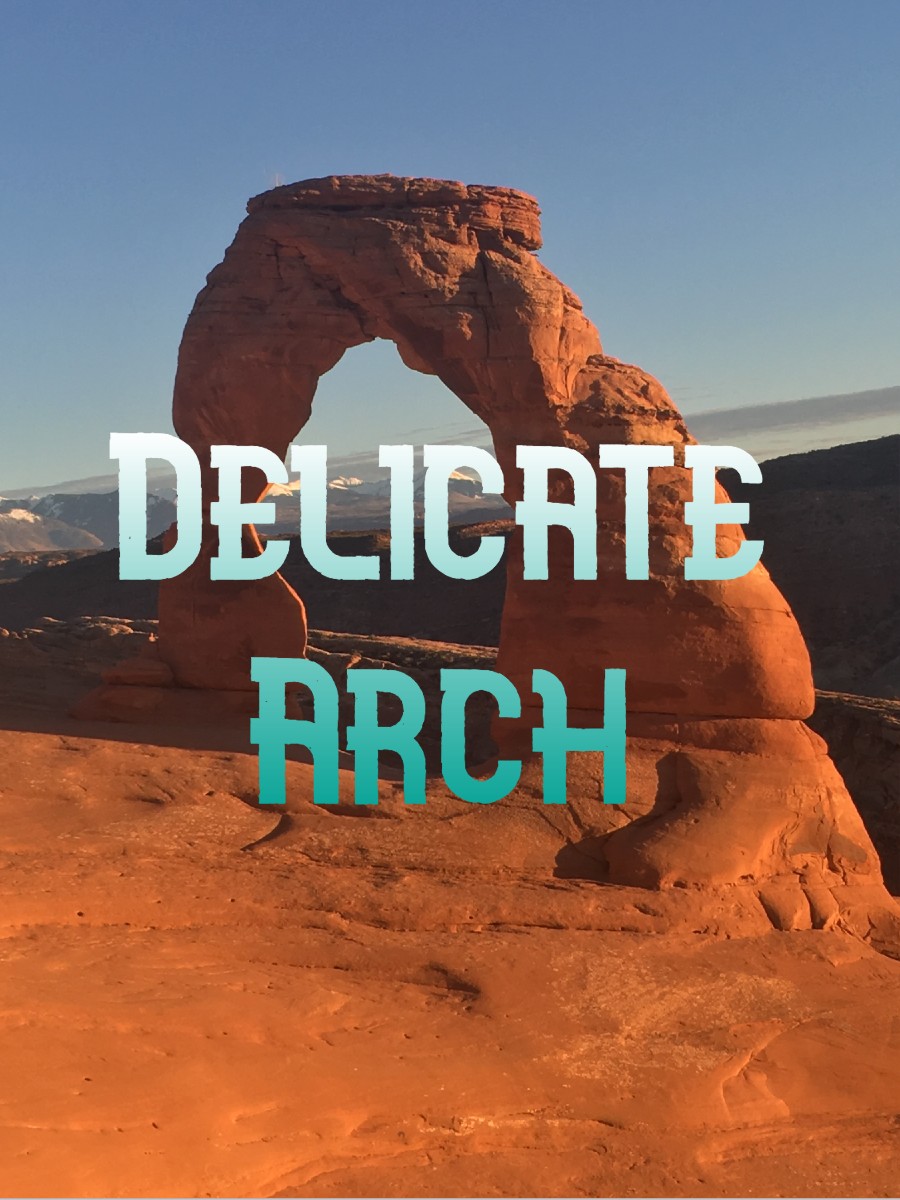
Delicate Arch

This post is a continuation of a series on Arches National Park. You can find the others by clicking on these links:
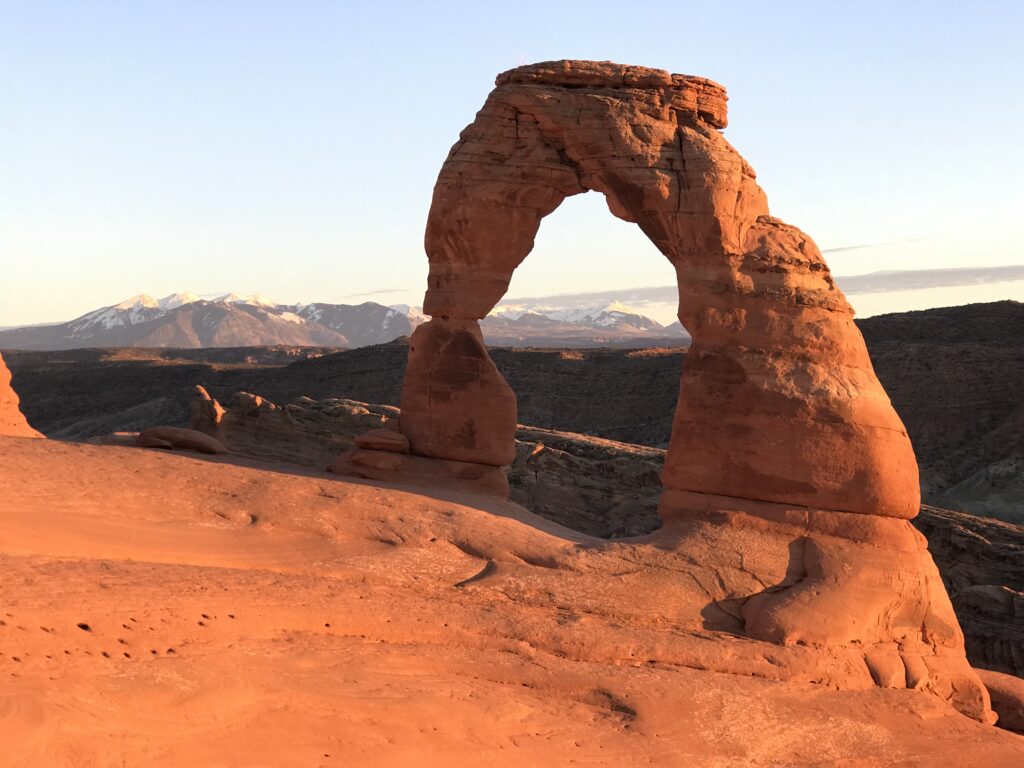
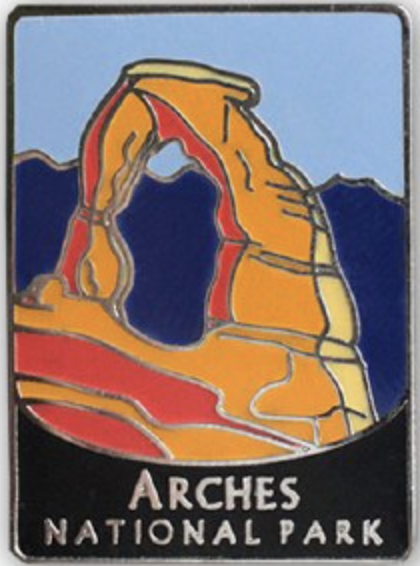
Delicate Arch is the world-famous, iconic arch of Arches National Park, and has become one of the state symbols of Utah. It’s the largest free-standing arch in the park and the one that has made it onto the Utah license plate.
Logistics:
- Distance: 3 miles (4.8 km) out and back
- Elevation: Approximately +760 ft (232 m)
- Difficulty: Easy/Moderate
- Facilities: Pit toilets and picnic tables
- Dogs Allowed: No
- Parking: At trailhead, overflow parking available 1/4 mile further down the road at Delicate Arch Viewpoint
Getting there: First Head to Arches National Park
You will need to pay an entrance fee, which is good for 7 days, or have an America the Beautiful Pass. There are also certain Fee Free days and did you know that 4th graders can get a free annual pass?
To get to our third destination, you continue down the main road further into the park. The Delicate Arch trailhead is 12.8 miles (20.6 km) past the Visitor Center. Once you drive past Panorama Point, look for a sign to turn right toward Delicate Arch. You can see the parking area marked below with the pink arrow.

To see this arch up close and personal, you need to get out of the car and hike. The trail is about 3 miles (4.8 km) round trip and climbs 480 feet (146m). It’s a little more strenuous that our hikes in Arches thus far but Delicate Arch is worth it!
If you’re not up for the hike, there are two viewpoints to see it from a distance. If you drive past the main parking area for about a mile, you will find another lot to access them. (This lot also serves as overflow for when the main one is full on busy summer days). The Lower Delicate Arch Viewpoint is completely level and you can walk 100 yards (91 m) to see the arch from one mile away. The Upper Viewpoint is a 0.5 mile (0.8 km) walk with stairs, but gives you a better view.
If you are up for the hike, here’s a map of our hike on Gaia GPS:
As always, I recommend checking out the Arches National Park Service website before you go for operating hours, alerts, information about road conditions, and other pertinent information. You don’t want to drive all the way to your destination only to find out that something is closed.
This hike is exposed and has almost no shade. Plan ahead and take plenty of water if you’re doing this in the summer. Also, having only been to Arches Nation Park in the fall, we haven’t experienced large crowds. I have heard you should expect a lot more people in the late spring and summer. Parking spaces may be limited if you don’t show up early.
The main Delicate Arch trail starts from Wolfe Ranch. As you start off from the parking lot, the trail begins as a gravel path that soon forks. The main trail heads toward the right. The left is a short option to see the ranch built in the early 1900’s by John Wesley Wolfe. Can you imagine living out here before anyone else had settled the area? You can read more about it here.

A little further up the path, there is another option to turn left before heading up to the arch. This is a short loop that passes petroglyphs made by ancestral Puebloans. I recommend taking this side trip, either on your way out or back from Delicate.
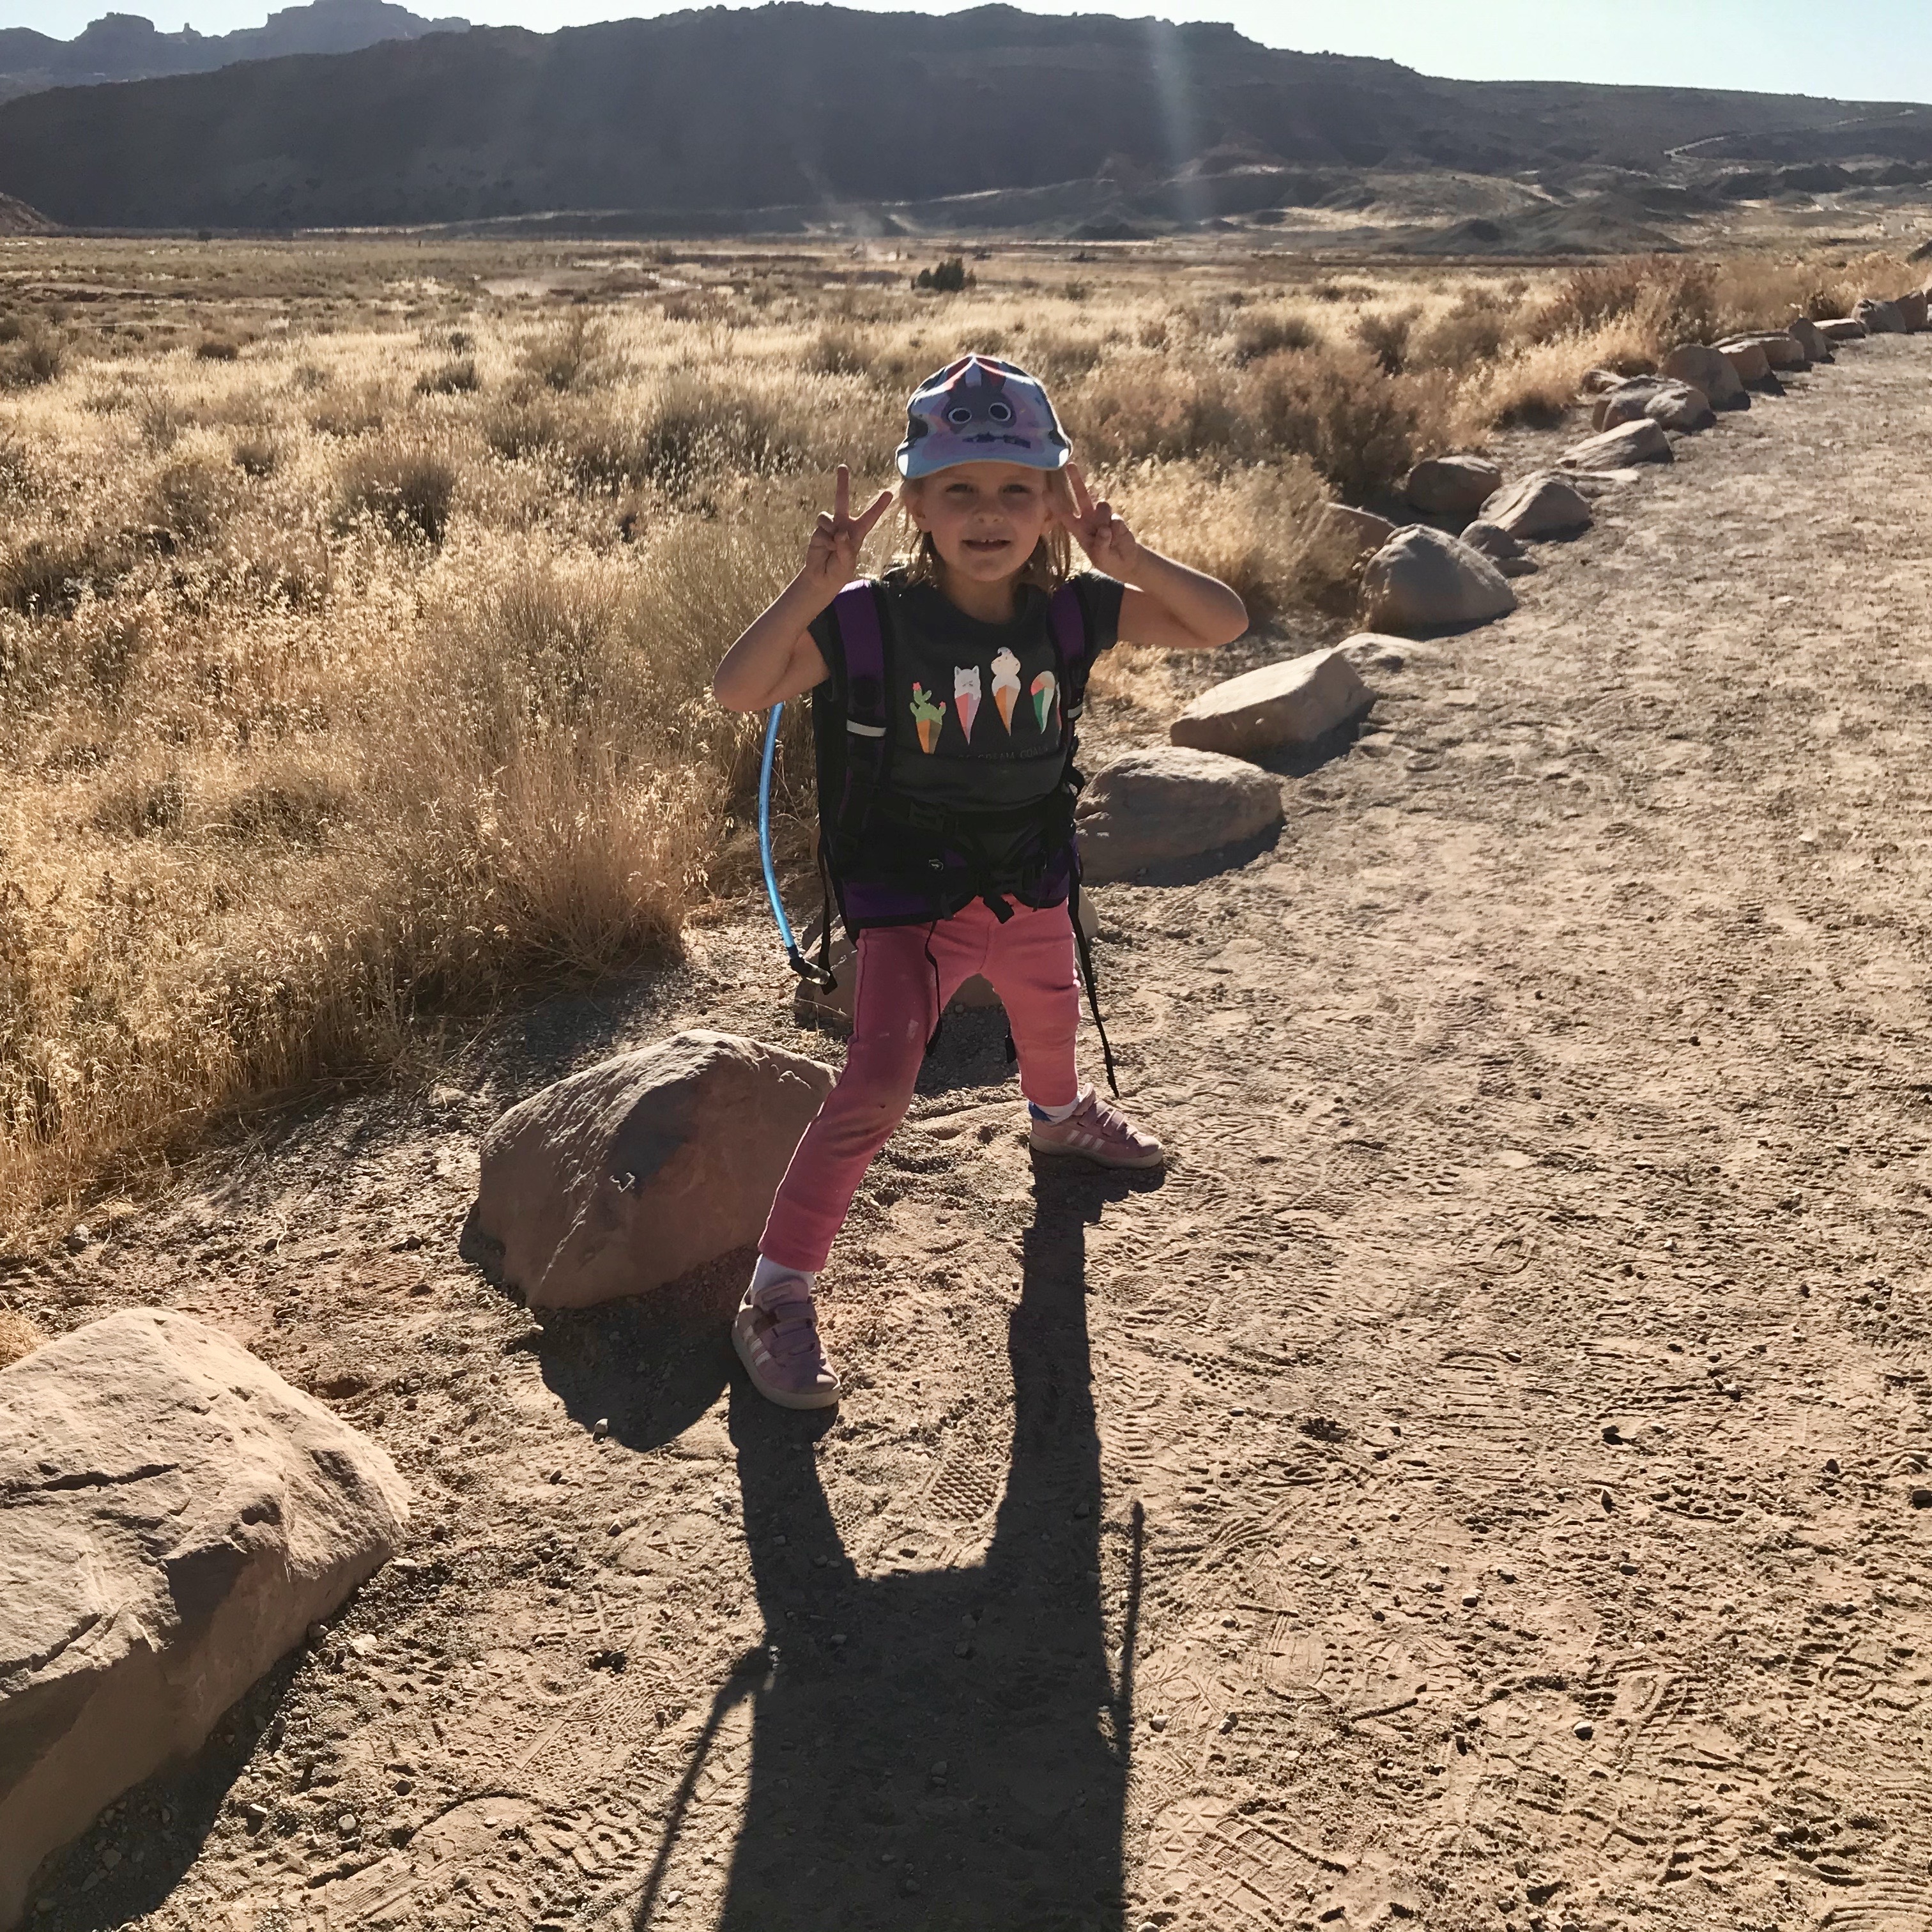
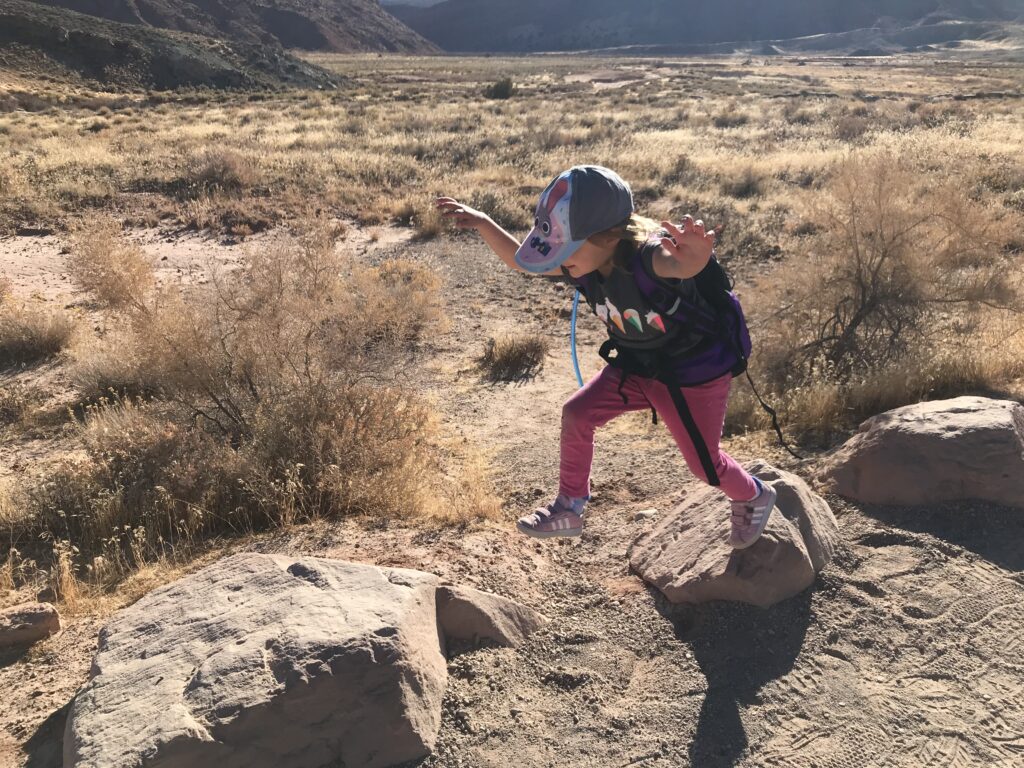
Until you pass the ranch and the rock art panel loop, the trail is an easy gravel path. If you feel the need to make it more challenging, you can pretend the gravel is lava and only jump on the rocks that border it.


Once you pass the second turn-off for the petroglyph loop, the path begins to become more of a trail. It meanders up and down for a bit before beginning to climb.

Eventually, the “trail” moves up onto the slickrock and you watch for the signs to know which way to go. Here’s a little help figuring them out:
The slickrock portion of the trail is uneven so watch your step.

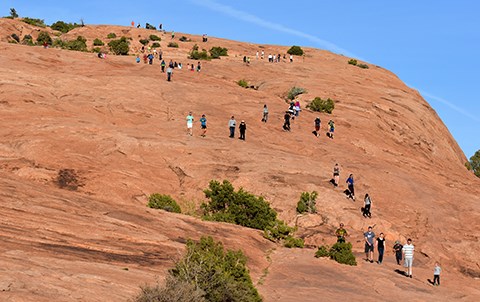
I promise to get more photos of the trail on our next trip to give you a better idea of what this section like. Here’s one from the National Park Service that gives you an idea of the climb. Click on the image to link to their site with even more information.
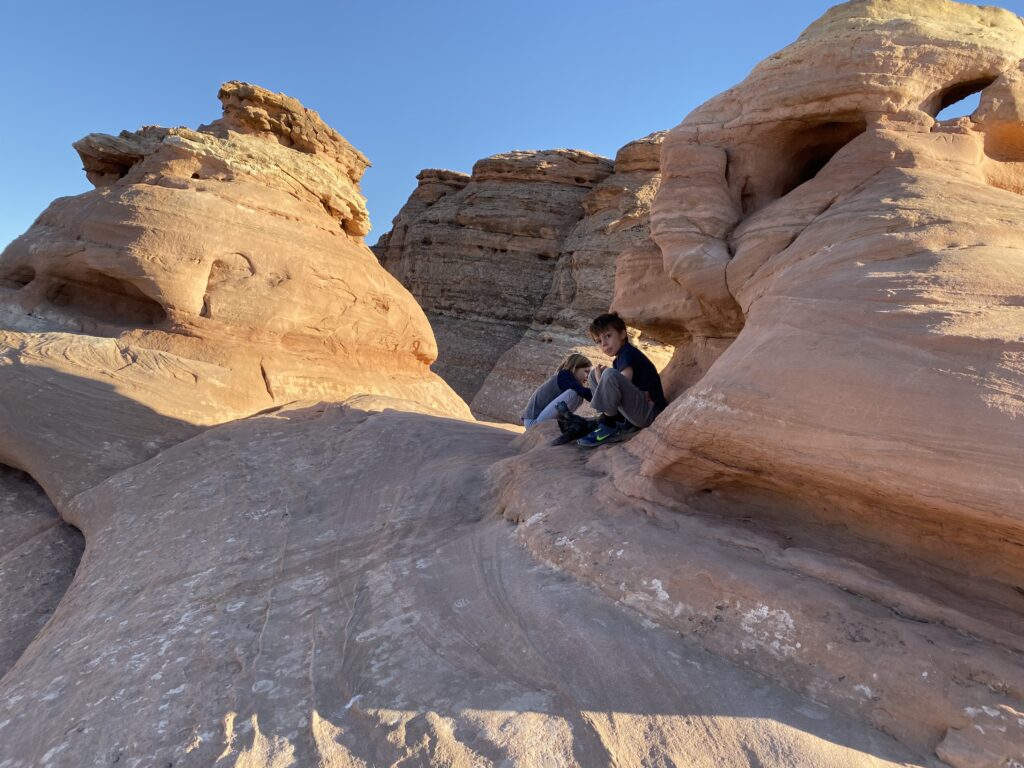
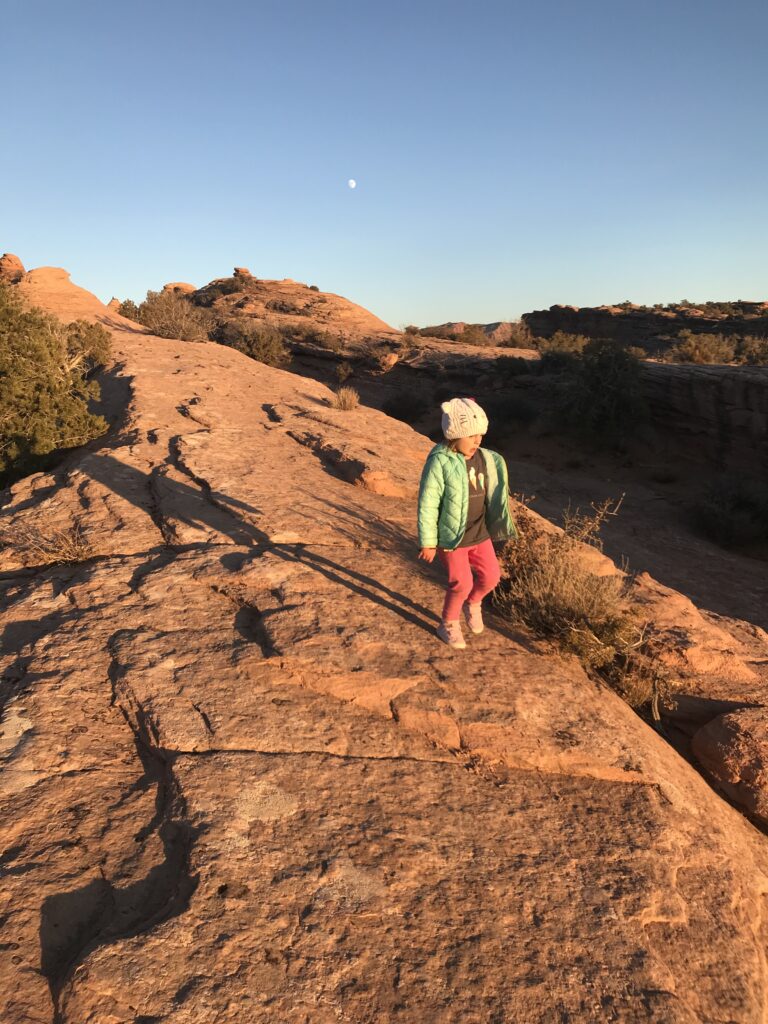
There are plenty of places to practice your bouldering skills as you head up. Make sure to bring your older brother, though, to help you get down if you need it.


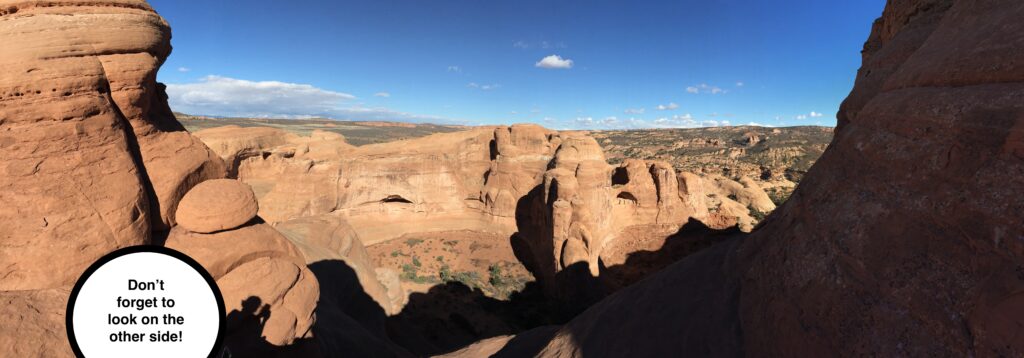
You won’t see much of the arch on the way up, but just before you get there, there’s a short climb up to a window where you can sneak a peek. The view of the arch and the bowl beneath it are great from up here, all with the gorgeous La Sal mountains in the backdrop.
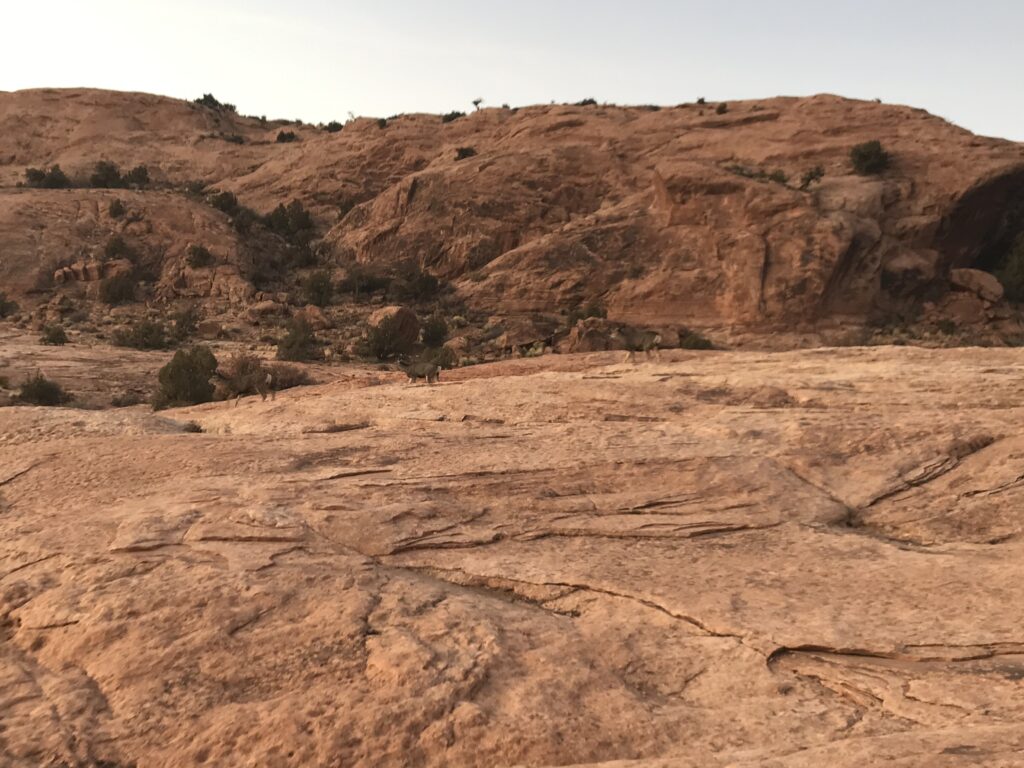
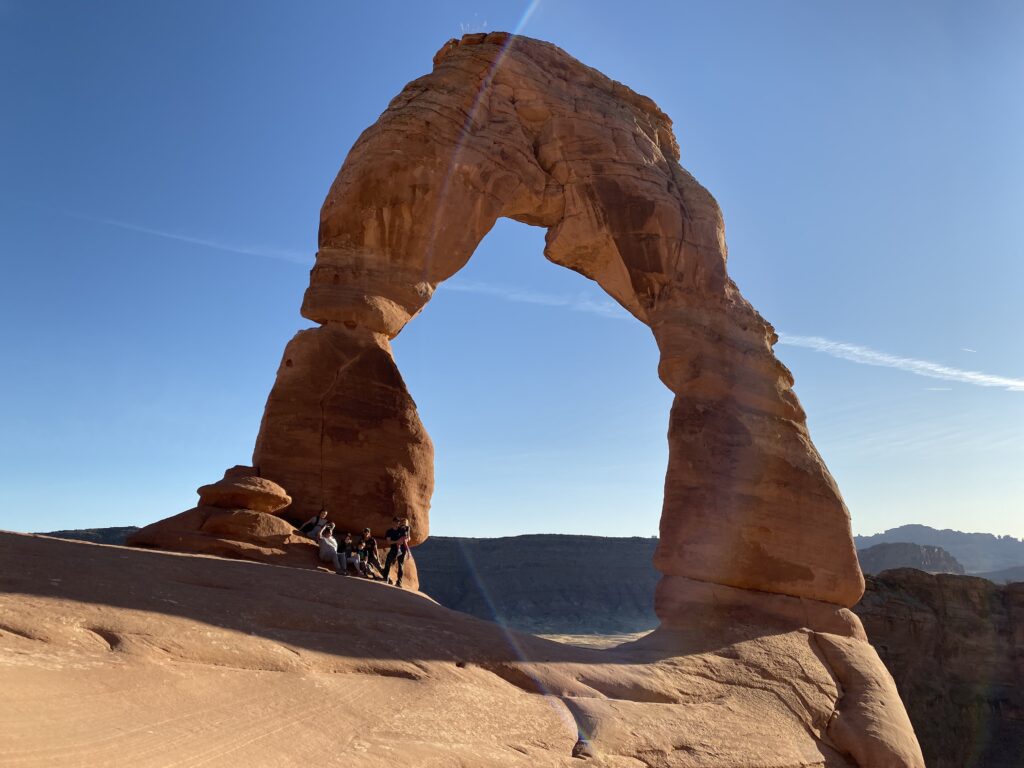
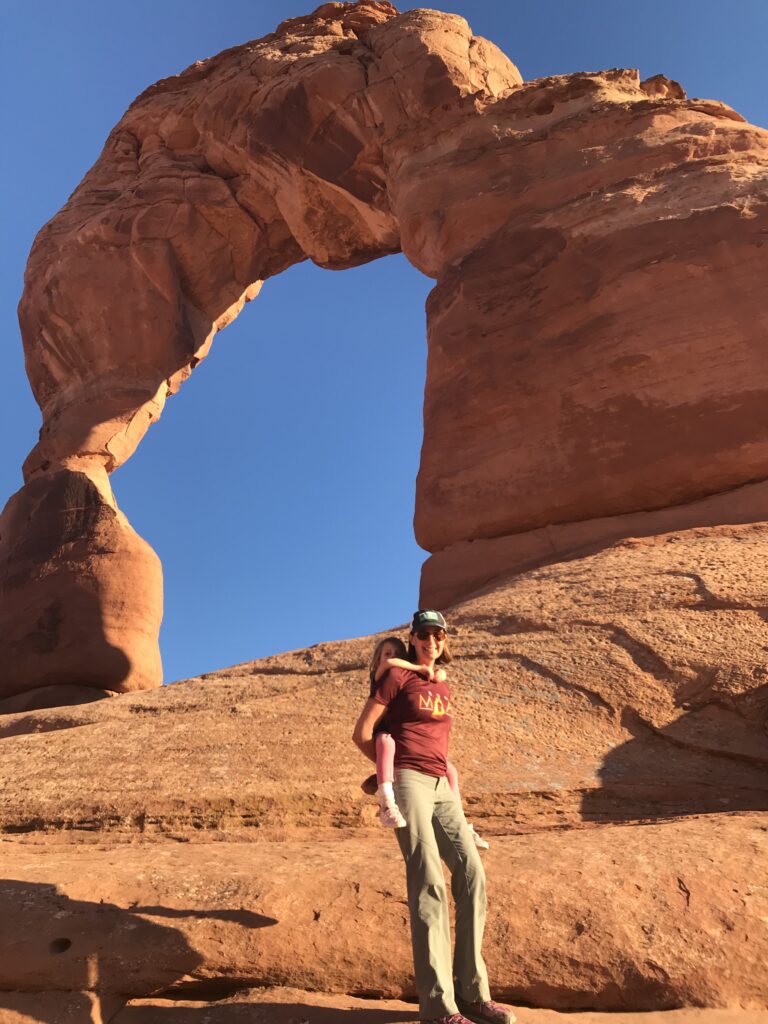
Finally, you will come around the last bend and you will see that all of this climbing has been worth it.
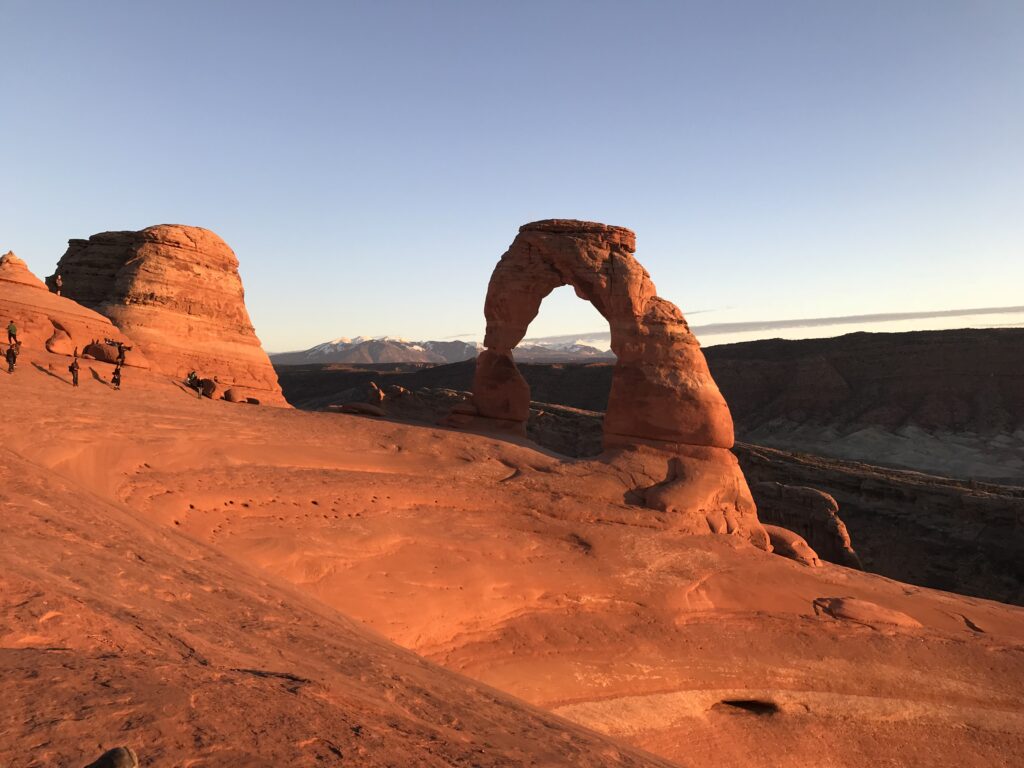
It’s bigger than you might expect. Look at all the tiny people!

To get from the trail to under the arch, you will cross the top of the “bowl”. Watch your step here and try not to drop anything as it might roll own into the bottom. Ask Brad about the time he scrambled down there to find a camera lens cap for us.

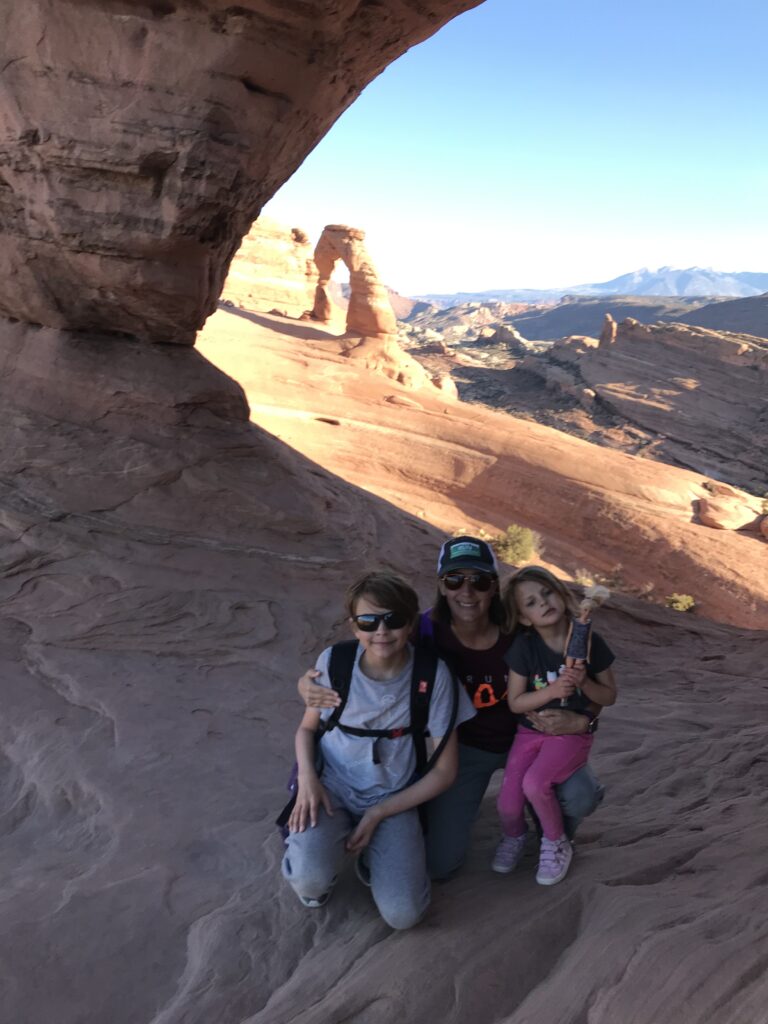
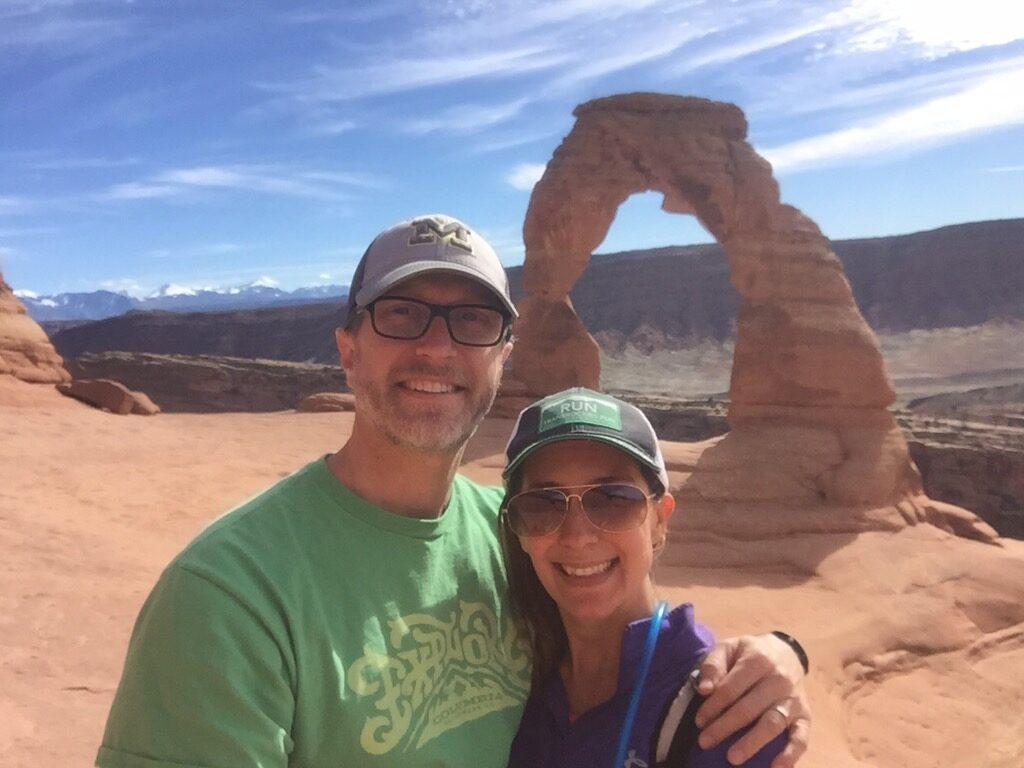
We took many, many photos up here. Here’s a sampling:
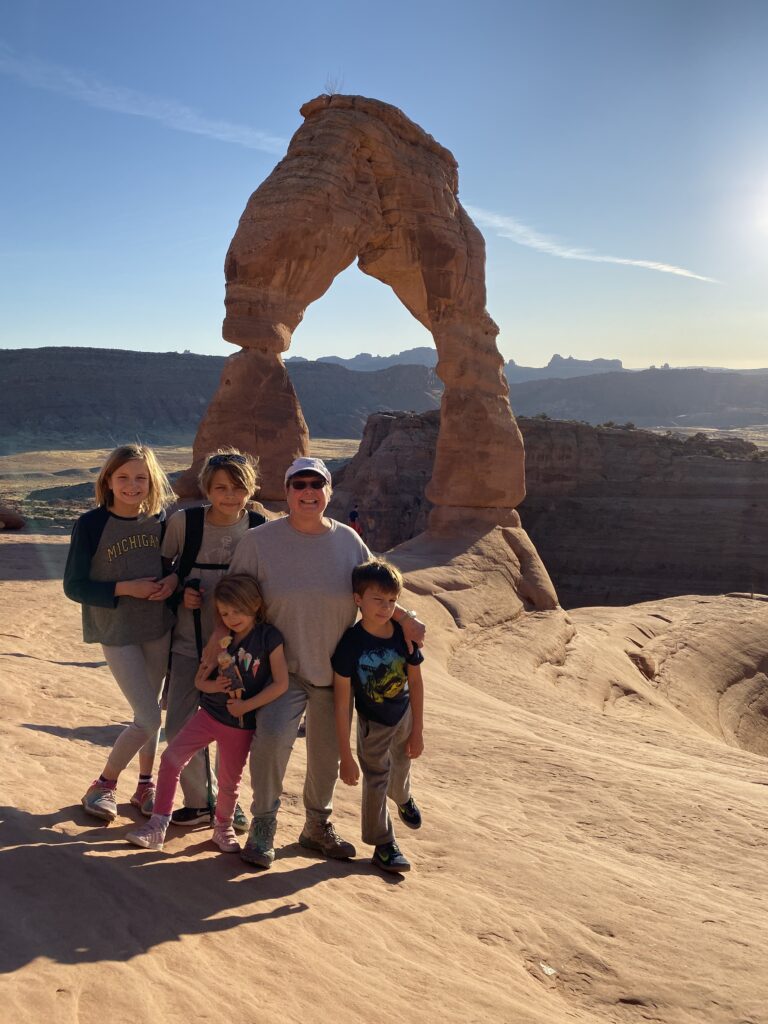


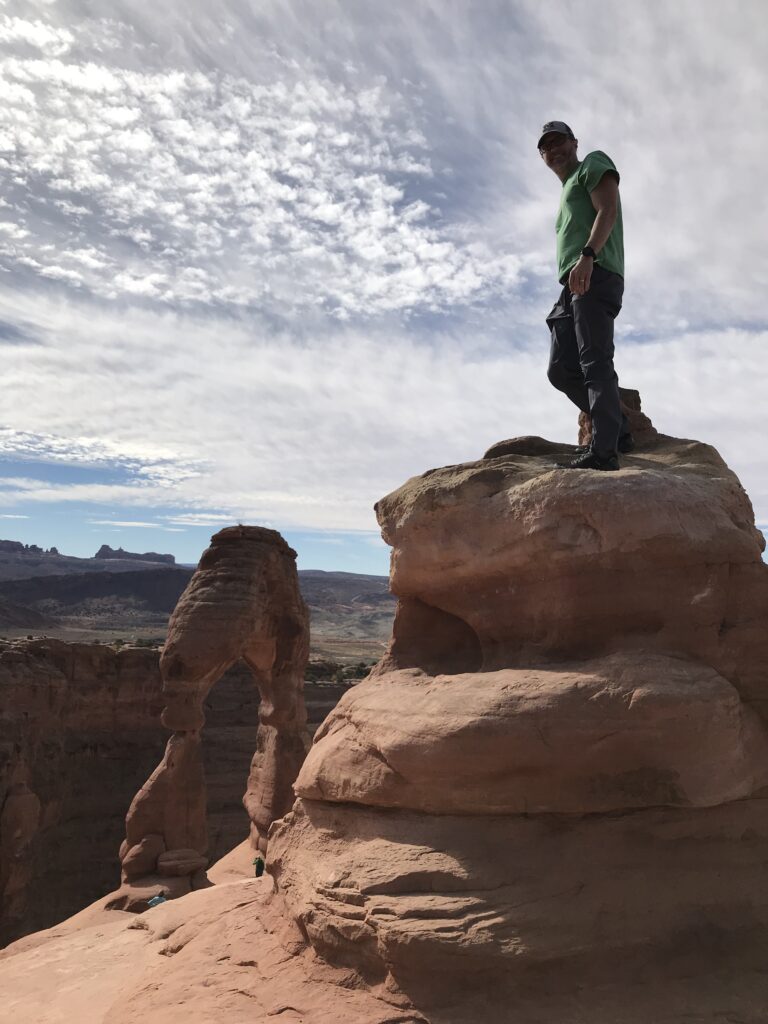
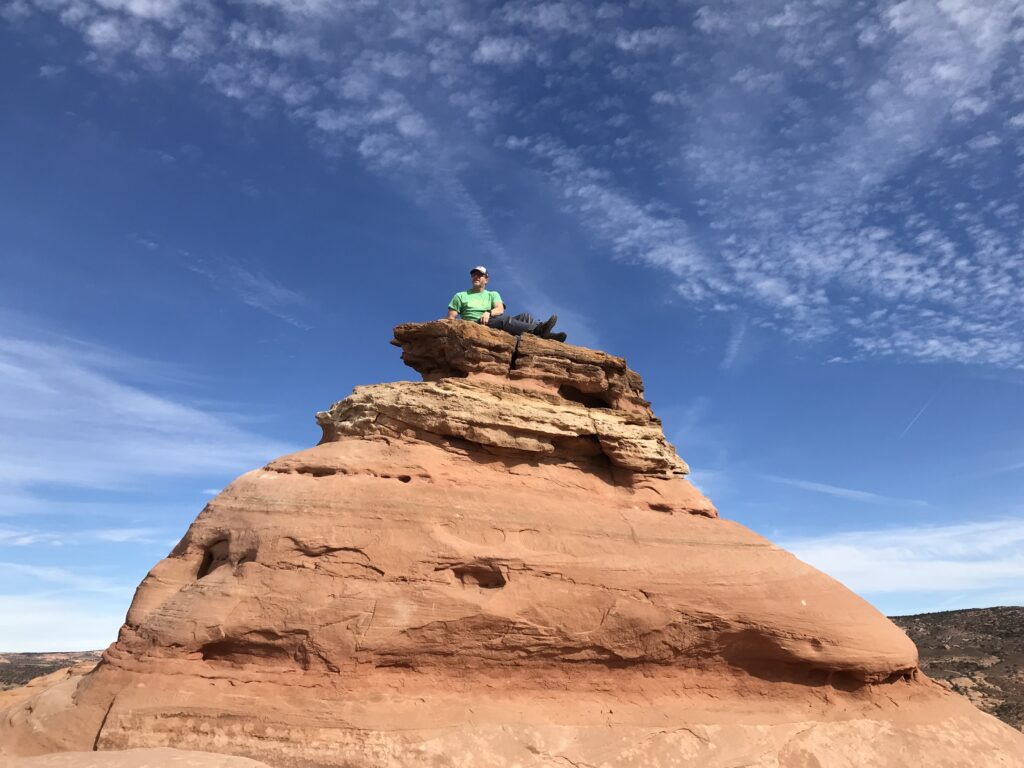
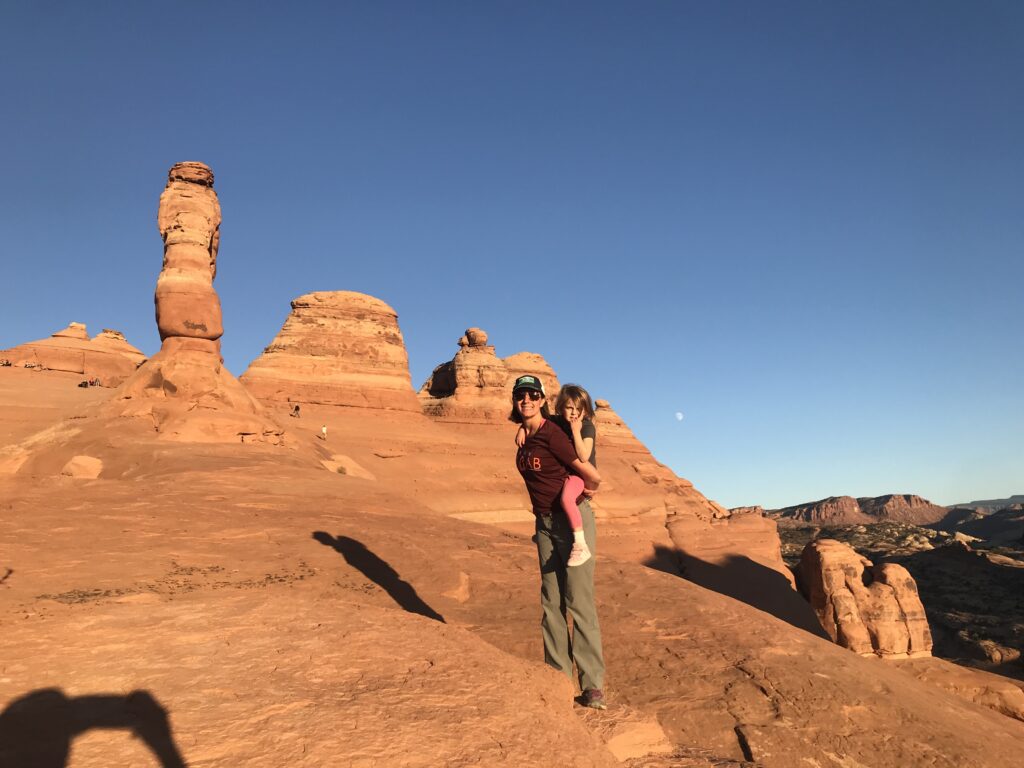
Delicate Arch is amazing but don’t forget to look around. There is a lot to see up here! Take a look behind you while you’re waiting your turn for your photo op.

There are plenty of places to explore but be careful of the drop offs!

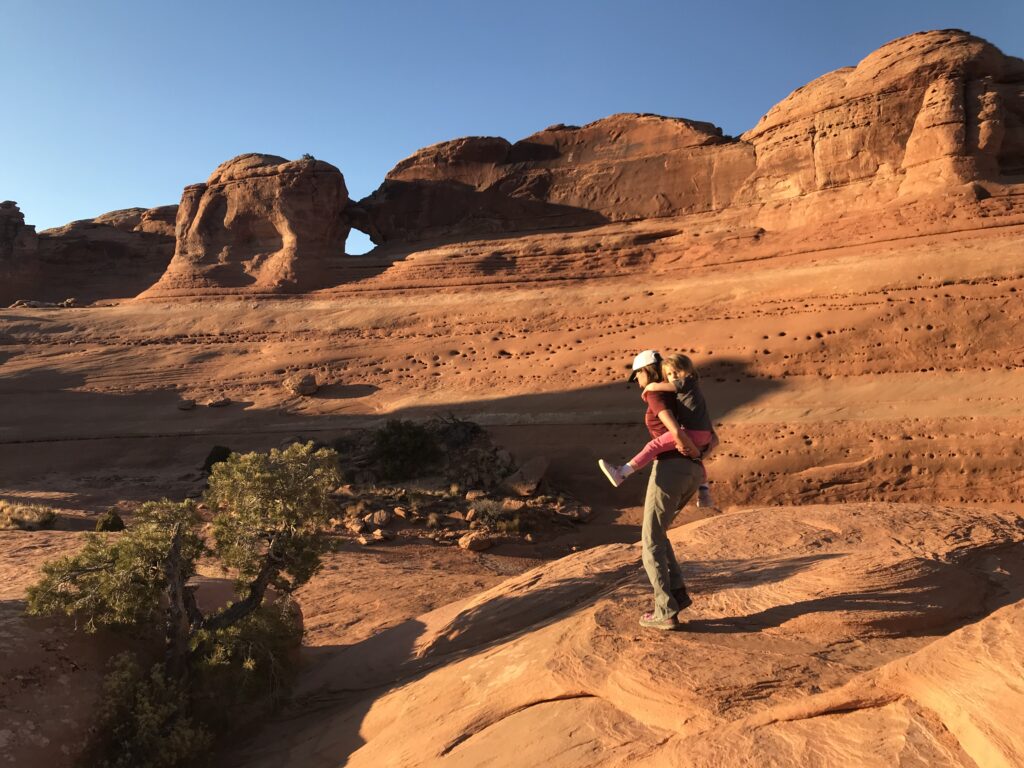
When you’ve had your fill, or at least realized that you need to head back, there are two options for getting to the start. You can either go back down the way you came up, or you can walk down past the arch on the other side of the bowl. Warning – this way is more dangerous!

A post about this area would’t be complete without me reminding you to hike only on washes or slickrock. The desert floor contains cryptobiotic crust that is extremely fragile. One step will kill it. It’s alive, protects the desert, and may take decades to recover, if ever, once destroyed by human footprints.


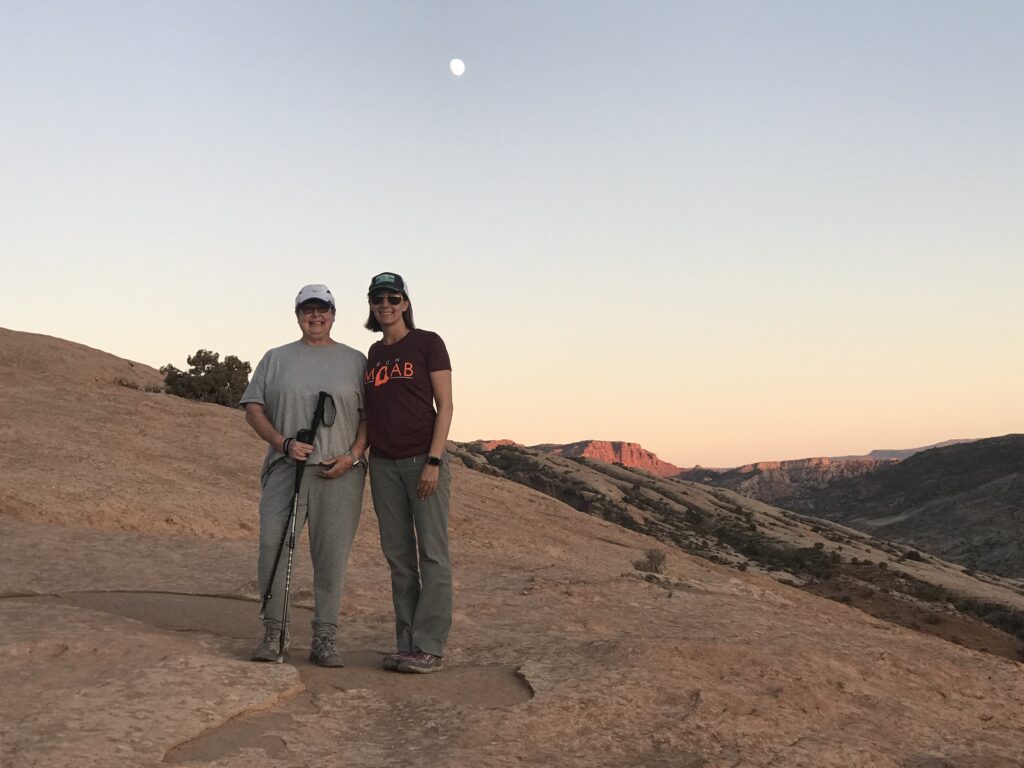
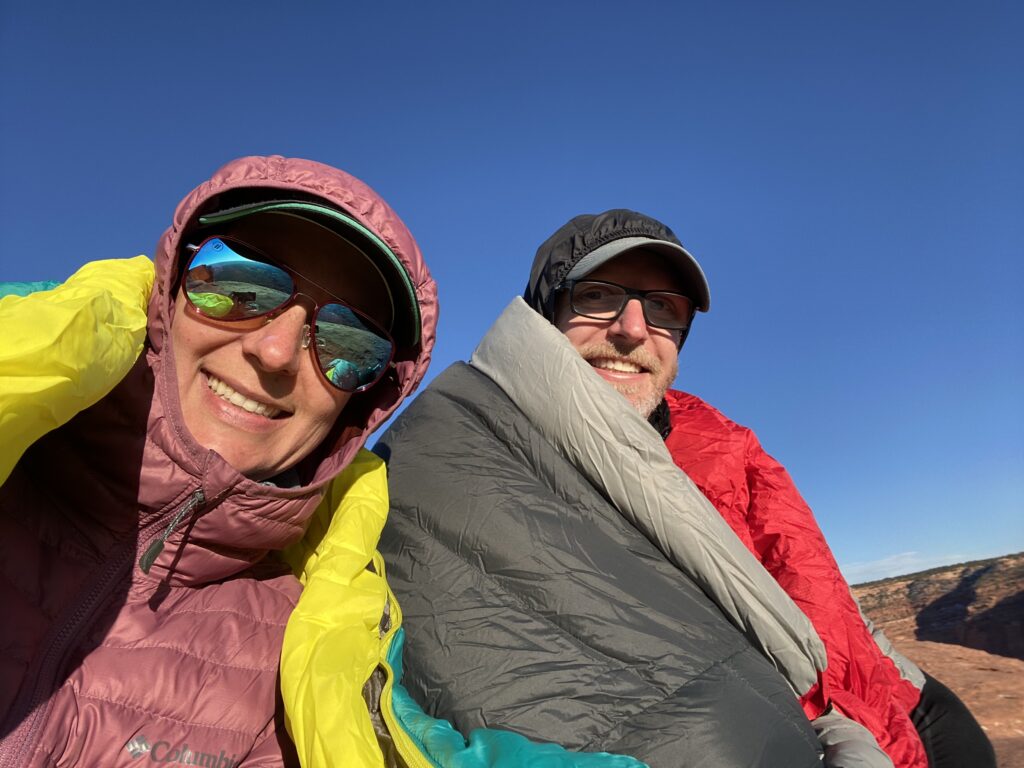
If you just can’t get enough of Delicate Arch during the day, another way to see it is under the stars. Brad and I were lucky enough to share this experience with our friend, Melissa Lipton, one year. We hiked up at sunset and waited until full dark to see the the arch with the Milky Way as its backdrop.
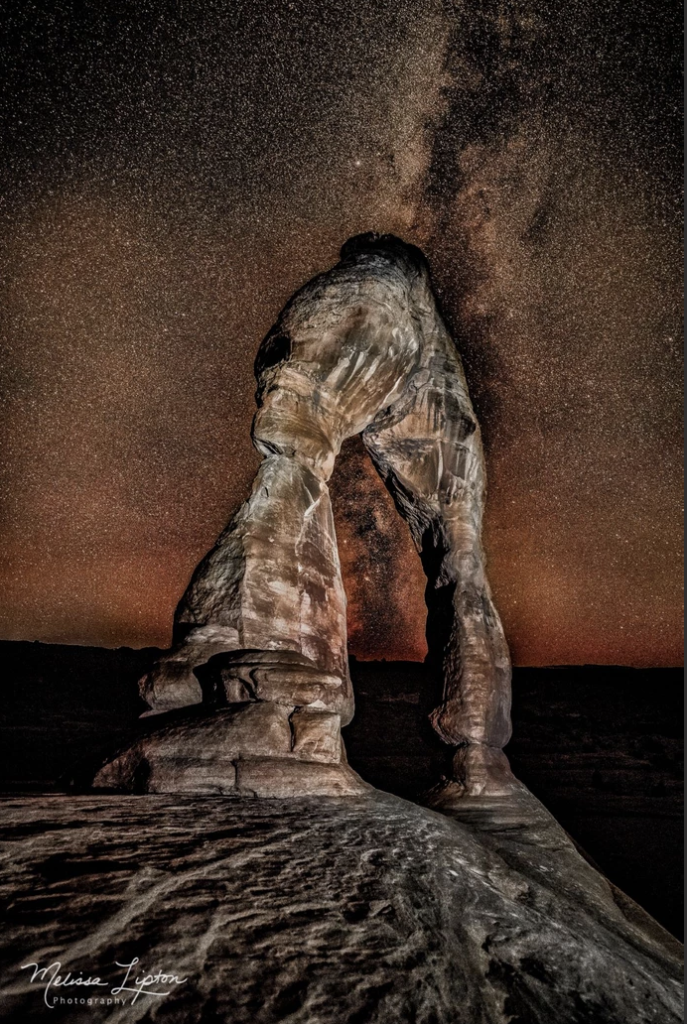
You can see the shot in more detail, along with more of her stunning photography by clicking on the image or on her website here. I do not receive any commission. This is just me sharing an opinion about an amazing photographer whom I respect and admire.
You can also wait in your warm car and hike up later in the dark. Don’t forget your headlamps and extra batteries. One of the reasons this place is so spectacular is because it gets so dark you can really see the stars! I’d also recommend you bring warm layers if you’re going at night. The desert temperature drops fast out here.
I don’t think a trip to Arches National Park would be complete without a visit to see Delicate Arch. We head up there every time we visit just to say hello.
Next up in the Arches National Park tour is Sand Dune Arch.


You May Also Like

Indoor Swing
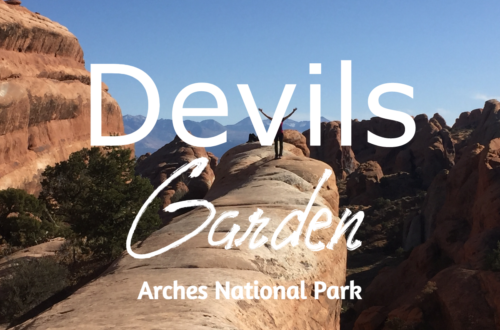
Devils Garden and the Primitive Trail Loop – Arches National Park