
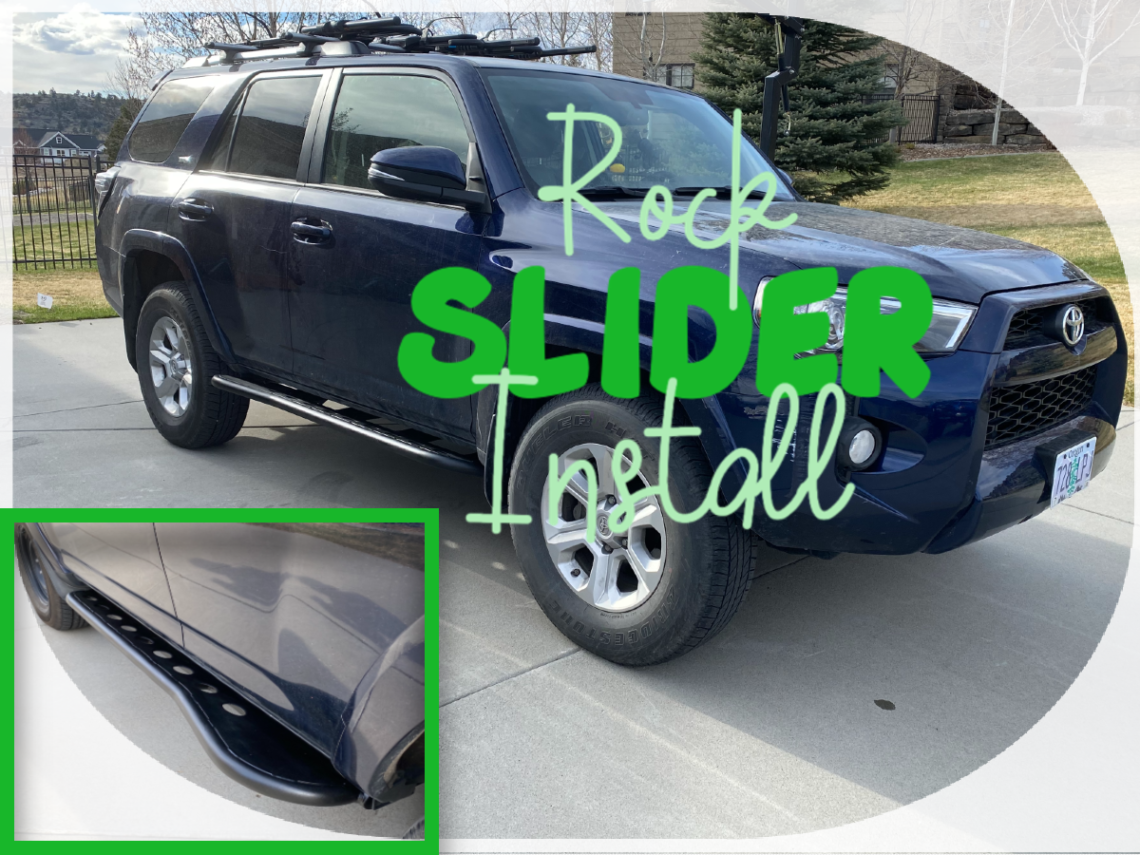
DIY RSG Metalworks Rock Slider Painting and Install
How to prepare, paint, and install RSG Metalworks rock sliders for the 5th Gen Toyota 4Runner (without KDSS)
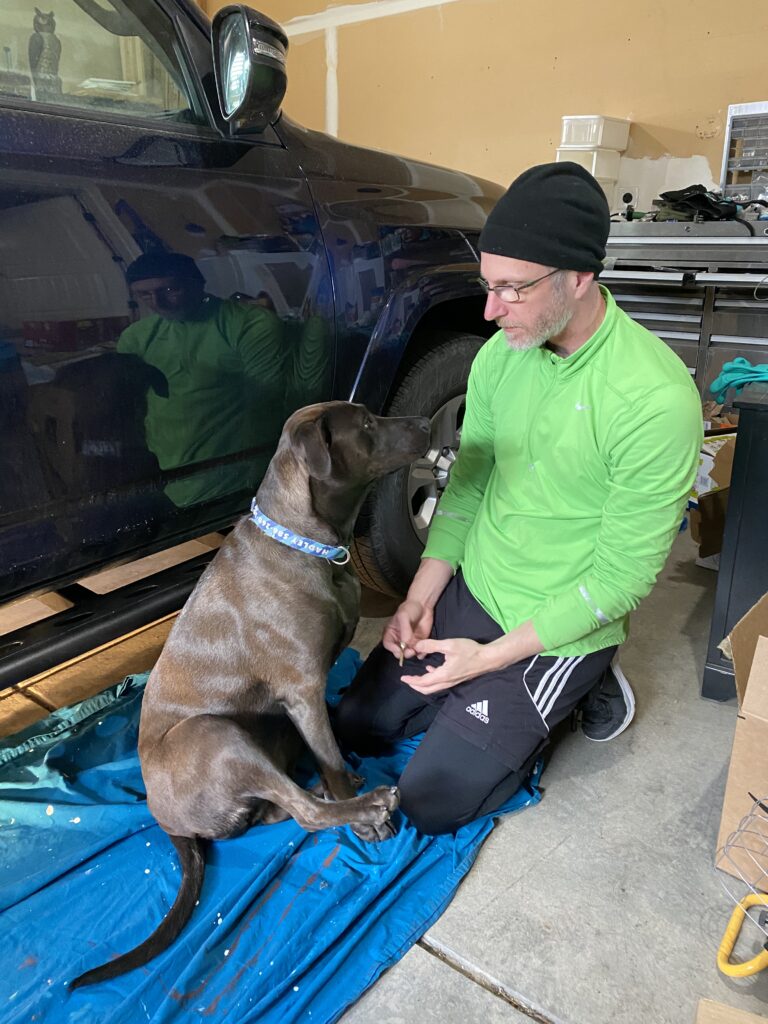
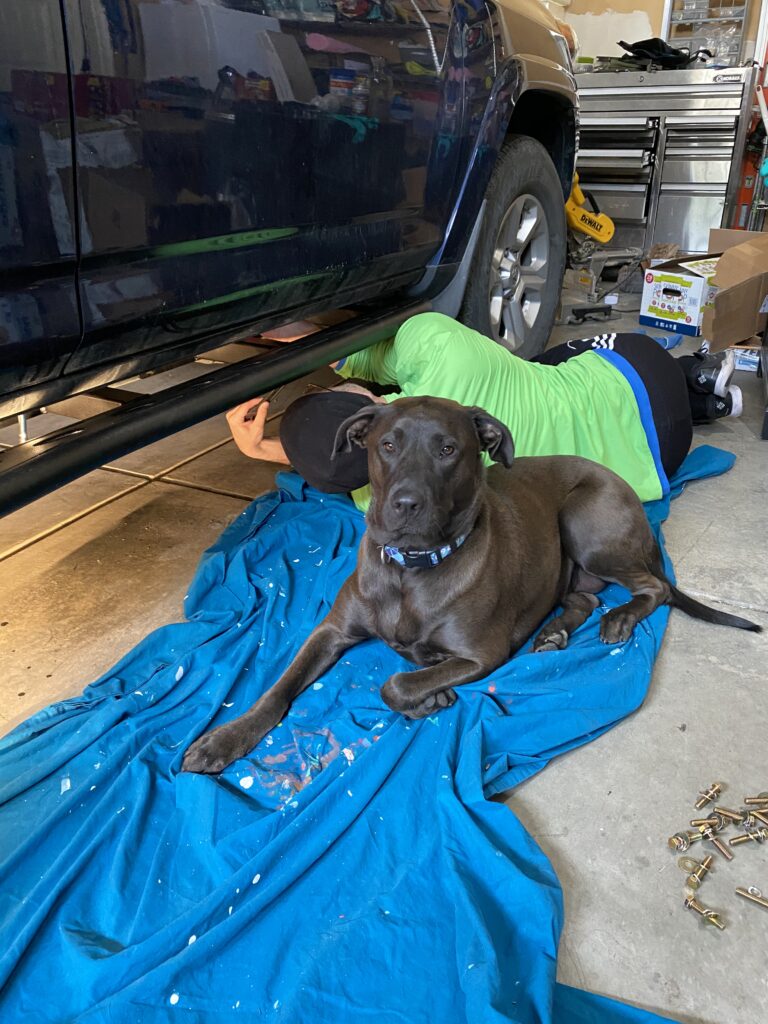
One of the projects we worked on this week was 4Runner protection. I’d like to say a huge thank you to my amazing husband, Brad, who helped with the install. I don’t think I would have been able to get it done without his using a chunk of his day off to help. I also should thank our dog, Hadley, who attempted to help. She kept trying to crawl under the car with us and give moral support.
I ordered the RSG rock sliders about a month ago after a lot of research. Who knew there could be so many options and brands for something you don’t often think about on your car? Rock sliders were on our definite list of mods because we travel to rocky places like Moab quite a bit. Even though I don’t see us taking on major rock-crawling, we often drive in places where our rocker panels are in danger.
One feature I wanted, besides being rock solid protection, was that they bolt on and not require any welding, cutting, or drilling into our 4Runner. Having as much ground clearance possible was another thing high on my search list. I’d like to try to avoid actually using the sliders after all. Beyond that, sliders with an option of a step plate would be nice for our aging dog. He’s almost 100 pounds and finding it harder all the time to jump to higher places. Lastly, if all other features were equal, I’d go for the lowest weight option. We might as well save as much gas as we can.
See the RSG Metalworks Rock Sliders in Action
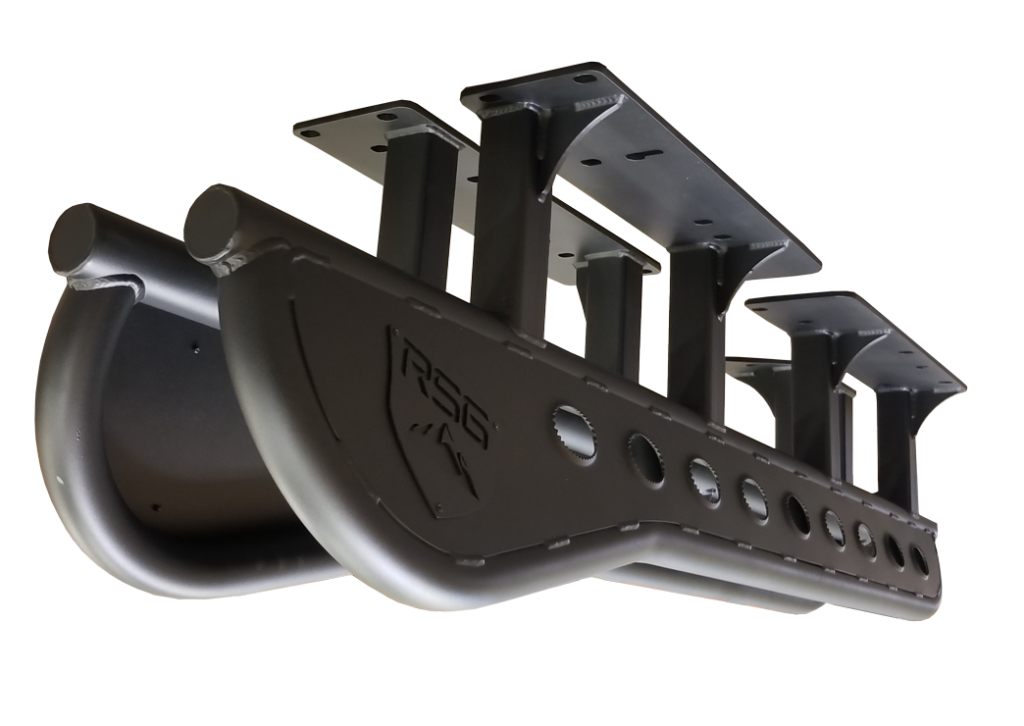
2010+ Toyota 4Runner Angled Sliders With Grip Top Plate Specs:
– Works with KDSS or NON-KDSS vehicles
** Limited edition 4runners require the removal of the XREAS system and rocker trim or have it replaced with TRD off road rocker trim from Toyota.**
– Standard rear kick out
– 2″ Main tube for increased strength
– 1/4″ Mounting plates
– Stronger 4 leg design
– Bolts to factory mounting locations on frame with supplied hardware
– Approximately 100 pounds per set
– Available bare metal or powder coated
Having a choice for bare metal over powder coating was a nice option. Powder coating looks amazing but I wondered if it would be harder and more expensive to touch up if we do end up scraping them.
Supplies:
Painting:
- RSG Metalworks 5th Gen Toyota 4Runner rock sliders (We chose angled with top plate and kick-out)
- This install is for the 4Runner without KDSS (Kinetic Dynamic Suspension System). The RSG Metalworks sliders work with KDSS as well. However the installation will require a few extra steps not covered in this tutorial.
- Rust-Oleum Self Etching Primer ( I used _ cans)
- Rust-Oleum Truck Bed Coating Spray (I used _ cans)
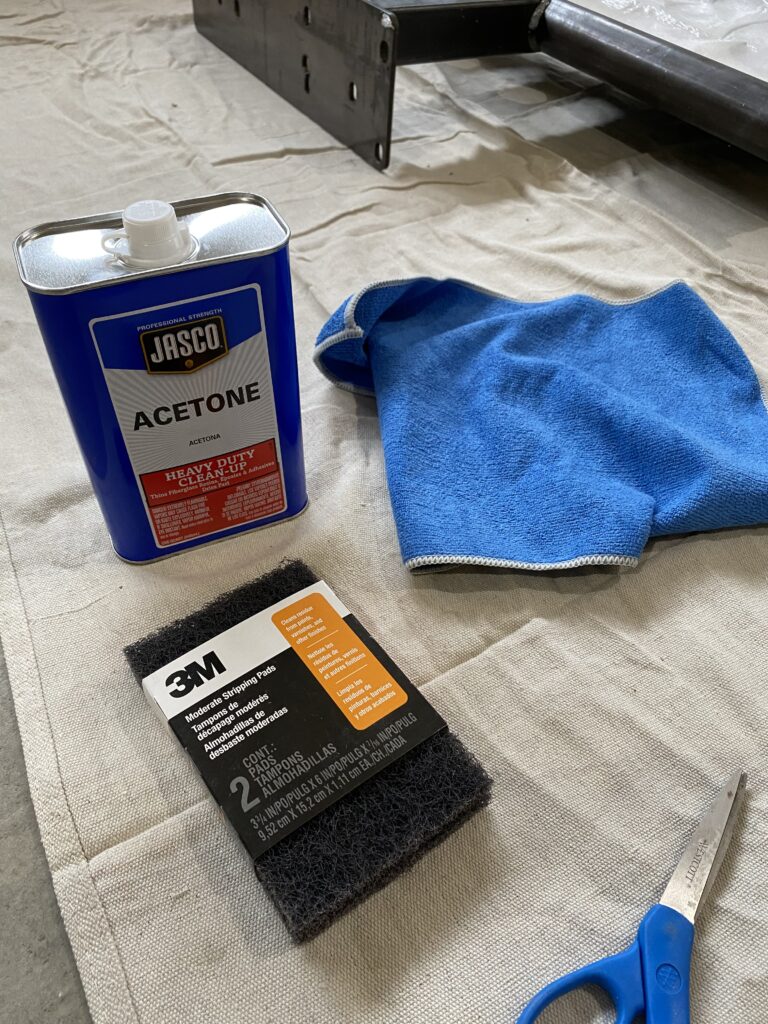
- Stripping pads, wire brushes, or whatever you want to use to scrub off rust
- Quick evaporating cleaner, like acetone
- Microfiber cloths
- Gloves
- Painting mask for fumes (These paint odors are strong!)
- Eye protection
- Drop cloths
- Old clothes
- Good ventilation
Installing:
- 12mm and 13mm socket wrench (Having one with a small head will help)
- We don’t have this wrench but I think it would have made the project a lot easier
- 13mm wrench
- A friend to help lift the sliders into position, jacks, or a stack of boxes and some muscle
- A light to help you see the bolt holes under the vehicle
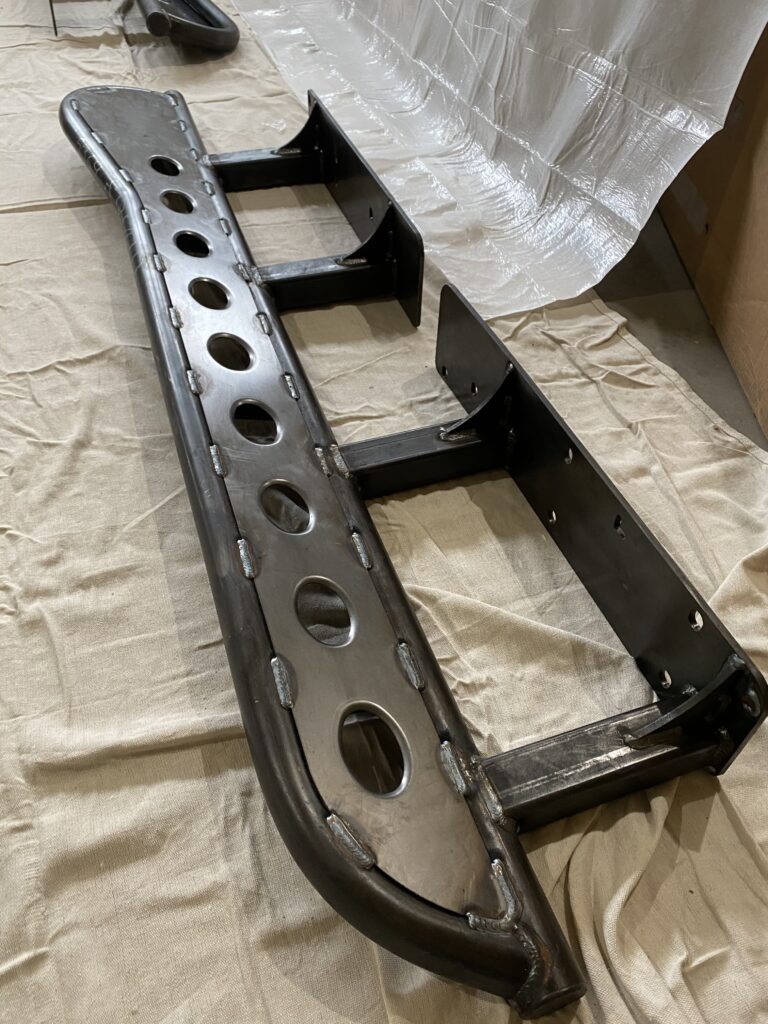
Step 1: Prepare the metal by removing rust and oils
Bare metal rusts quickly. Even if you order your slider brand new, they will likely have started rusting around the welded areas by the time they arrive. Try not to touch them with your bare hands as the oils from your skin will speed up the rusting process.Ours came nicely wrapped for protection during shipping. I wore gloves when unwrapping and working with them so as not to start any new rust formation.
Before adding primer, remove any rust that has already formed on your new sliders. Use a wire brush or brillo pad type of cleaner to scrub off the existing rust. Look especially around the welded joints as this is where you’ll likely find it. Next, use a quick evaporating cleaner like acetone to clean off the metal shavings you’ve created, as well as any oil the manufacturer put on them for protection during shipping.
Keep cleaning them until they are nice and shiny. Don’t forget to keep on those gloves so you don’t create new rust as you work.
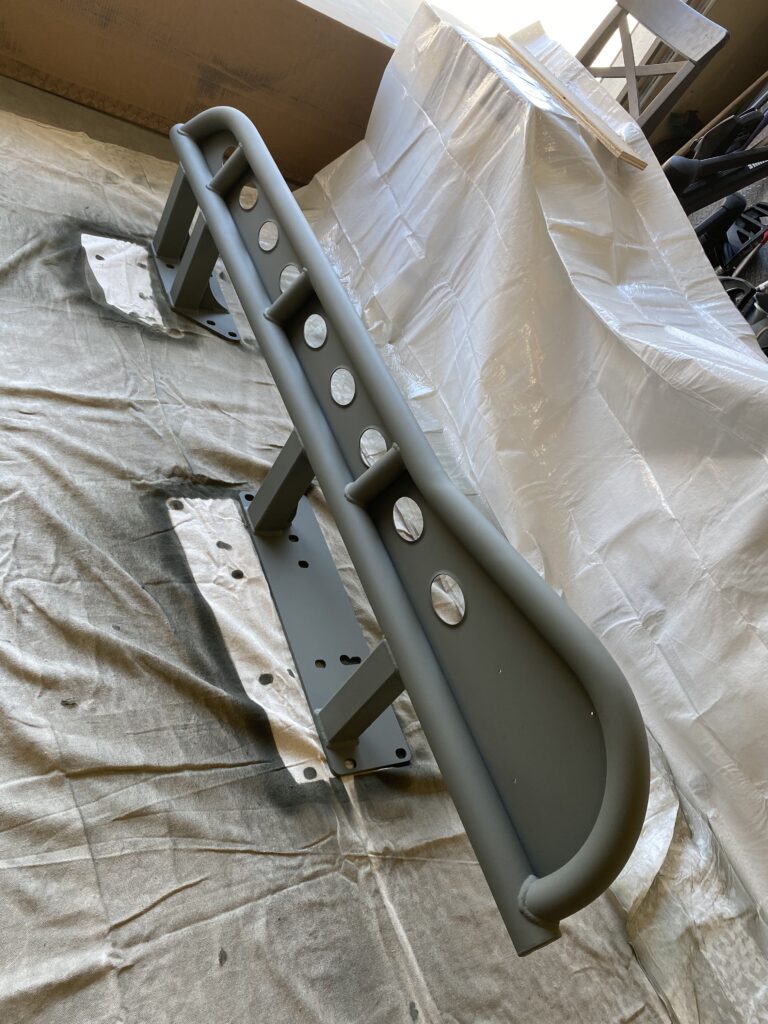
Step 2: Add primer
Spray your chosen primer on the rock sliders as soon as you can after removing any rust and cleaning them. You want to get it on there before any more rust can form so that you don’t have to repeat the cleaning process all over again. We used Rust-Oleum Self Etching Primer. I added two coats and left them to dry overnight. If you have a nice, non-windy day, I recommend doing this step outside. These paint fumes are strong!
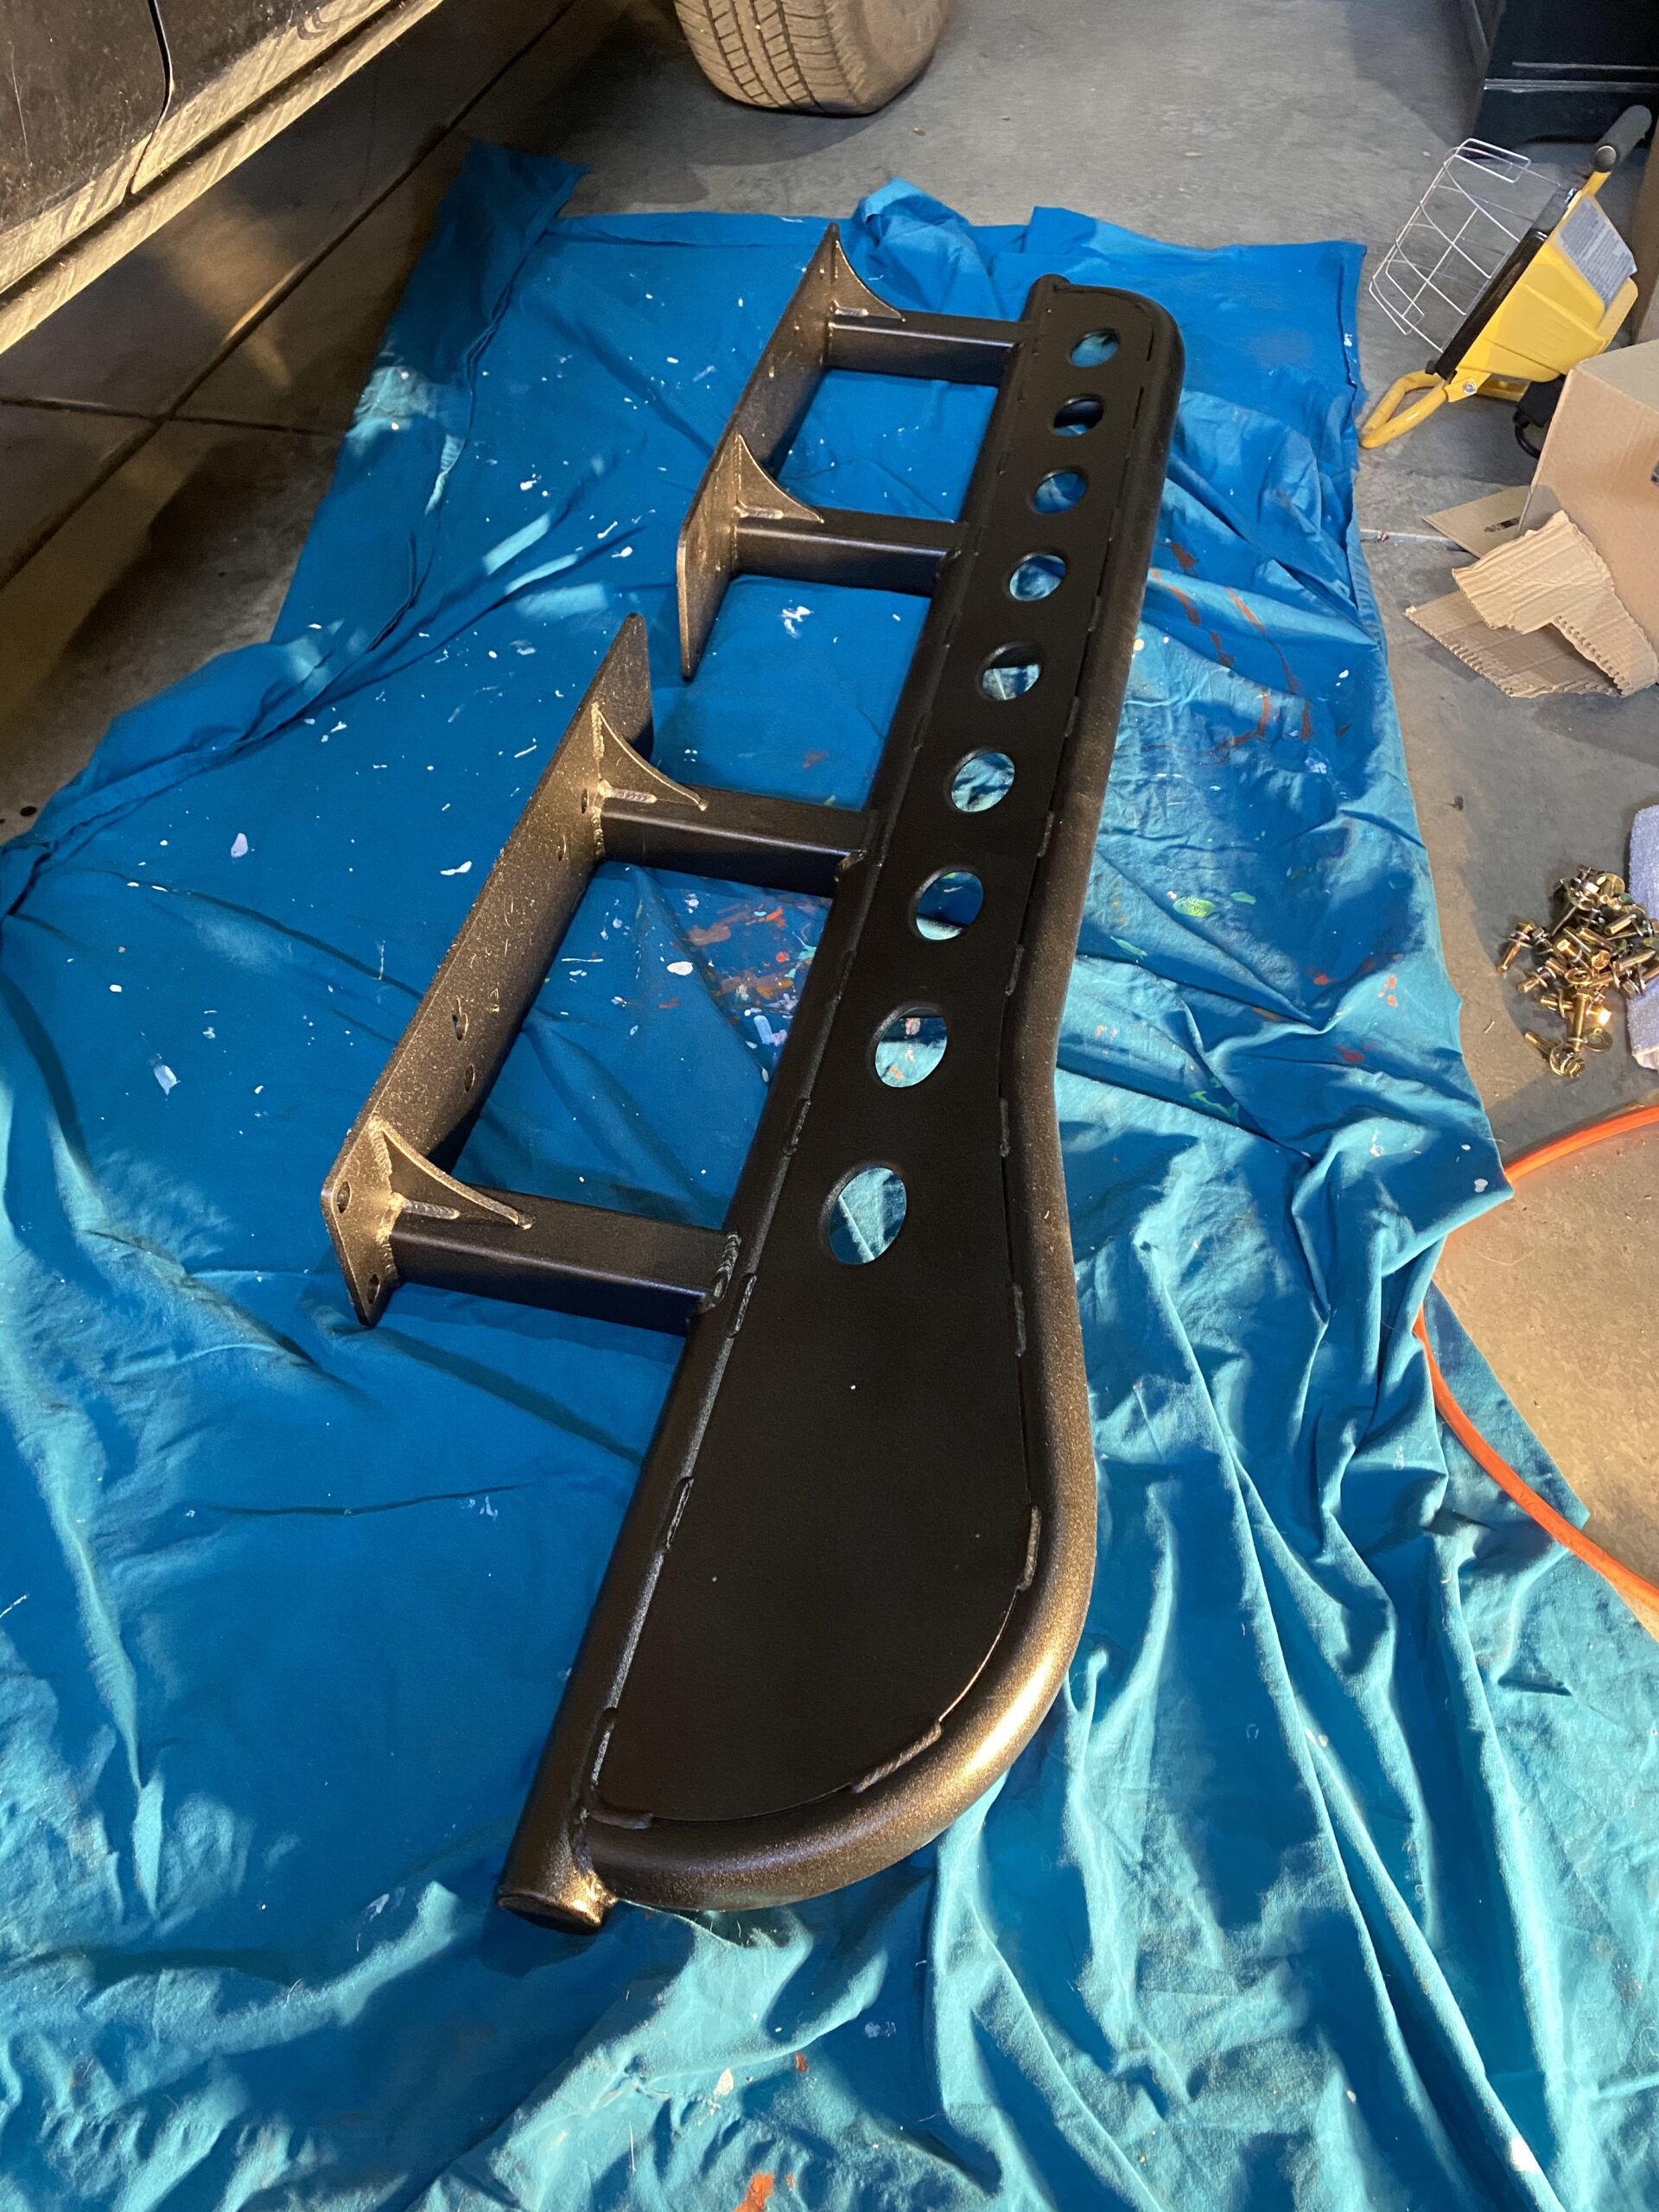
Step 3: Apply paint
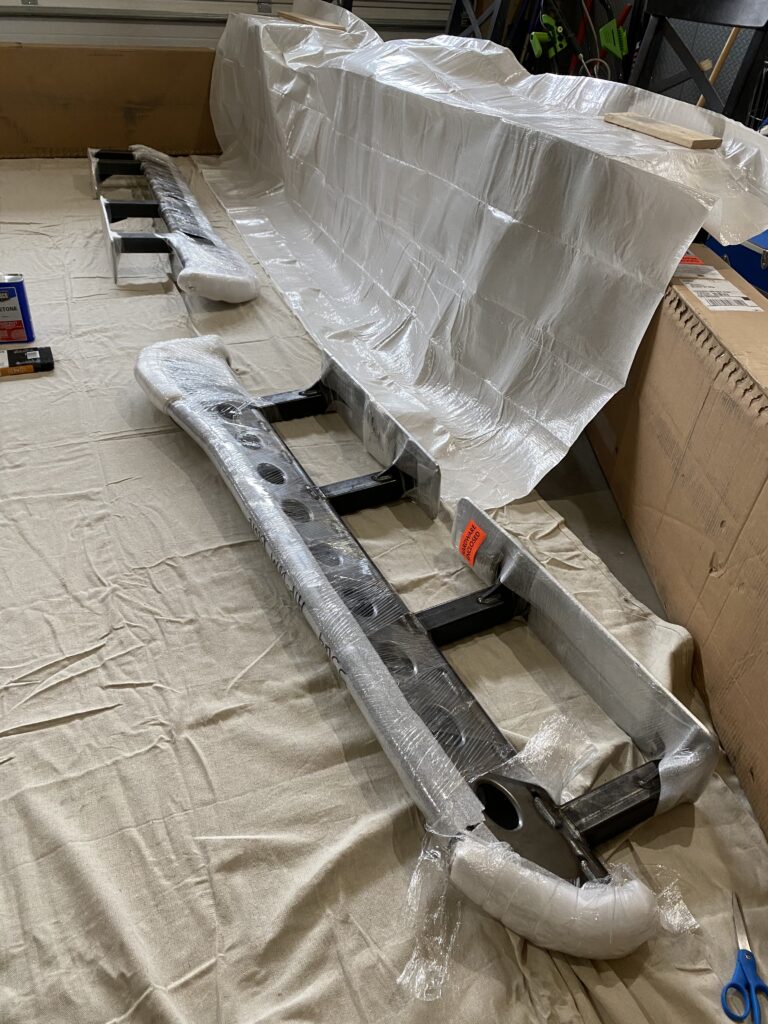
After the primer has dried, it’s time to add the paint. I added three coats of Rust-Oleum Truck Bed Coating Spray to all surfaces of the sliders, and then a fourth in areas where there would be the most wear and tear. Let them dry for 72 hours for the paint to cure before installing.
Tip: Keep shaking the paint can periodically throughout the painting process.
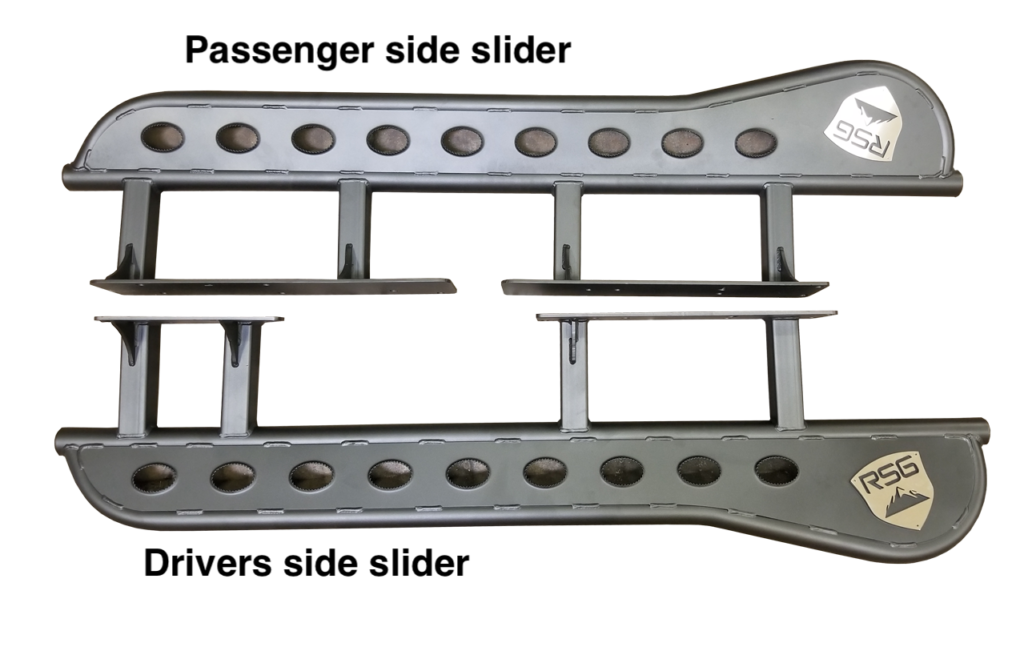
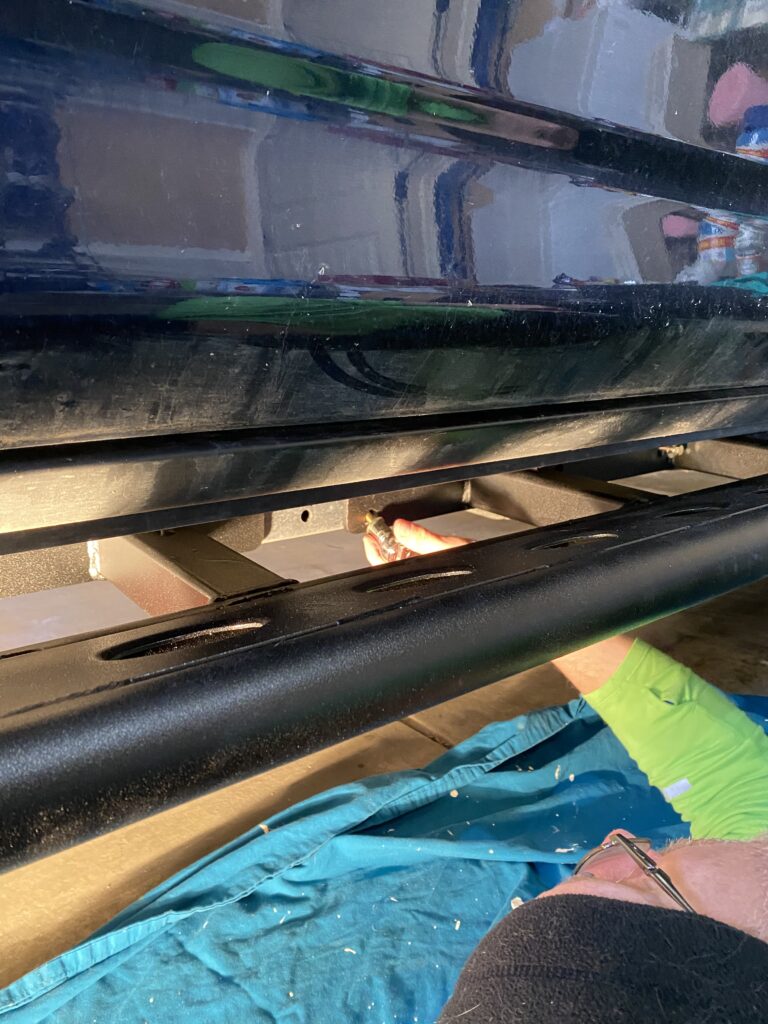
I didn’t get a great shot of the sliders after painting but I was really happy with the results. The picture below is from us getting ready to install them.
Time for Installation
This install is for the 4Runner without KDSS (Kinetic Dynamic Suspension System). The RSG Metalworks sliders work with KDSS as well but the installation will require a few extra steps not covered in this tutorial.
If you have any aftermarket steps or sliders on your vehicle, remove these before continuing on to step 4.
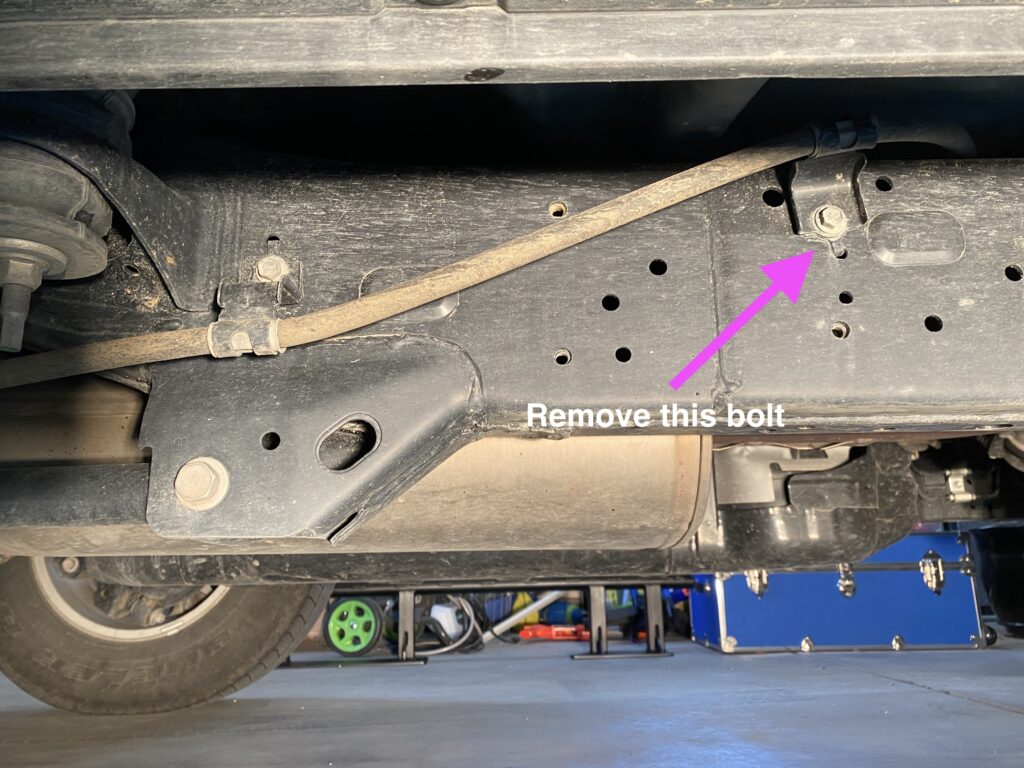
Step 4: Remove existing bolts
First remove the bolt and bracket holding the emergency brake line in place. This is the only step where you will use the 12mm socket wrench. All of the following will require a 13mm wrench. Repeat this on both the drivers and passenger side of the vehicle. You will reattach these later with the rock slider plates underneath.

Step 5: Position the sliders over the existing bolt holes in your vehicle frame
Getting the sliders up to their positions will be a lot easier with two people. We used objects we found around the garage to help hold up one side while we moved the other into position. We also used our legs to help the process. You could also use a jack or two. In fact, if you have two jacks you might not even need a buddy. But that would be a lot less fun.
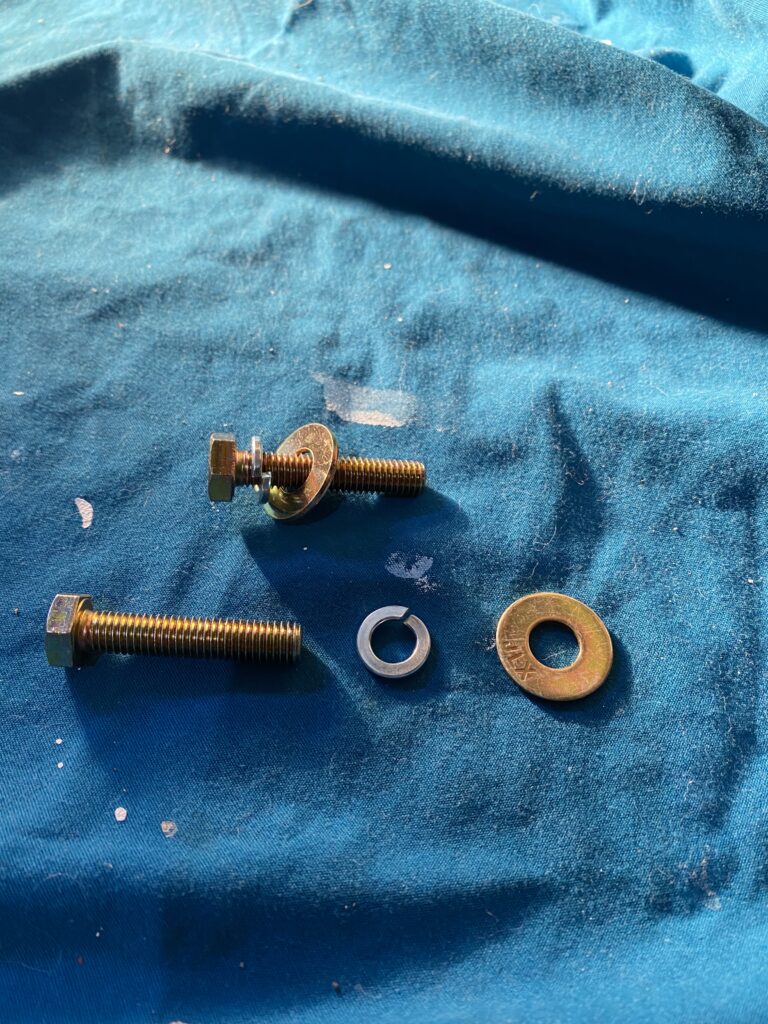
It helps to get the bolts ready before you begin. Put the locking washer on first, and then the flat washer.
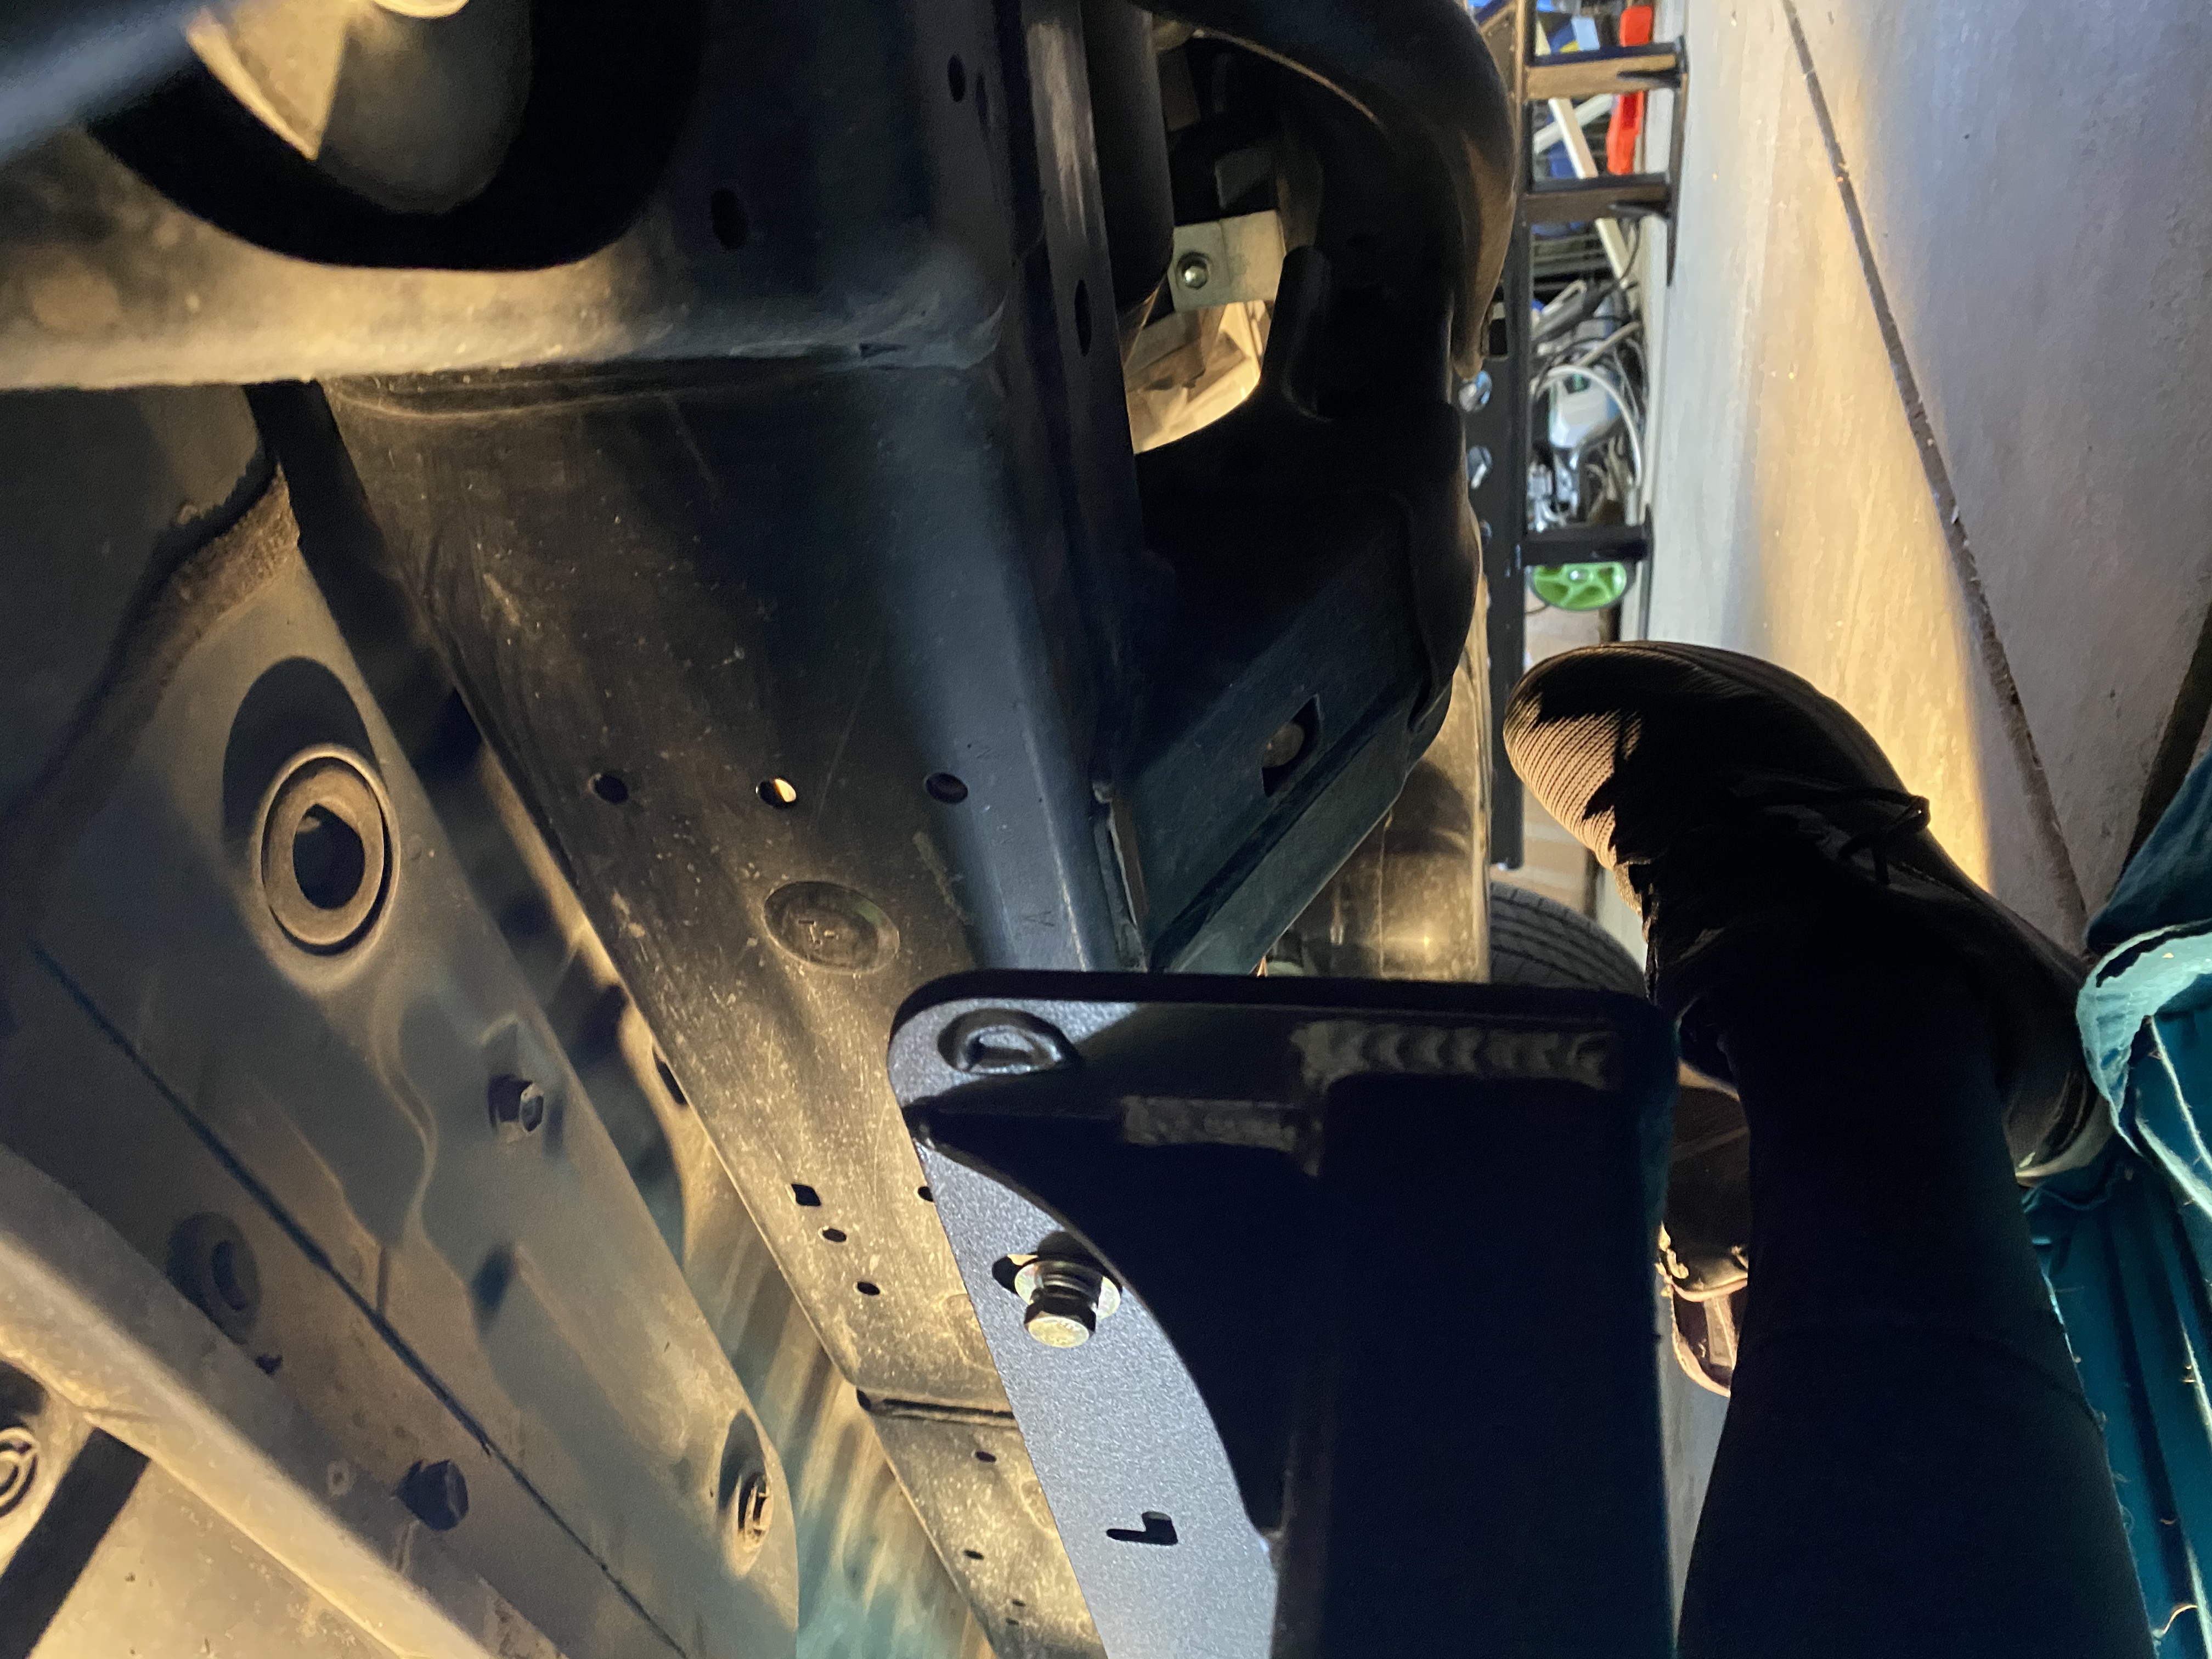
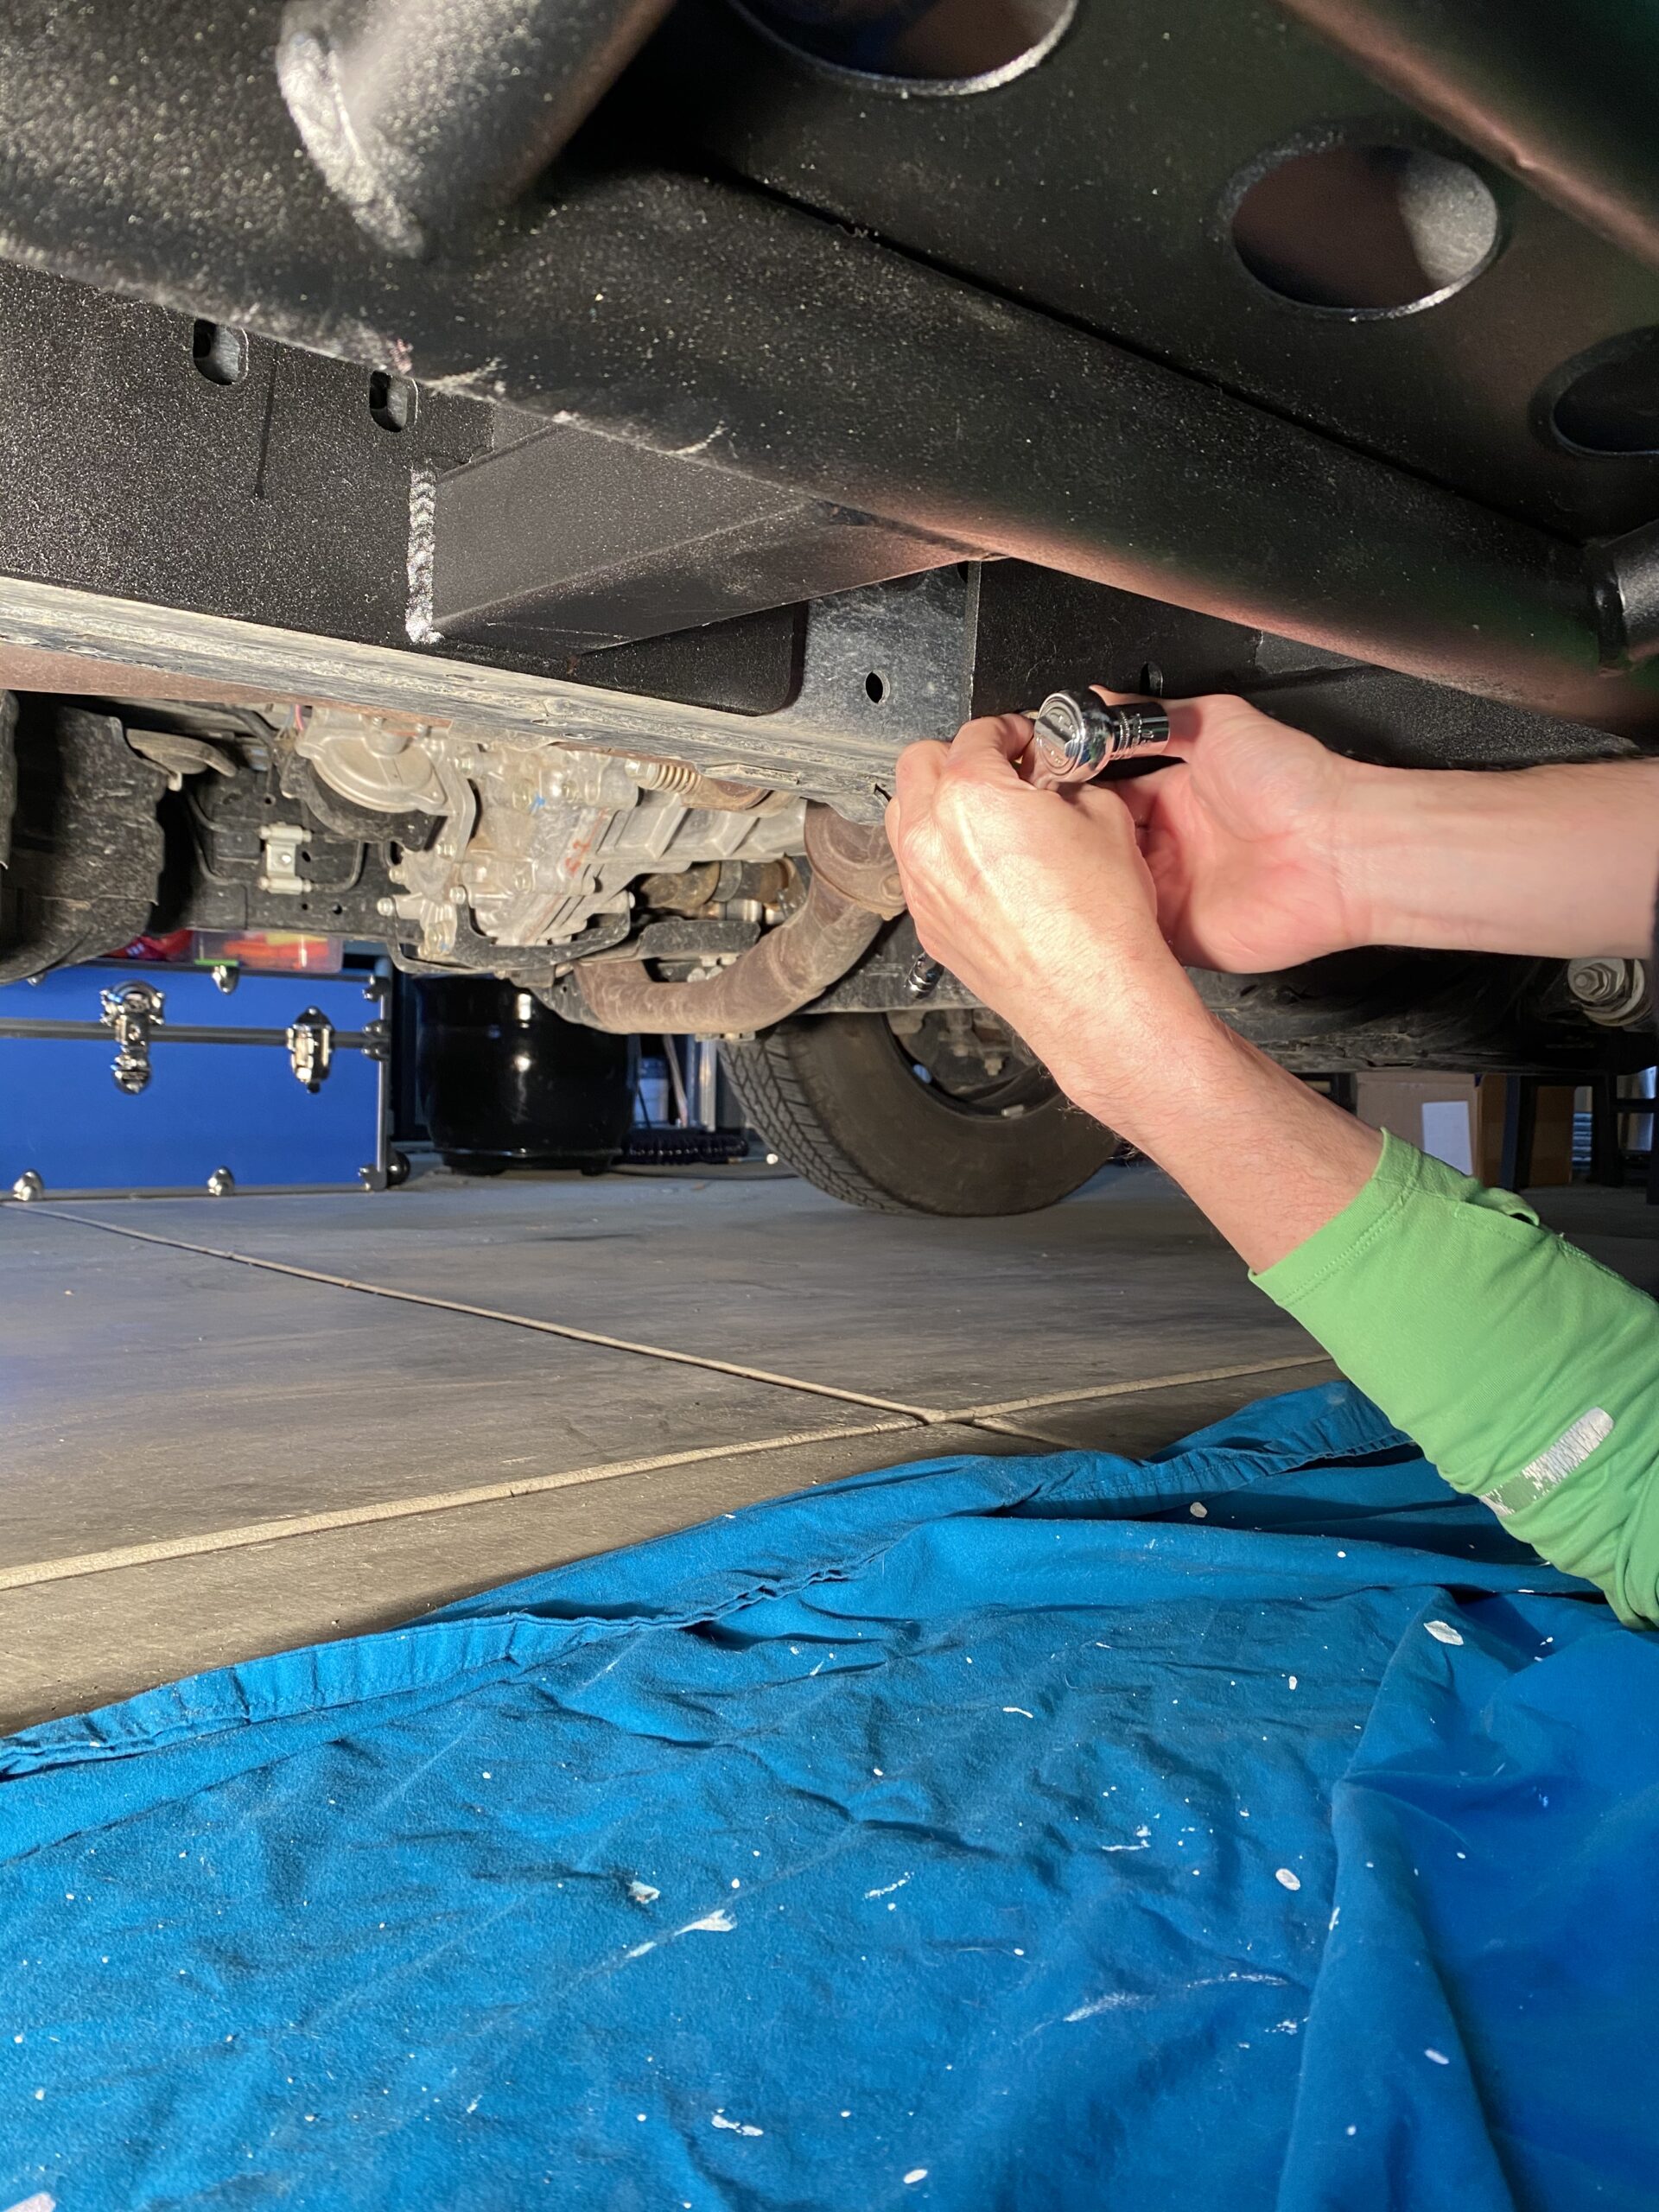
Step 6: Bolt the sliders to the vehicle
Once you have the sliders in position, screw in the bolts. There will be 10 bolts on the drivers side and 12 on the passengers side. If you get one of the front bolts in first, it’s easier to see where the rest should go. The holes on the slider will all line up with threaded holes in the vehicle frame.
Once we got a couple of bolts started, we removed our box and leg “jacks” and added the rest. Make sure you start all the bolts before tightening. Metal is not forgiving like wood when the holes don’t line up exactly.
Don’t forget to reconnect the brake line brackets with the new bolts. I’d also recommend getting this bolt started as one of your first few. We found this one difficult to get going because the brake line doesn’t have much slack.
For the most part, the bolts went in well. The top front bolts were the hardest because there wasn’t enough space to get our socket wrench in there. We had to use a small 13mm wrench a half turn at a time until we could maneuver the socket wrench into the space. After we were finished I found this wrench online, which I think would make this part much easier.
Even though having a buddy to help will make this project a lot easier, having too many bodies in the tight space will not work out well. You may have to ask one of your friends to go inside.
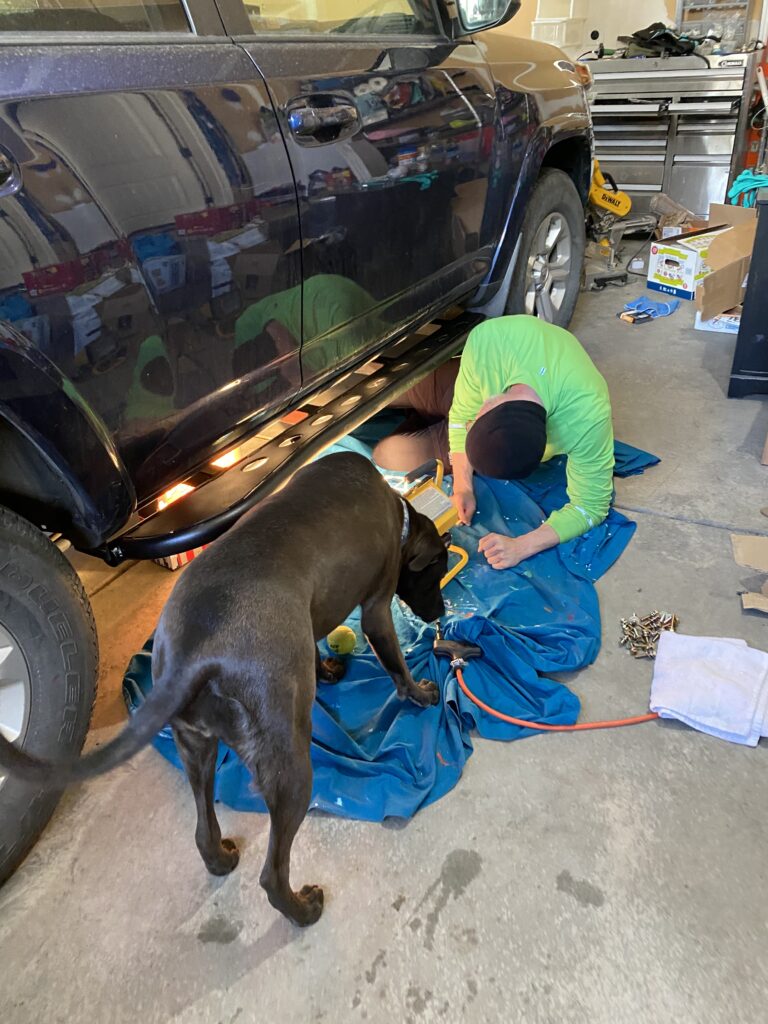
Listen- licking us in the face while we’re trying to hold up heavy objects and thread bolts isn’t the best way to help.
She may or may not listen.
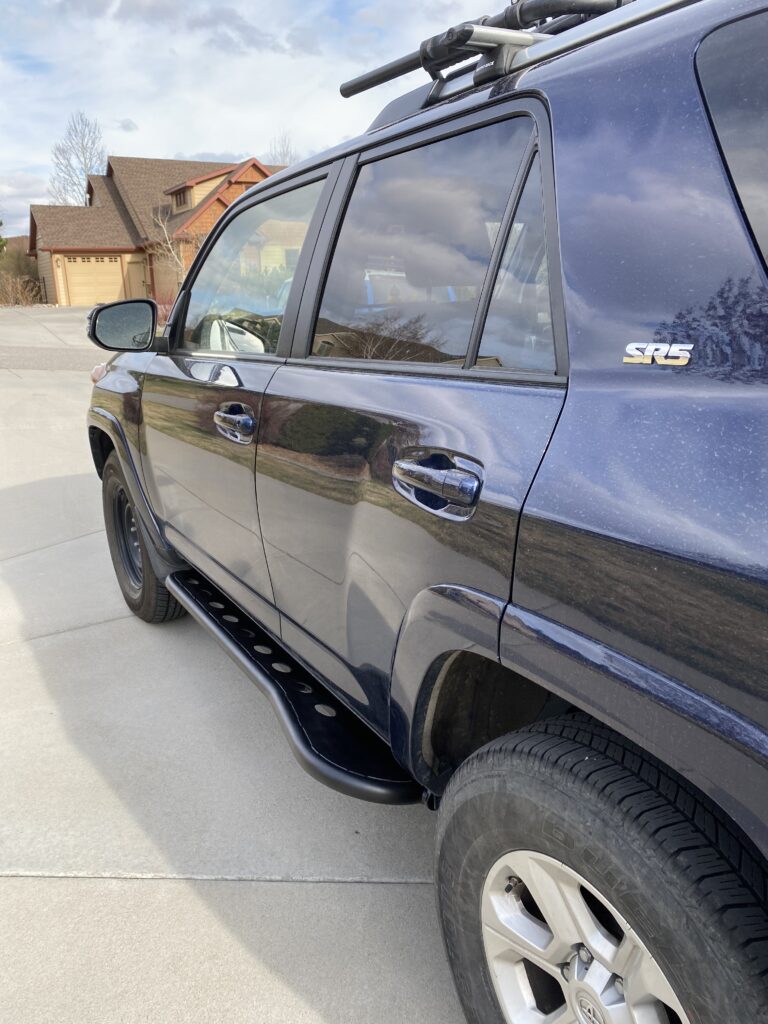
In the end, your hard work will be worth it. Don’t they look great? The whole setup is going to look even better after our 4Runner gets its lift and new tires soon!
Even better than their looks, these sliders are rock solid. (Haha- ROCK solid, rock sliders. See what I did there?) They will hold the weight of the 4Runner for use as a jack point. I would definitely trust them to help us slide over any obstacles that we might encounter on the trail. They’re also going to make nice steps for our dogs and kids, as well as getting to those hard to reach things on the roof.

Check out this video of them in use. I’m hoping not to test ours this much but it’s nice to know how well they work.


You May Also Like

Cardboard Castle

Play Area Under the Stairs