


Indoor Swing
We are always looking for ways to make our house more fun. When I saw indoor swings online, I thought our bonus room would be the perfect place to try them out.
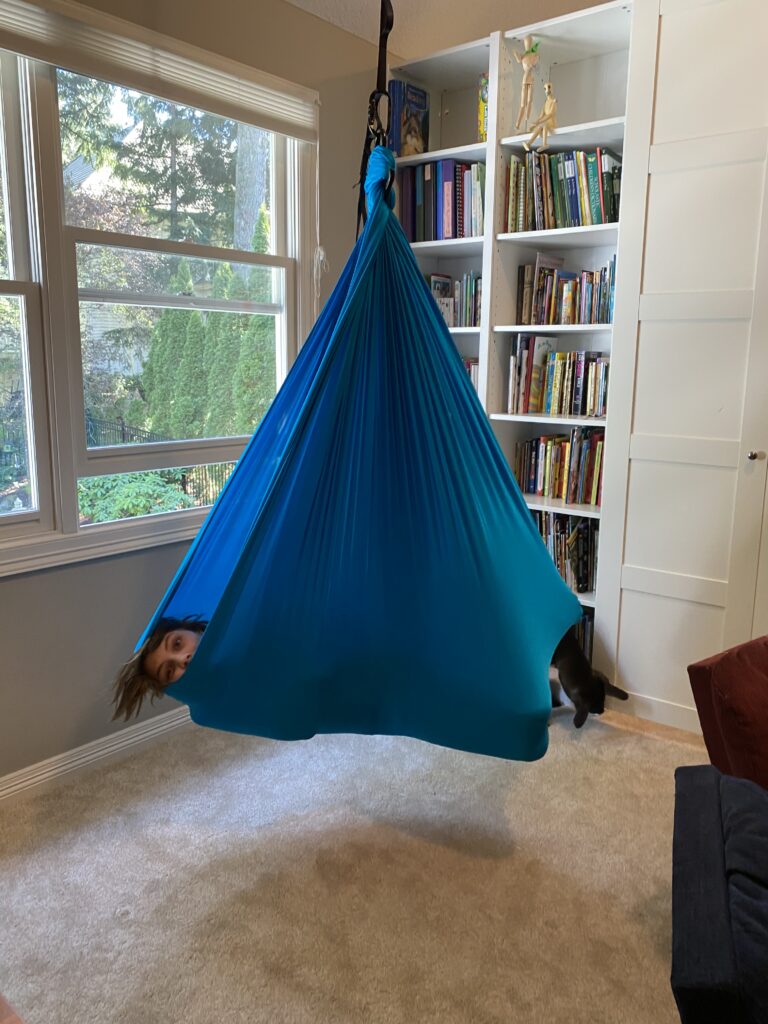
Here’s a girl and her puppy hanging out in the bonus room before the swing:

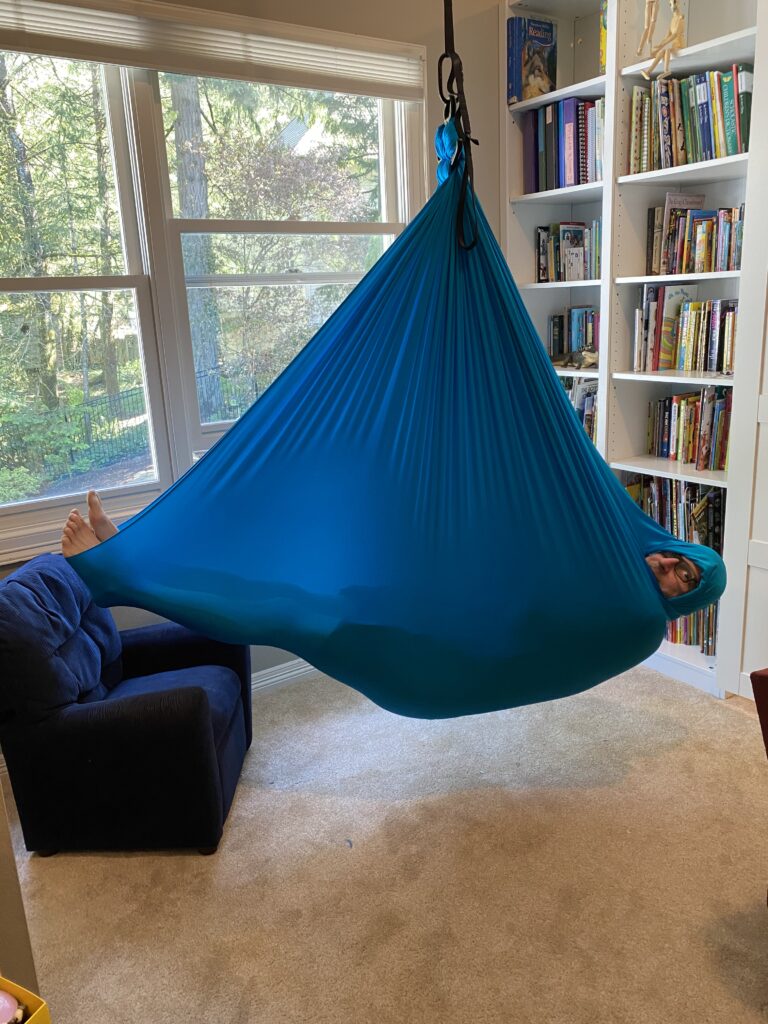
There are a lot of different options available, from chairs, to pod swings, to more hammock-like versions. We decided on these Harkla swings:

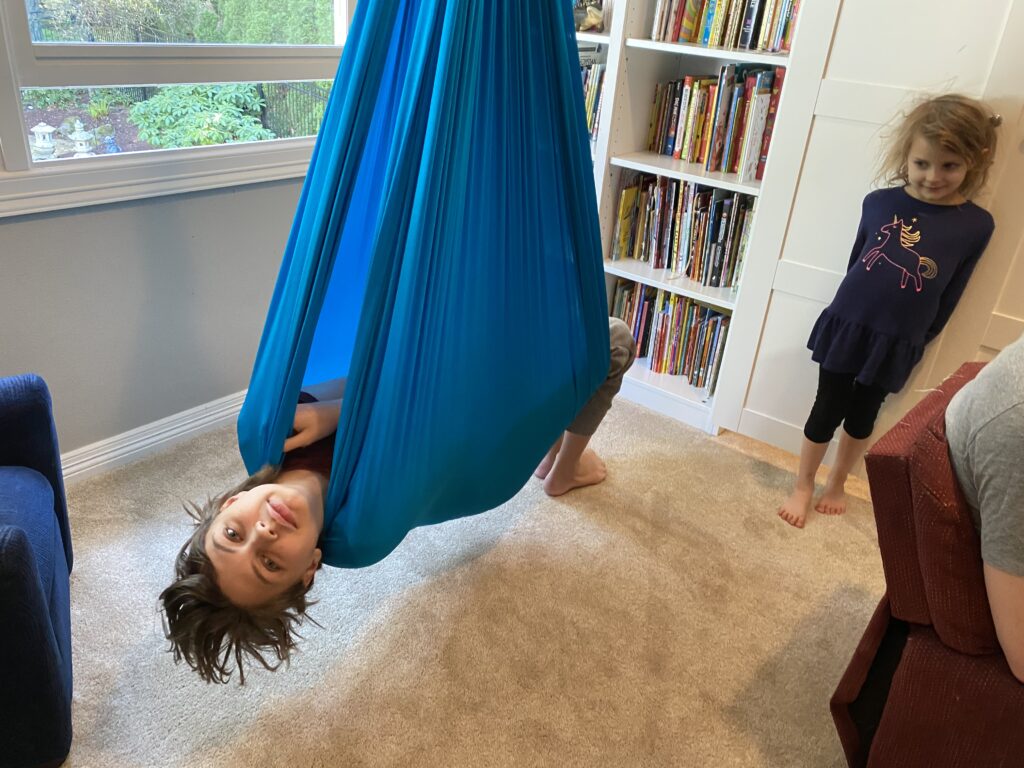
The swings themselves are pretty cool but we found you could only twist so far before you recreate The Helicopter move from the playground.
We found a swivel you can add in between the ceiling plate and the swing so the kids could spin to their little hearts’ content.

Supplies:
- Swing of your choice (Be sure to check the weight limits if adults or big kids plan on using it)
- We chose a hammock style but Harkla also carries a pod version.
- There are also many other brands to choose from, like this one from Outree.
- Or a more seat-like style with CO-Z Kids Pod Swing Seat Child Hanging Hammock Chair Indoor Outdoor Kid Hammock Seat Pod Nook (Upgraded Two Straps, Blue)“>this one from CO-Z.
- Or you could even put up a whole hanging tree tent, like this one from OrangeA:

- Ladder
- Stud finder (optional)
- Drill with bits
- Socket wrench (a regular wrench will work as well)
They were super easy to install.
Steps:
First, we found the joists in the ceiling using a stud finder. If you know the directions your ceiling joists travel, you’re in good shape. If not, it just takes a little trial and error to find them. Use your stud finder as directed by the instructions and start your search. Remember that joists are usually spaced at the same intervals as studs — 16 or 24 inches apart.
Once I found the joist I wanted to use, I predrilled small holes where the lag bolts would go through the included swing plate. The Harkla swing came with the necessary bolts. If you’re buying them on your own, be sure to get bolts that will hold the weight. We want exciting swings, but not TOO much excitement!
After you attach the plate to the joist, all that’s left to do is hang the swing. Here’s a picture of what ours looked like in the ceiling:
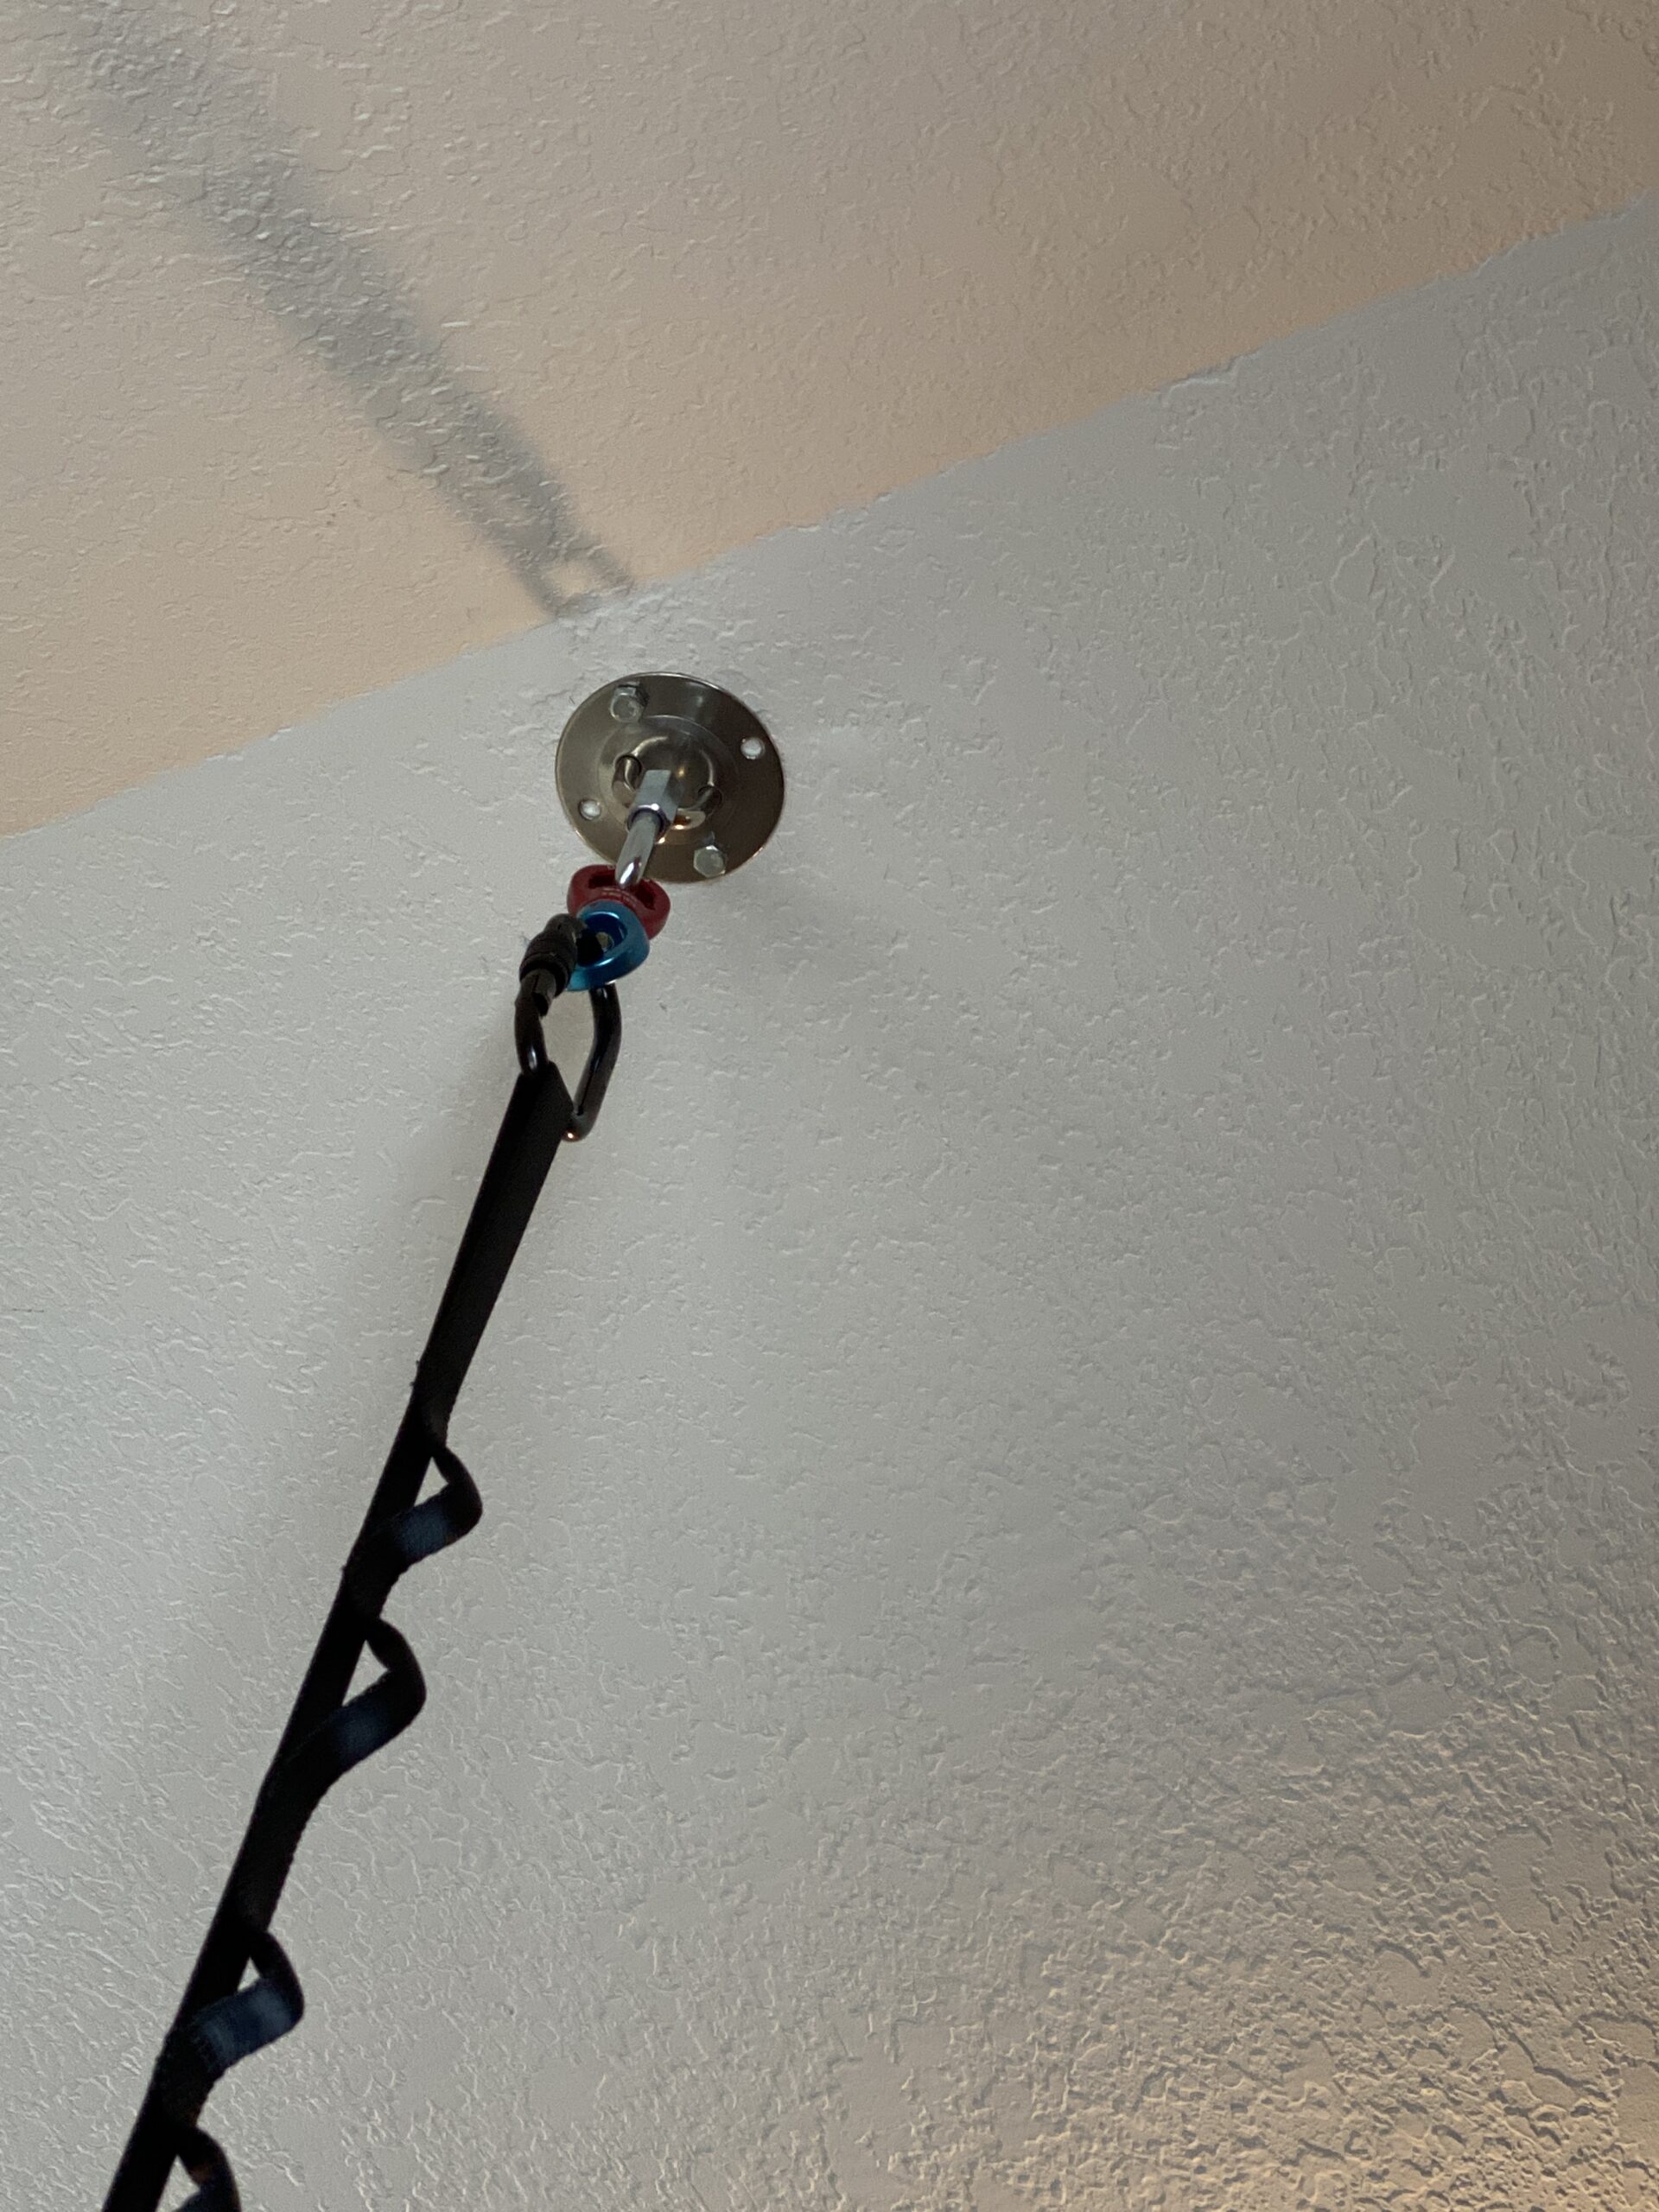
Follow your swing’s instructions for attaching it to the ceiling plate and then spend some quality hang time!


You May Also Like

Relentless Forward Progress

Whodonit? (Plush) Shark Attack and Restoration
