

Ikea Hack Bookcases for a Home Library
I’ve aways wanted a library in our house. Sitting in a room by a fire, surrounded by interesting books, and reading all day sounds like paradise. In our Portland house, we had a front room that was begging to be turned into just that. The problem was that built-in bookcases were beyond our budget. The solution? Ikea!I had seen ideas before about turning Ikea shelving into built-ins and I thought it was time to try it for ourselves. We found that adding Ikea Billy bookcases to make built-ins was the perfect solution for our home library.
Supplies:
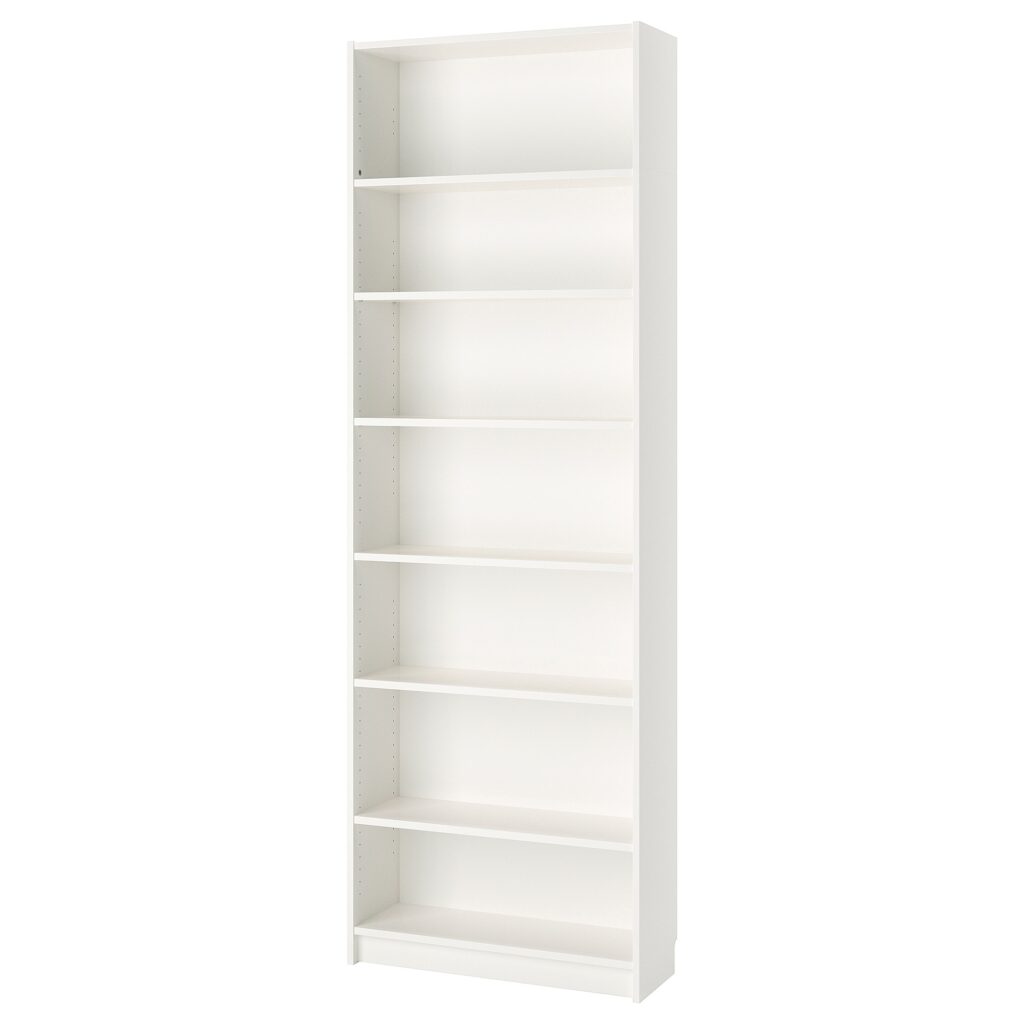
- Bookcases – We used Ikea Billy
- Lumber – 1×4 on bottom, 1×12 on side, 2 – 1×6’s for corner (Your sizes will be different)
- Crown molding
- Shoe molding or quarter round
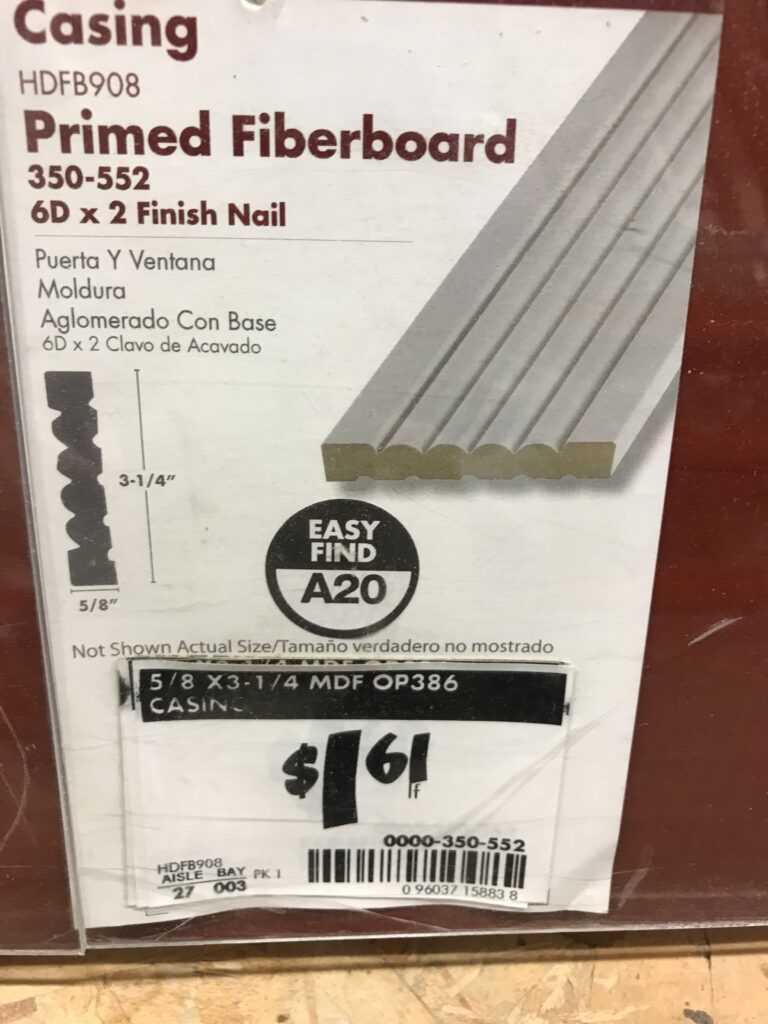
- Wood pieces for in between bookcases (We used fiberboard but you may prefer something different)
- Corner blocks – Inside and Outside (optional)
- Hammer and Nails
- Oscillating multi-tool – This is the newer version of the Dremel we have:

- Saw to cut lumber – I used our circular saw for this project. We have an older version of this Kobalt saw (ours is so old it’s been discontinued):

- Sandpaper
- Caulk
- Paint
- Pencil
- Measuring tape
- You also may need a utility knife, large flat-head screwdriver, and/or a small crowbar for removing existing molding
Billy Series
After a lot of research and measuring, I decided that the Billy Bookcases would work best for our space.

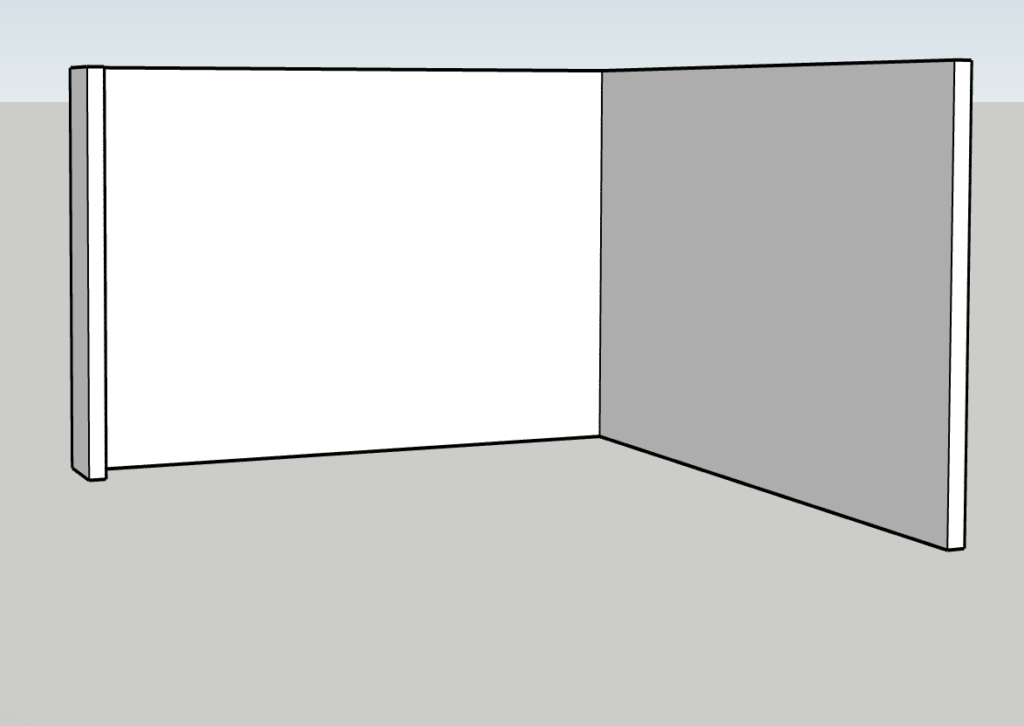
I don’t have a good before picture of the room so here is our blank canvas visual:
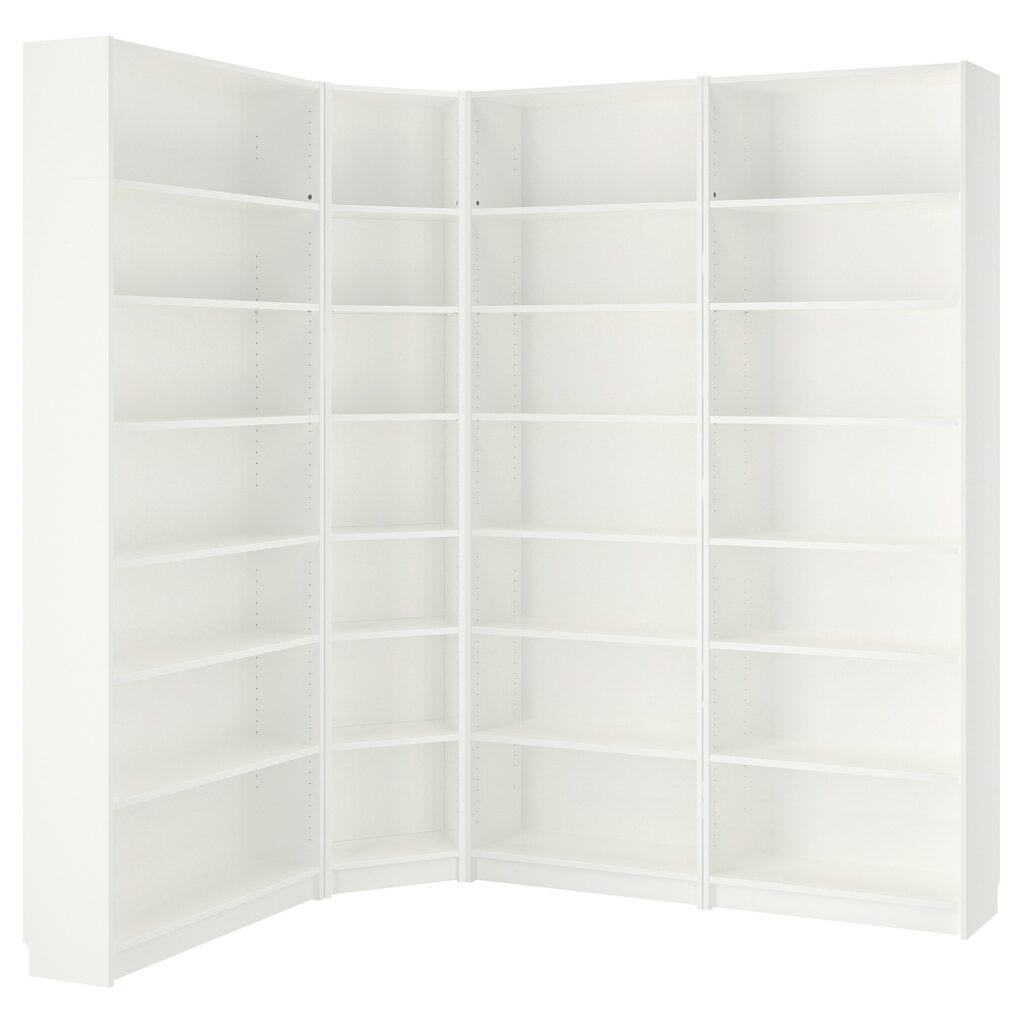
I figured out that we could fit 4 of the 31-1/2″ x 93-1/4″ units along one wall and the same along the other wall, with enough room to squeeze a 23-5/8″ x 93-14″ one in the middle.
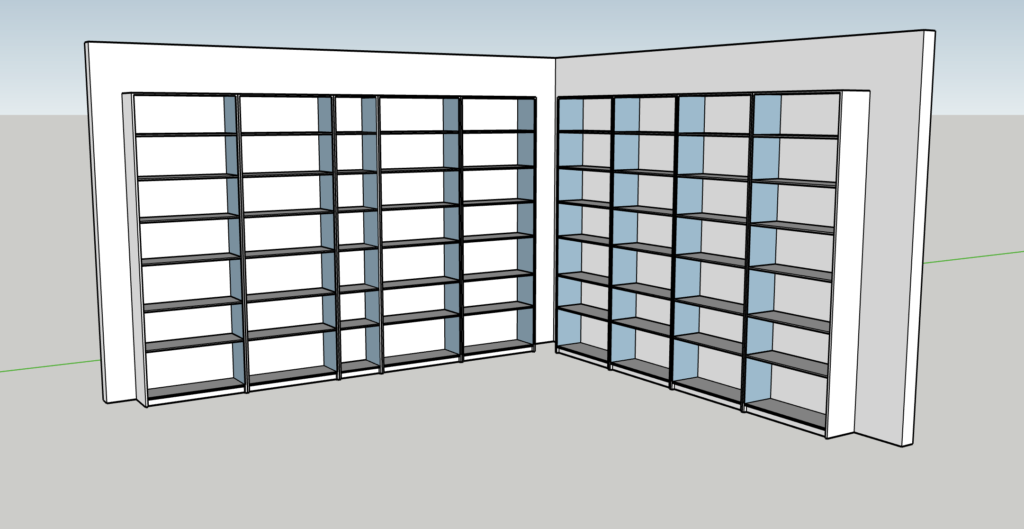
Then I realized we had enough room up top to add Billy extensions.
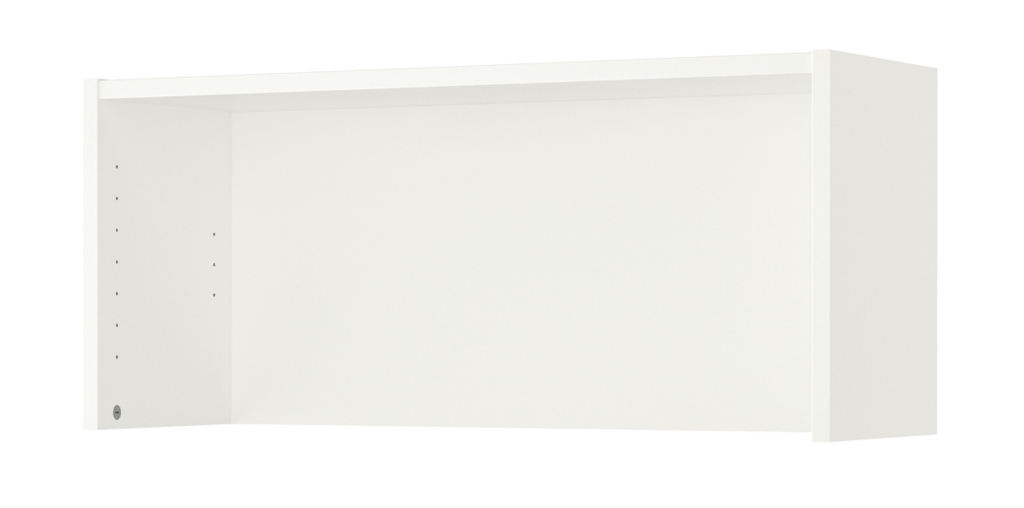
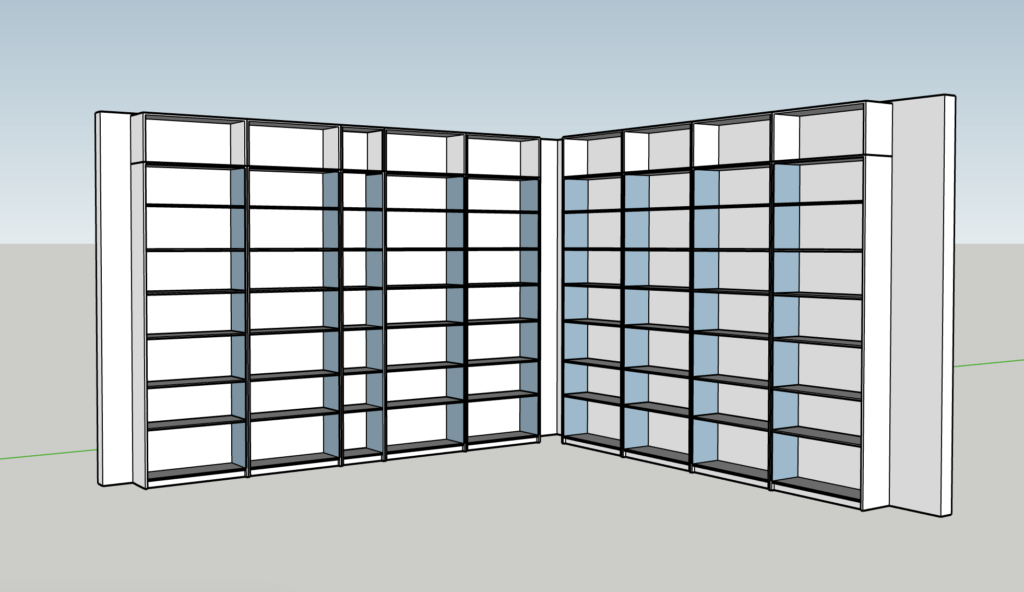
Voila! Floor to ceiling bookcases.


Now for the fun part – making them look built in!
The first thing I did was get the bookcases into the position we wanted along the walls.
I moved the inside corners apart a little. I just thought it looked better that way. To cover the gap, I inserted two 1×6’s. You can see below that one of them was salvaged from a previous project and already painted white.


This was one of my first wood-working projects and before we bought our miter saw. I also hadn’t learned how to cut moldings yet so I cheated and used corner blocks, which you will see soon. Please don’t judge.
I also added a board in between the wall and the first bookcase. Here you can also see the a close-up of a corner block. Now that I have learned how to cut molding, they make me cringe. On the bright side, they do make the crown molding look a little more fancy, which works for a library.

The end of the bookcases that was visible as you walk in the room needed to be dressed up at as well. I placed a 1×12 here to give them a more solid wood look. You can also see more of my corner blocks. Fancy, are they not?
I wanted a thicker piece of wood in between each bookcase. Partly to hide the seam between the two, but also to give them more substance. I found some primed fiberboard to add in vertical strips in between each bookcase. I secured each one with finishing nails.
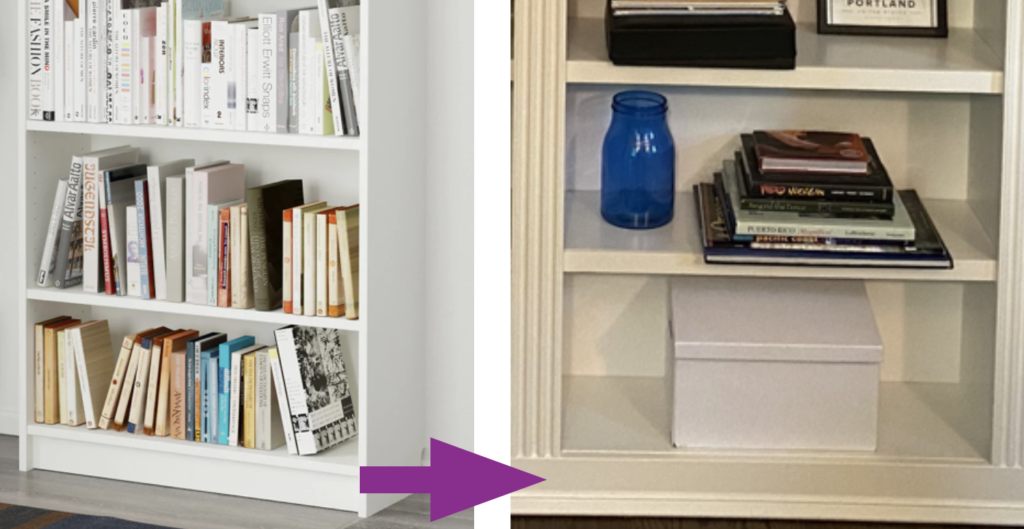
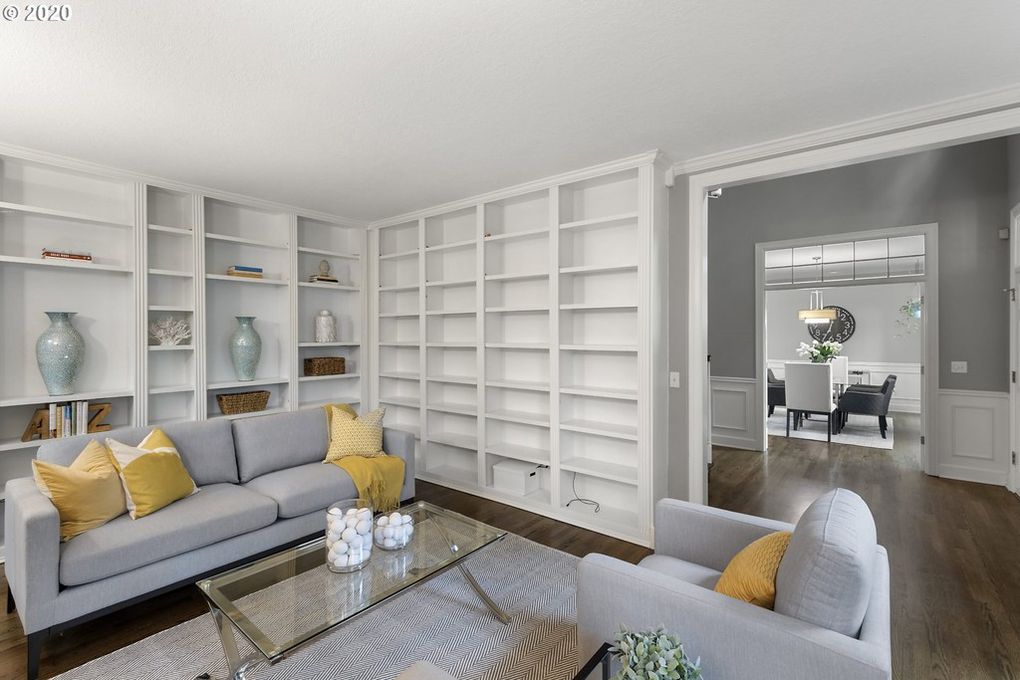
You can see the difference the fiberboard in between makes!

Now to add the molding
To make them look built-in, I used our Dremel Multi-Max to cut the original molding where the bookcases ended on each side. Then I used a utility knife to cut away the old caulk along the edge of the molding, and gently pried it off with a large flat-head screwdriver and a small crowbar.
At the bottom of the bookcases, I placed a strip of 1×4 and then some shoe molding along the floor to finish it. I wrapped both of these around the side of the bookcase that you see upon entering the room, and also continued it on the other end from the bookcase to the wall.
Looks like it was meant to be there, right?
The final step in building was adding crown molding along the top.

Before painting, I caulked all the seams. This step was what saved the end result from my beginner woodworking skills. You might be surprised how much caulk can hide your mistakes!

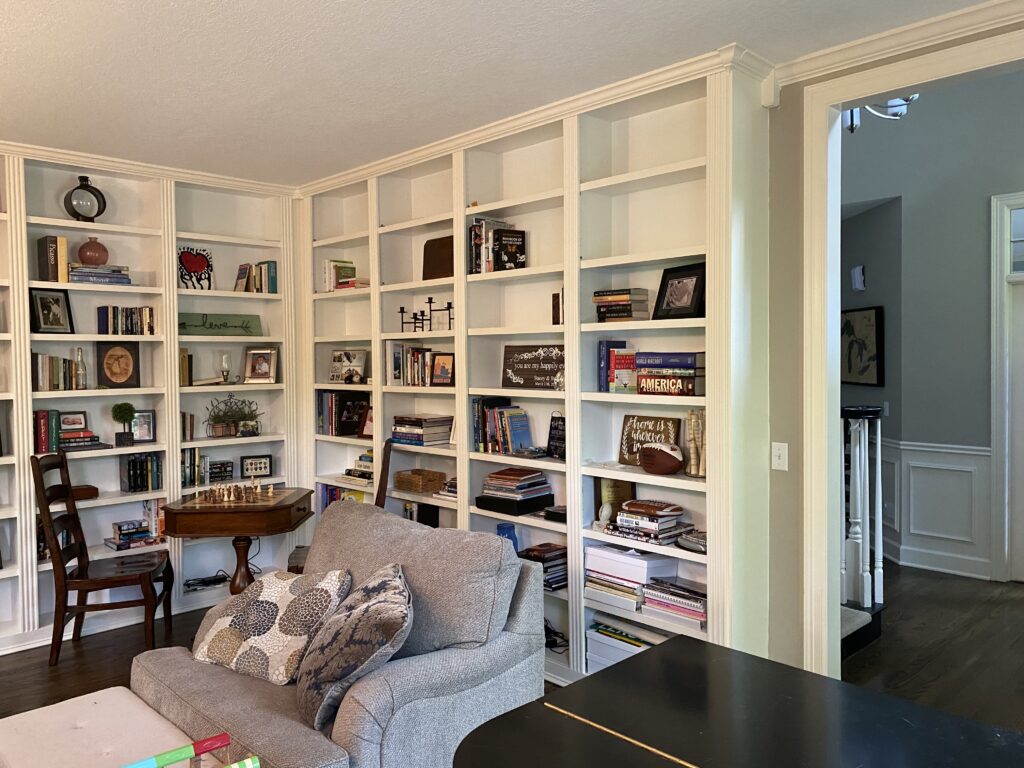
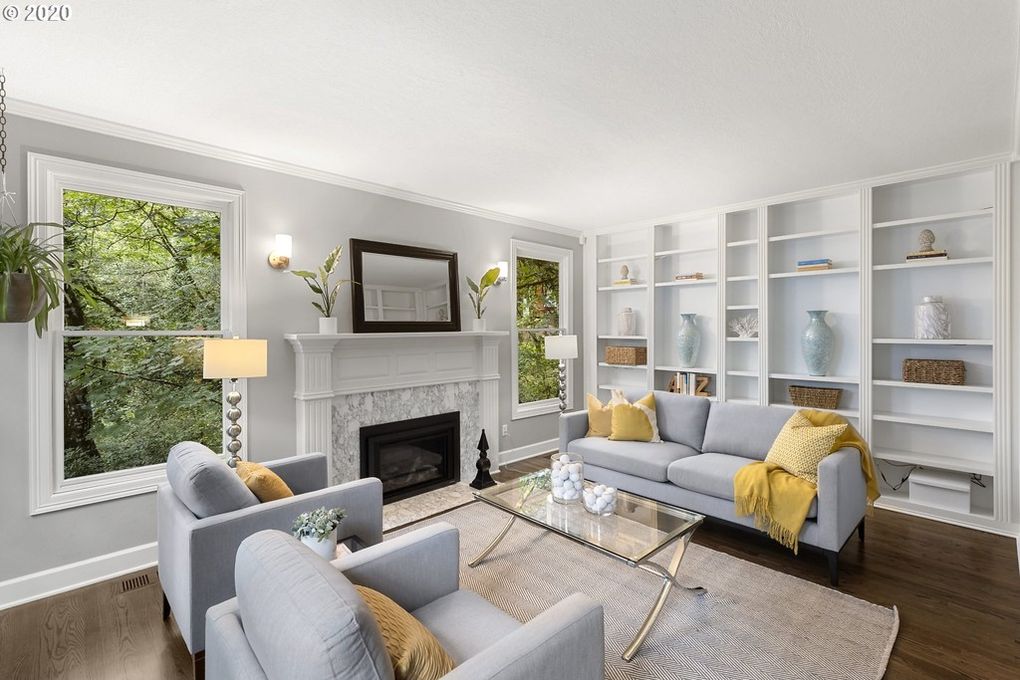
After caulking, I painted our new “built-ins” to match the molding in the rest of the room. I used the same color as the rest of the moldings in our room.
I am still working on styling them.
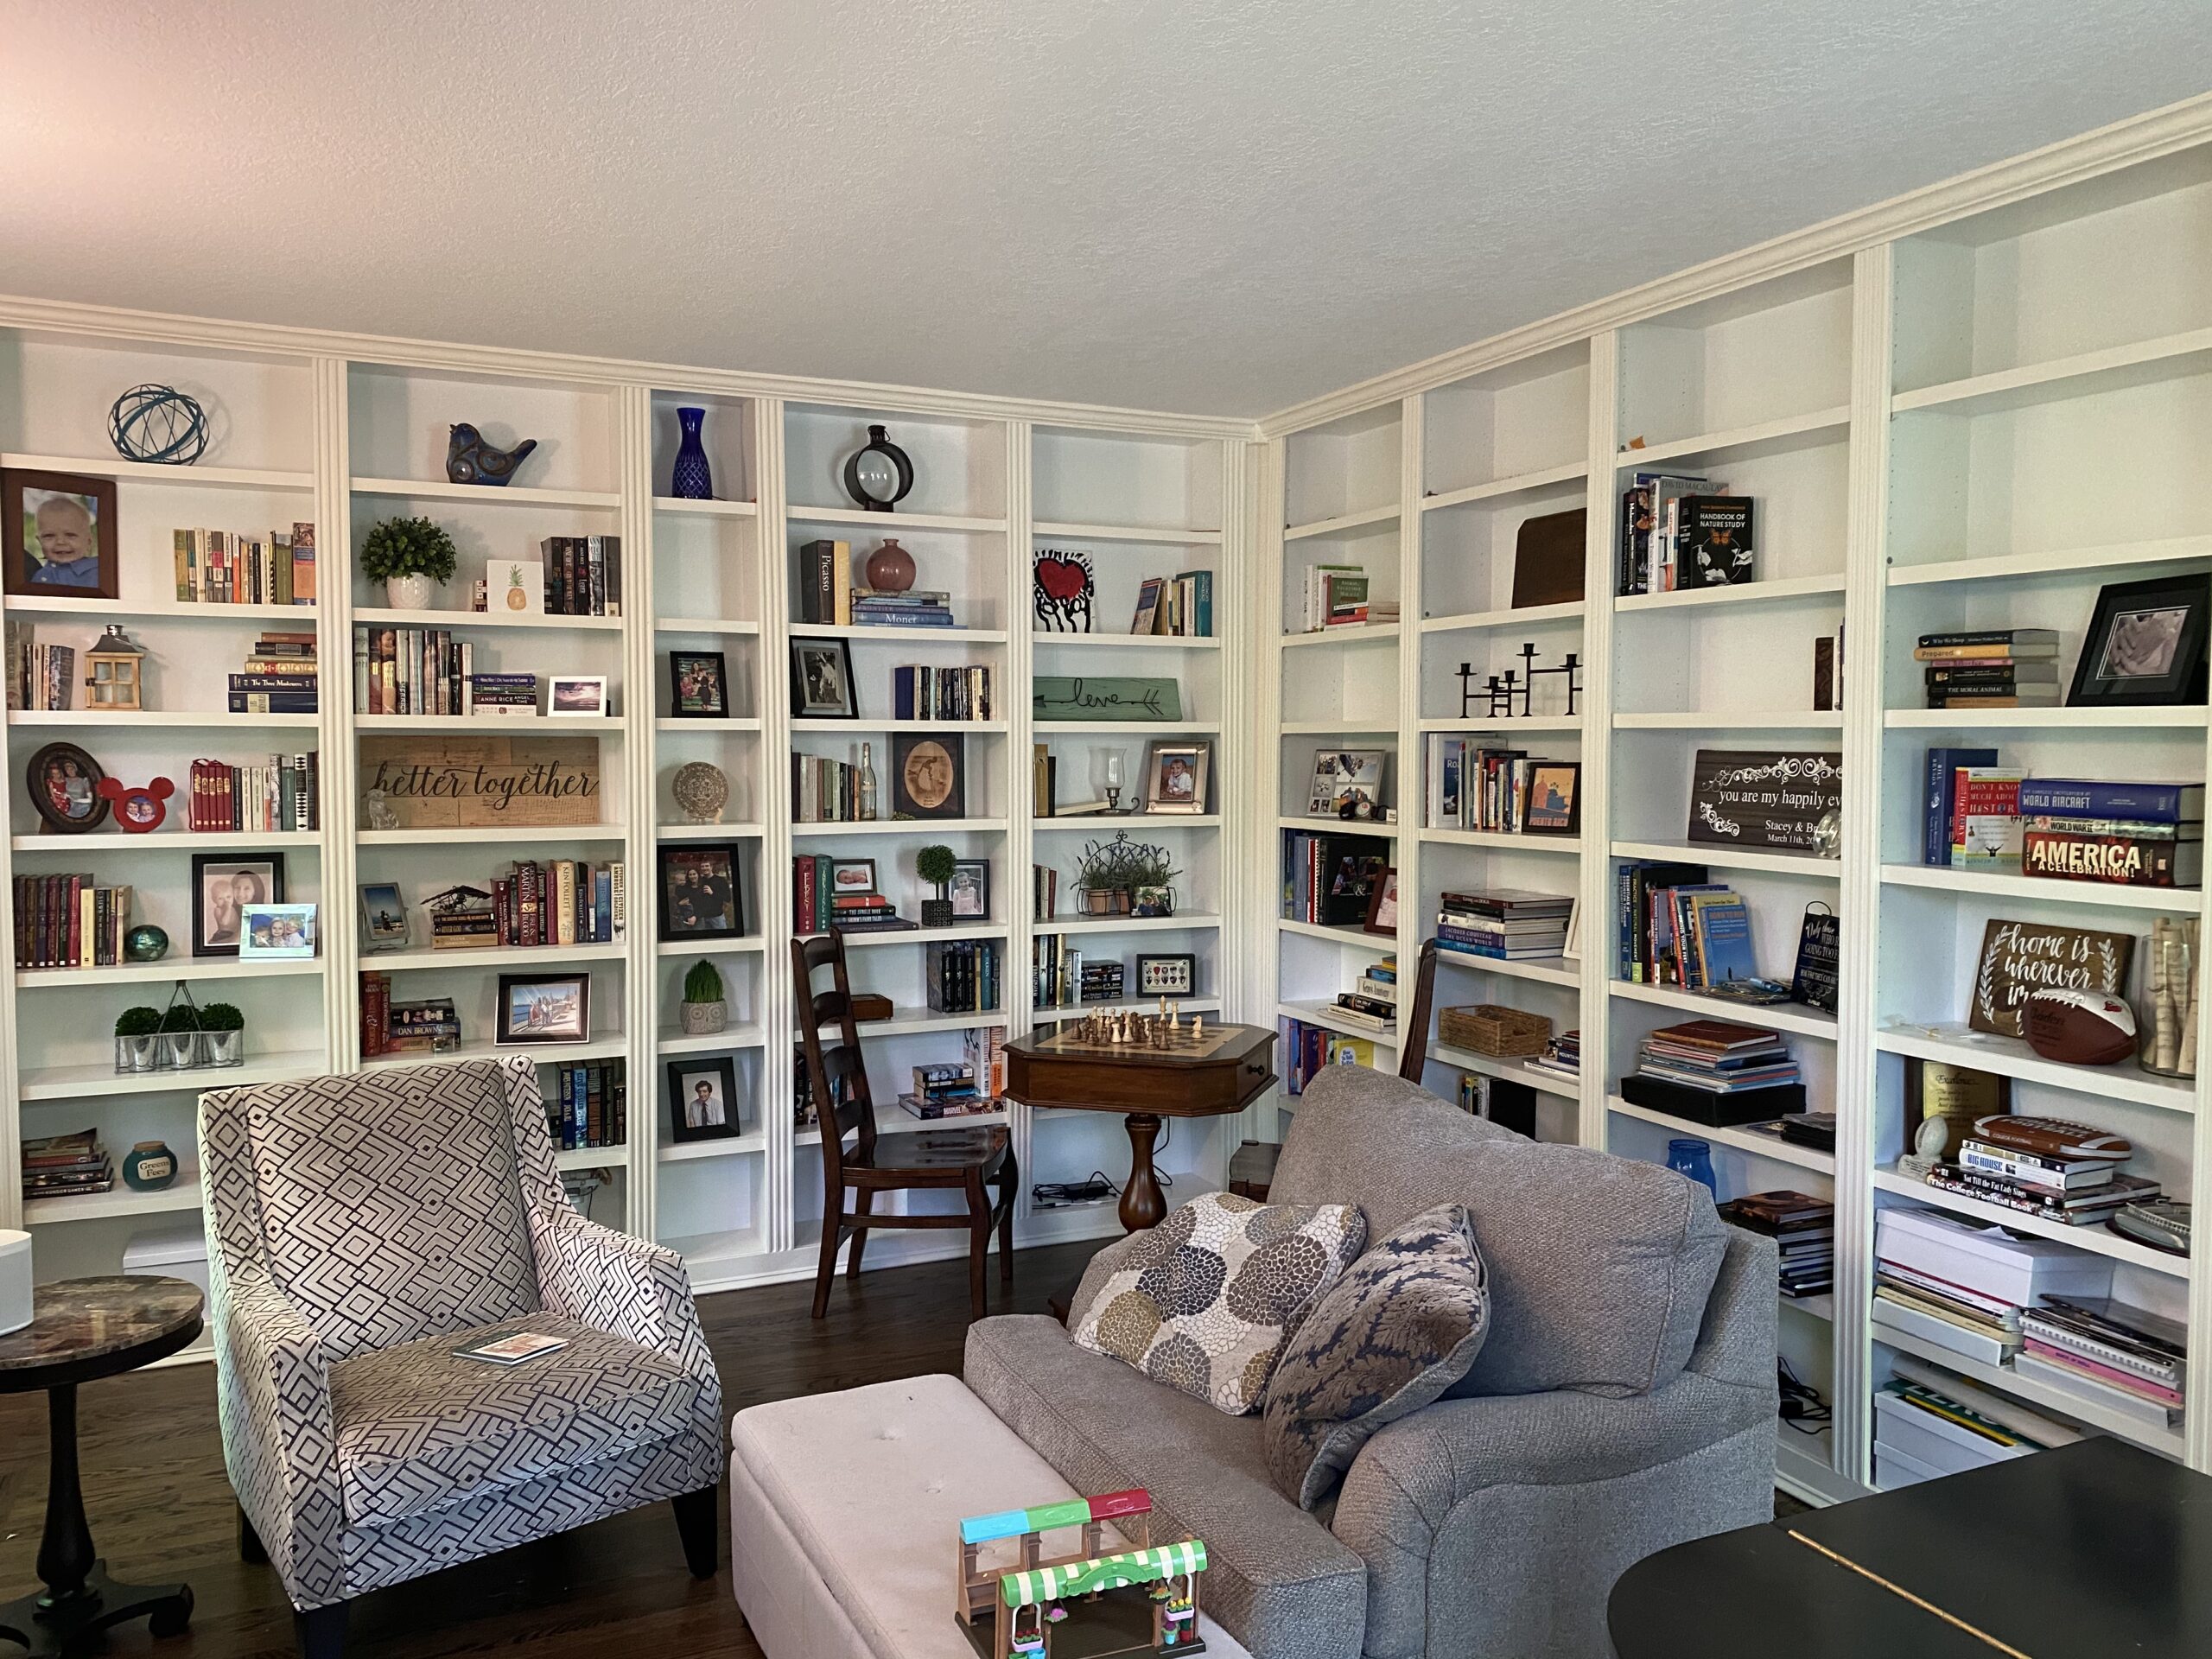
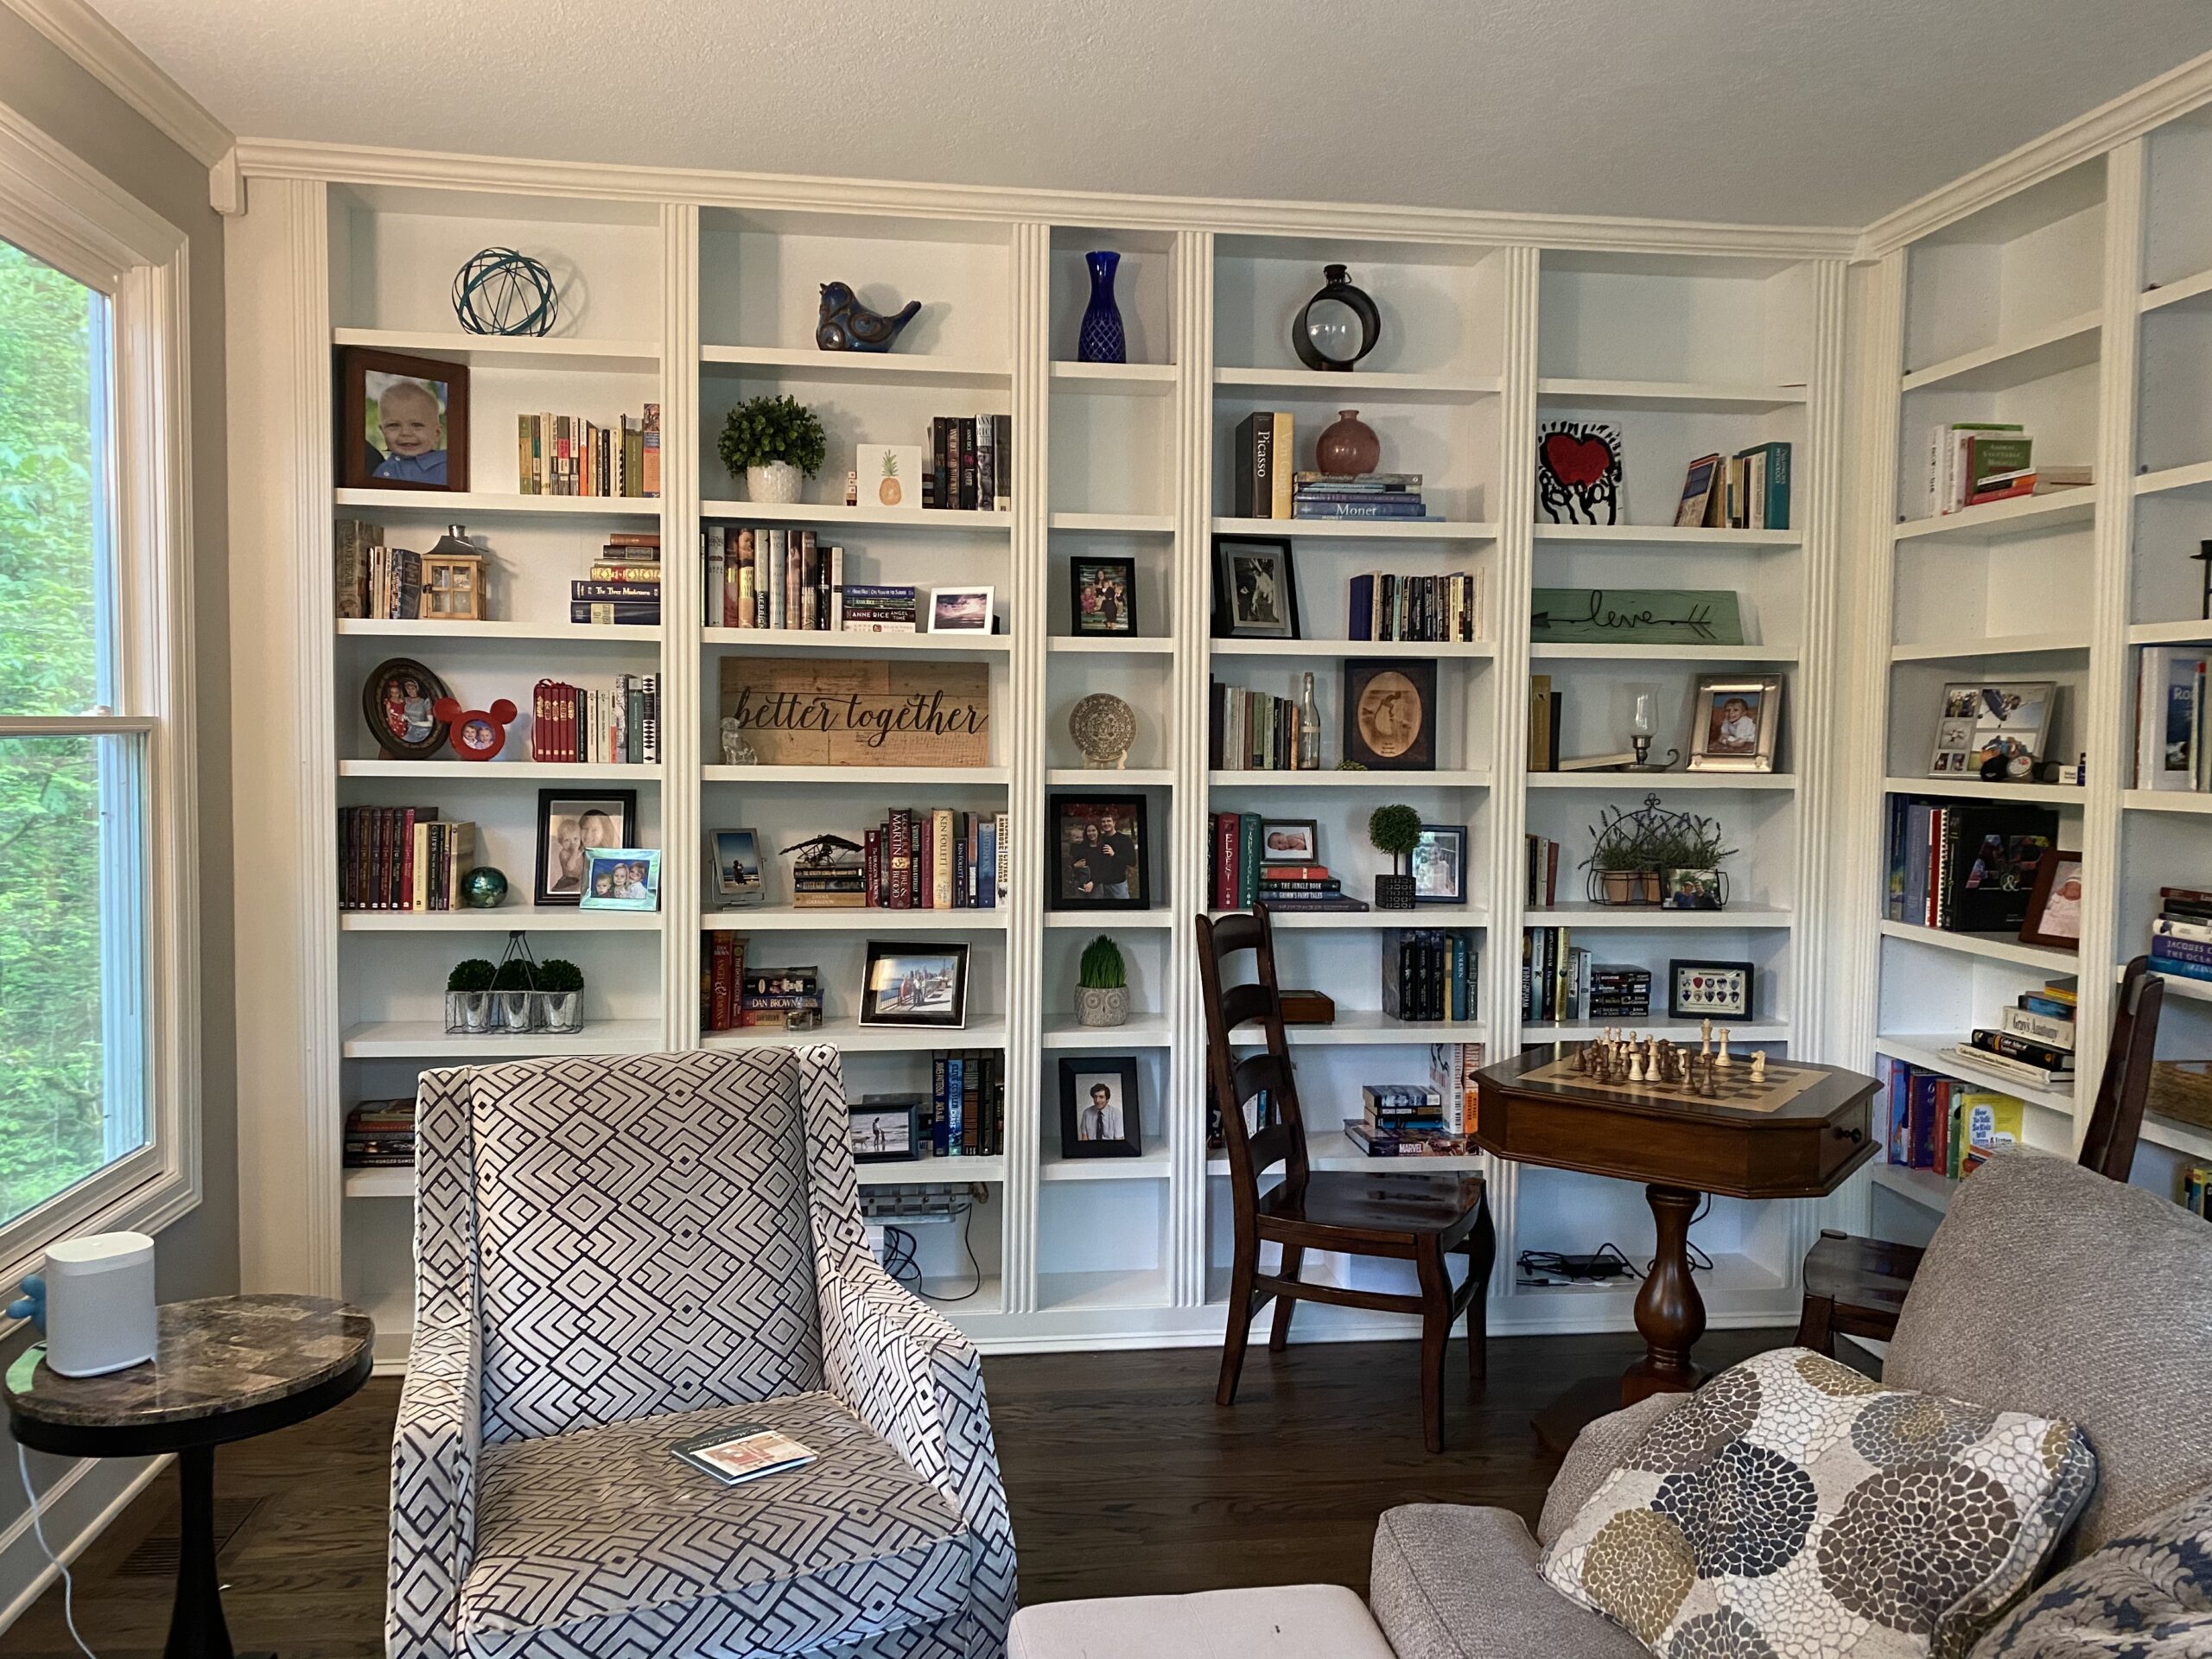
Here they are styled in a different way. Yes, still working…


You May Also Like
Mudroom Makeover: Part 2

How We Made a Digital Family Command Center