

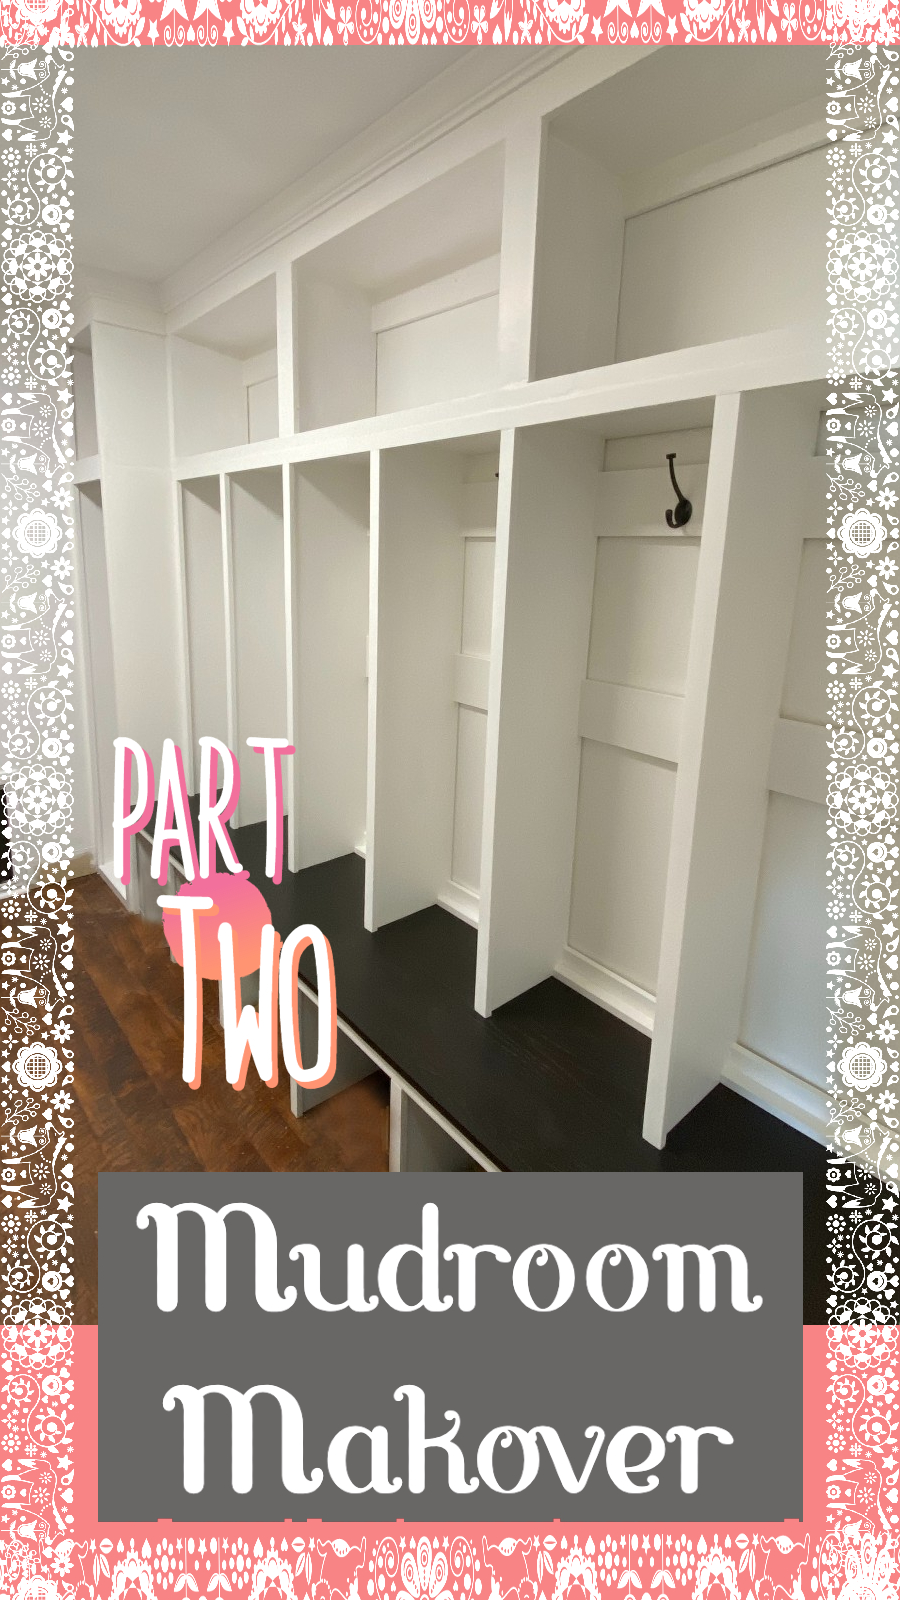
Mudroom Makeover: Part 2
Supply closet and cabinets above lockers
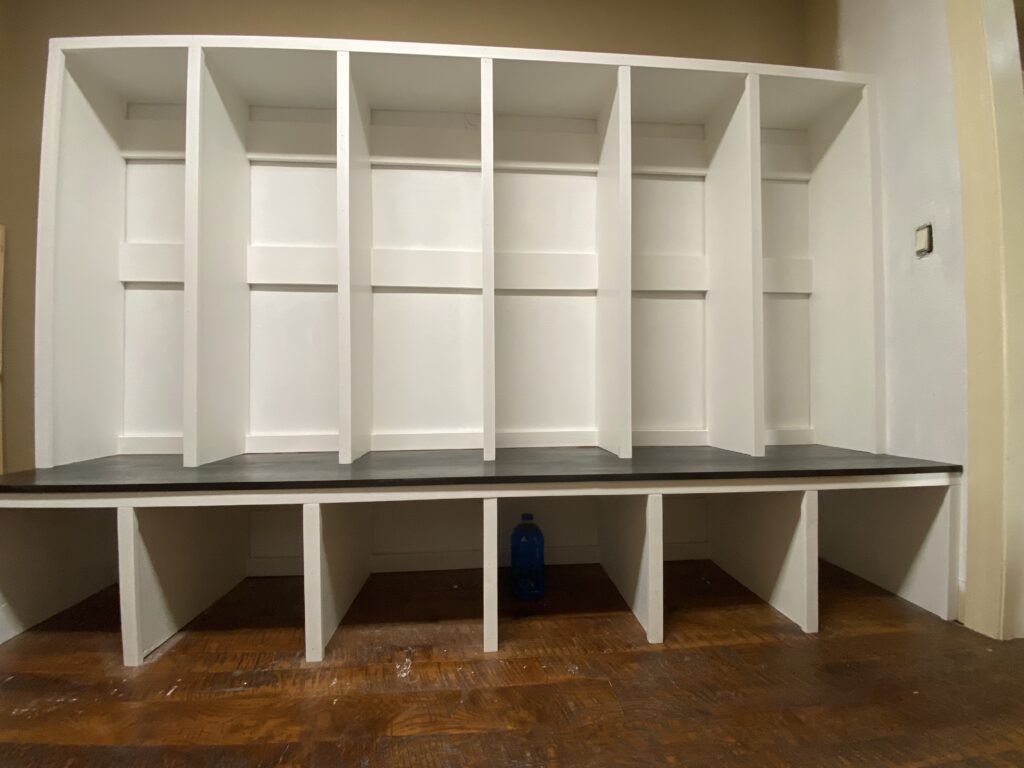
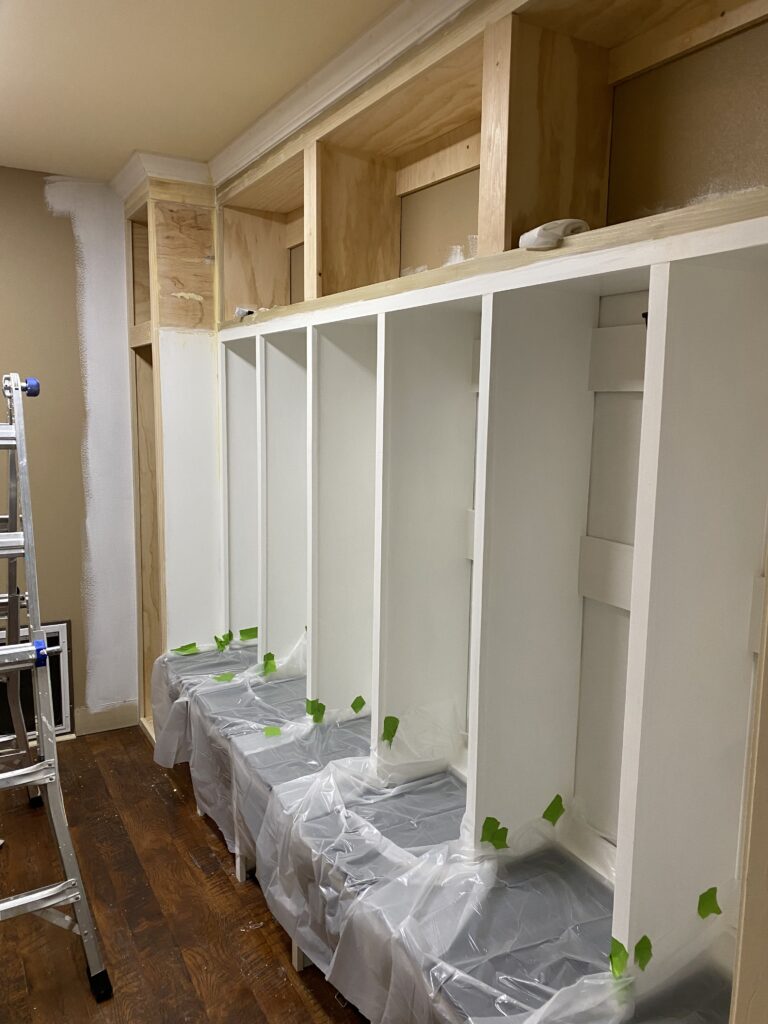
Now that you’ve had a rest after reading the last post about how we made our mudroom bench and lockers, it’s time for the next step. Here’s where we left off:
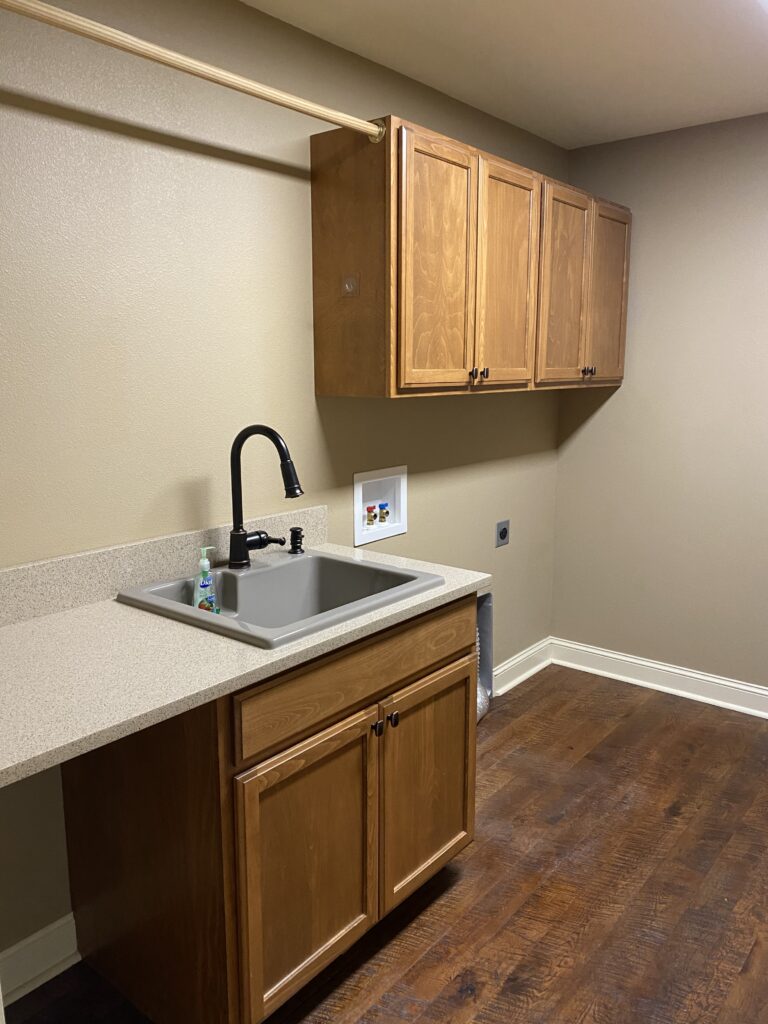
If you haven’t seen the first post in this series, check out how we got from a cluttered mess to this bench and lockers here: Laundry Room Makeover: Part 1
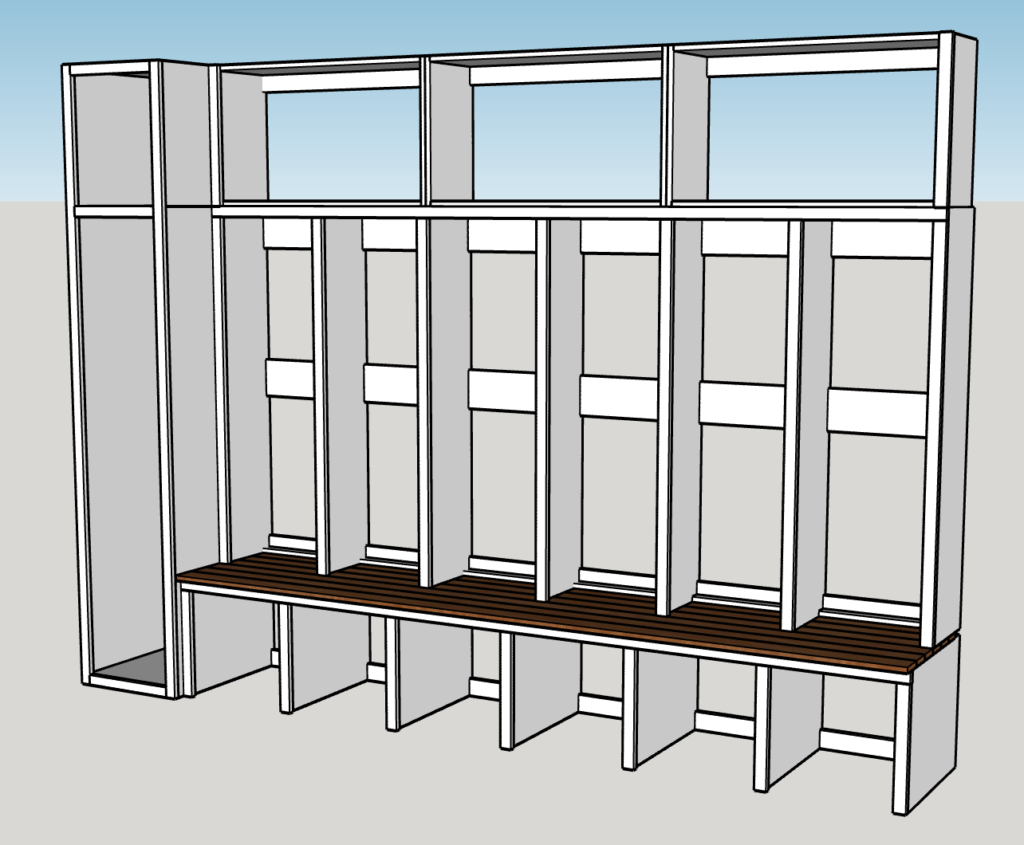
Today I’m going to show you how we added a small supply closet at the end of our lockers and then added cabinets above the coat lockers. We will finish it all off by adding crown molding to the top to make the whole thing a built-in.
Supply closet
If you remember from the first post, we wanted a supply closet at the end of the lockers to store our vacuum. We would like to go from the above picture, to this (with doors on the cabinets to follow):
Supplies
Wood:
- 3/4″ plywood – AC Sanded Pine Plywood Panel
- Pine 1×3’s and 1×6’s for bay supports
- Pine 1×2’s for face frame
- Oak 1×8’s for bench seat (Or pine in whatever dimensions work for your project)
Tools:
- Circular saw – We bought this new one specifically for this project and I love it!
- Circular saw blade
- Clamps:
- Quick grip clamps for when cutting wood
- Corner clamps for helping build cabinets
- Bar clamps for holding boards edge to edge for making the seat
- Miter saw
- We also just got this miter saw stand. Not necessary but it sure saves my back!
- Orbital sander (if you’re not sanding by hand)
- Hook and loop sanding discs
- Kreg Jig
- Drill
- Nail gun
- Safety glasses
- Mask for sanding
- Tape measure
- Pencil
- Tools for removing molding if you want to make lockers built in
Attachments:
- Pocket holes screws 1-1/2”
- Wood screws for attaching to wall
- Brad nails (1-1/4”)
- Wood glue
- Wood filler
Paint:
- Primer
- Wall paint – Valspar Flat Interior Base A 935291
- Cabinet paint – Valspar Cabinet & Furniture
- Water-based pre stain wood conditioner
- Water-based Stain & Poly (I used Behr Espresso B6212)
- Brushes
- Gloves
- Mask for staining
- Ladder or step stool if your hutch is tall
Other:
- Coat hooks
- Edge banding
- Shiplap – if you want to add this to the back of your hutch
Step 1: Measure and plan
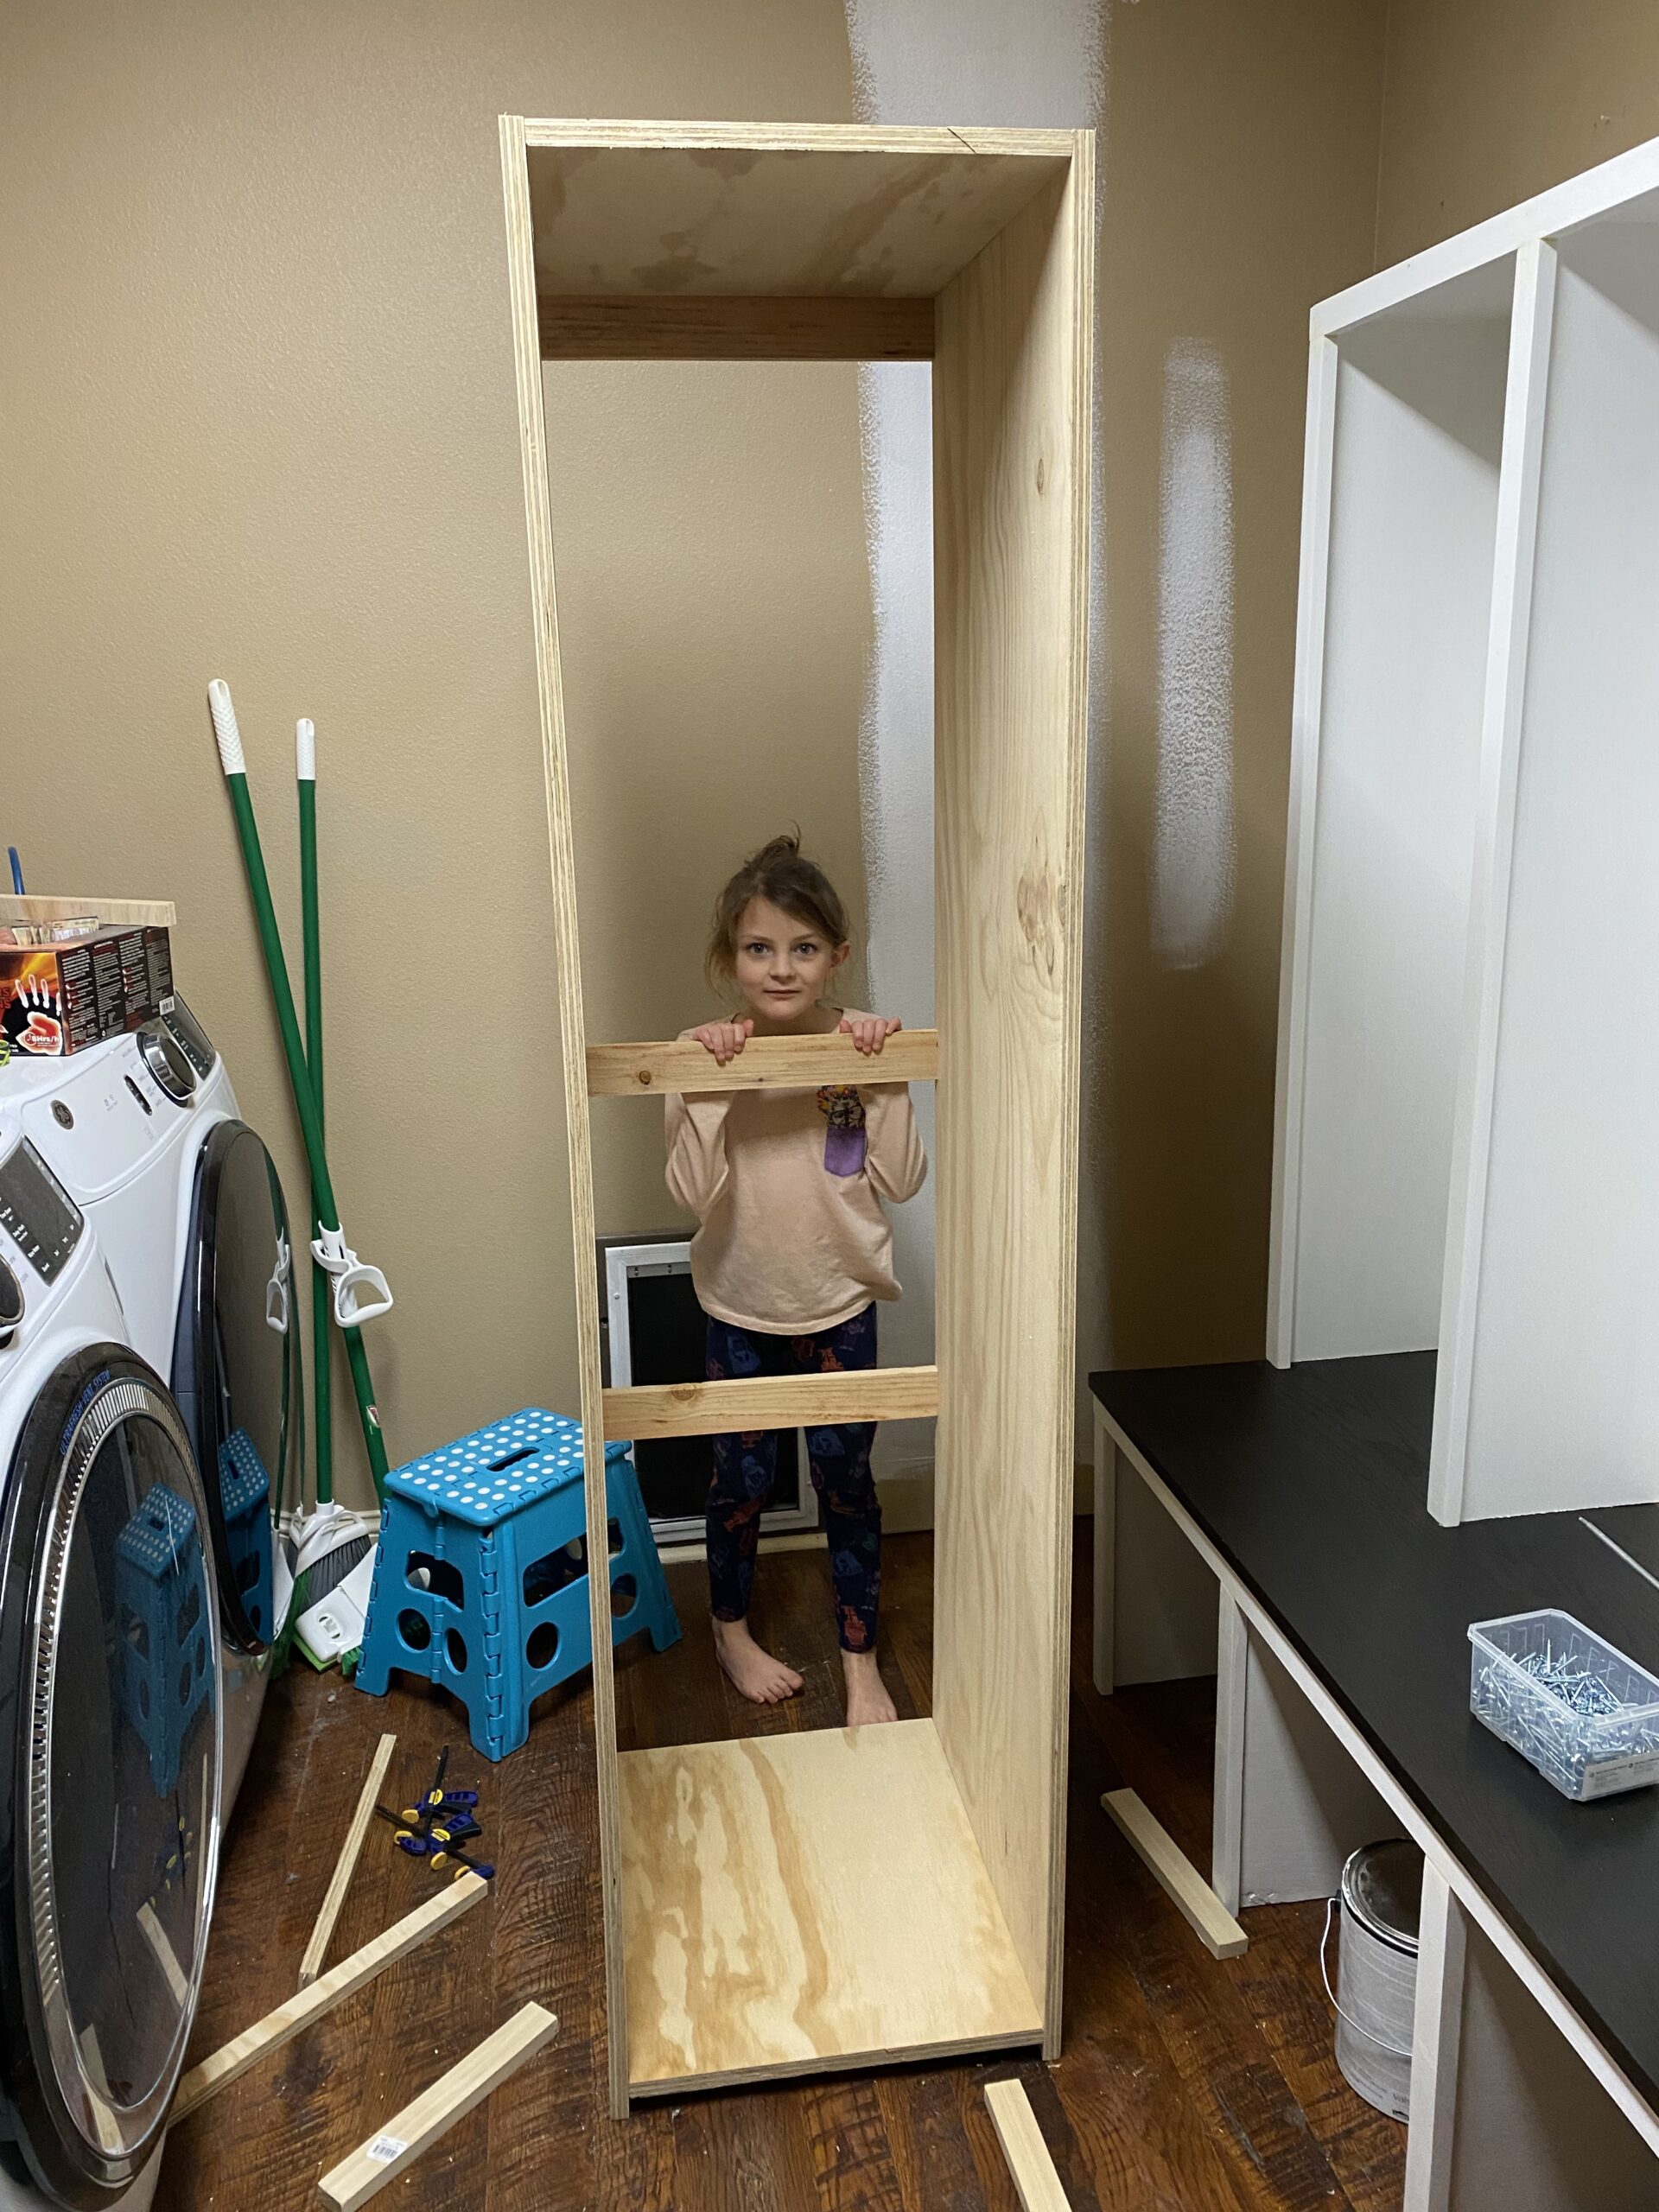
After building the bench and lockers I re-measured to plan the exact dimensions of the closet.
We ended up with 18.5″ of space left over between the lockers and the wall. Since I’m using 3/4″ plywood for the closet, that leaves us 17″ of closet width.

Step 2: Cut the plywood and assemble the cabinet
Cut list
- Cabinet top and bottom – (3/4″ plywood) 2 @ 17″ x 22″
- Cabinet sides – (3/4″ plywood) 2 @ 70-1/2″ x 22″
- Bay supports – (1×3’s) 3 @ 17″
- Face frame – (1×2’s) Measured and cut to size after all cabinet was installed
Cut the 3/4″ plywood to the dimensions you want. For the bay supports, I used 1×3’s but you could use 1×4’s, 1×6’s, etc. You could also add a panel to the entire back of your cabinet. Since ours is just a little supply closet where the back will hardly be seen, I figured I’d save some money and just use supports.
I assembled the closet cabinet using pocket holes and 1-1/2″ pocket hole screws.

Since I planned on adding a face frame later using 1×2’s, I attached the bottom of the cabinet 3/4″ above the floor. This way, the face frame would end up flush with the bottom of the closet. (Remember that the actual dimensions of a 1×2 is 3/4″ x 1-1/2″. With 3/4″ thickness of the plywood plus 3/4″ off the floor, the face frame piece should end up flush).

Then I slid the closet into place.

Step 3: Cut and assemble the top cabinets
I was excited to finally have something small enough to work on that I could build it outside of the laundry room and then transport it in.
We decided to add three cabinets above the lockers. I again used 3/4″ plywood for the cabinet tops, bottoms, and sides. This time I used plywood scraps for the bay supports. You can use any dimensional lumber you choose here or fully enclose the back of the cabinets.
Cut list for cabinets above lockers
- Cabinet tops and bottoms – (3/4″ plywood) 6 @ 34″ x 11-/14″
- Cabinet sides – (3/4″ plywood) 6 @ 20″ x 11-1/4″
- Bay supports – (1×3’s or scrap plywood) 3 @ 34″
- Face frame – (1×2’s) Measure and cut to size after all cabinets are installed

We assembled the cabinets using 3/4″ pocket holes and 1-1/2″ pocket hole screws. I love using pocket holes because they are a foolproof way to make a solid cabinet joint. My little helper enjoys them as well because she can screw them in more easily than regular screws. (Please ignore the hair. We often start projects around here before we do our hair or even get dressed).

The bay support at the top helps stabilize the cabinet and gives you a place to secure it to the wall later.
You can see below that we attached the cabinet bottom 3/4″ up as we did with the closet floor. This is again so that once we added the face frame, there wouldn’t be a lip on the cabinet floor.

We repeated this process x3 and then moved on to the cabinet above the supply coset. Somehow I missed getting photos of the rest of the cabinet installation.
The only difference in the assembly of the fourth cabinet above the supply closet was that it had different dimensions.
Cut list for cabinet above supply closet
- Cabinet top and bottom – (3/4″ plywood) 2 @ 22-1/4″ x 17″
- Cabinet sides – (3/4″ plywood) 2 @ 22-1/4″ x 20″
- Bay supports – (1×3 or scrap plywood) 1 @ 17″
- Face frame – (1×2’s) Measured and cut to size after all cabinets were installed

Once the cabinets were installed above the lockers, I secured them to studs in the wall through the bay supports using wood screws.
Step 4: Add the face frame
I added face framing for the cabinets using 1×2’s as I did in Step 4 of the lockers and bench in the previous post. I didn’t get any photos of this particular part of the process. If you need any help, please head back there for instructions.
Step 5: Add crown molding to make it built-in
Adding the face framing brought the cabinets all the way from wall to wall, but there was still a space above the cabinets. To fill this in, I extended the top framing of the cabinets with a 1×4 and then installed crown molding.
Then I caulked and painted everything with Valspar Cabinet and Furniture.

I’m always amazed at how much caulking and painting improves the final product. In the photo below, I painted the ceiling white as well. I still need to replace a piece of molding by the bottom of the supply closet.

We’re almost there! The last step on this side is to add doors. Since I’m new to woodworking and I haven’t made doors before, we decided to order them this time around.
I found a company online where I could send them my measurements and they’d send us the doors. This would also allow us to match the existing doors on the other side of the room (which I don’t know how to do yet). This way we have less doors to order overall since I can simply paint the old ones to match the rest of the new room.
While we’re waiting for our doors to get here, I can move on to Part 3 of our project- the other side of the room!
Our plan is to build cabinets and shelves across that whole side of the room. We never use the hangar and we could really use more storage instead.
But that’s another post for another time. See you again soon!