Indoor Monkey Bars
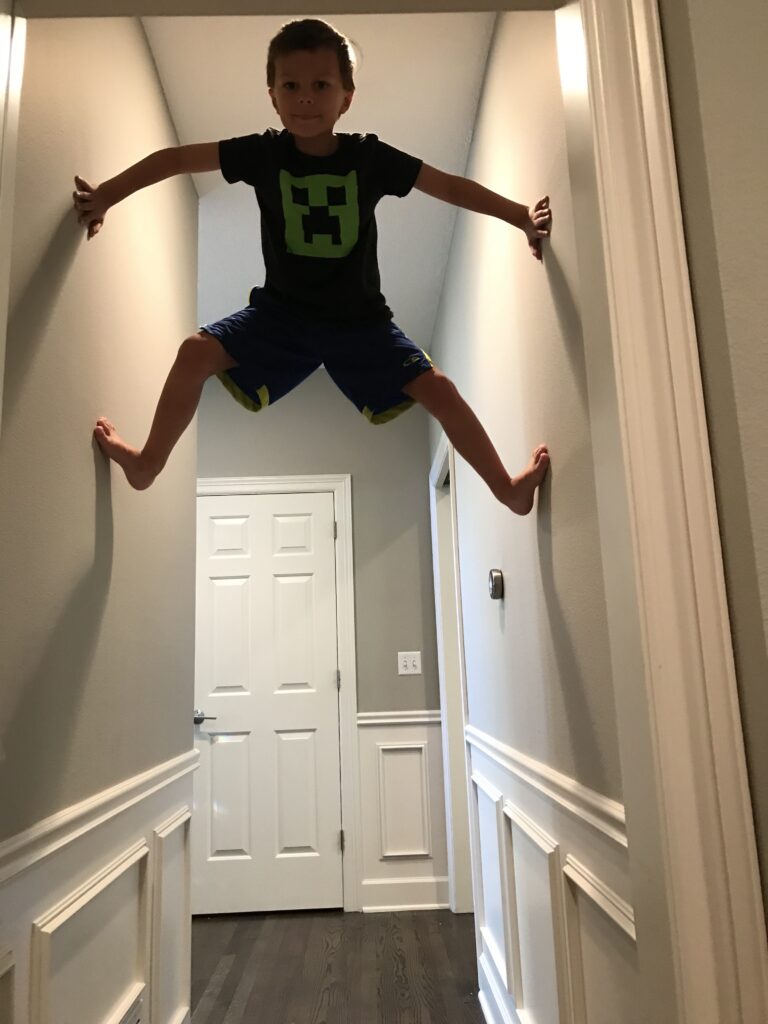
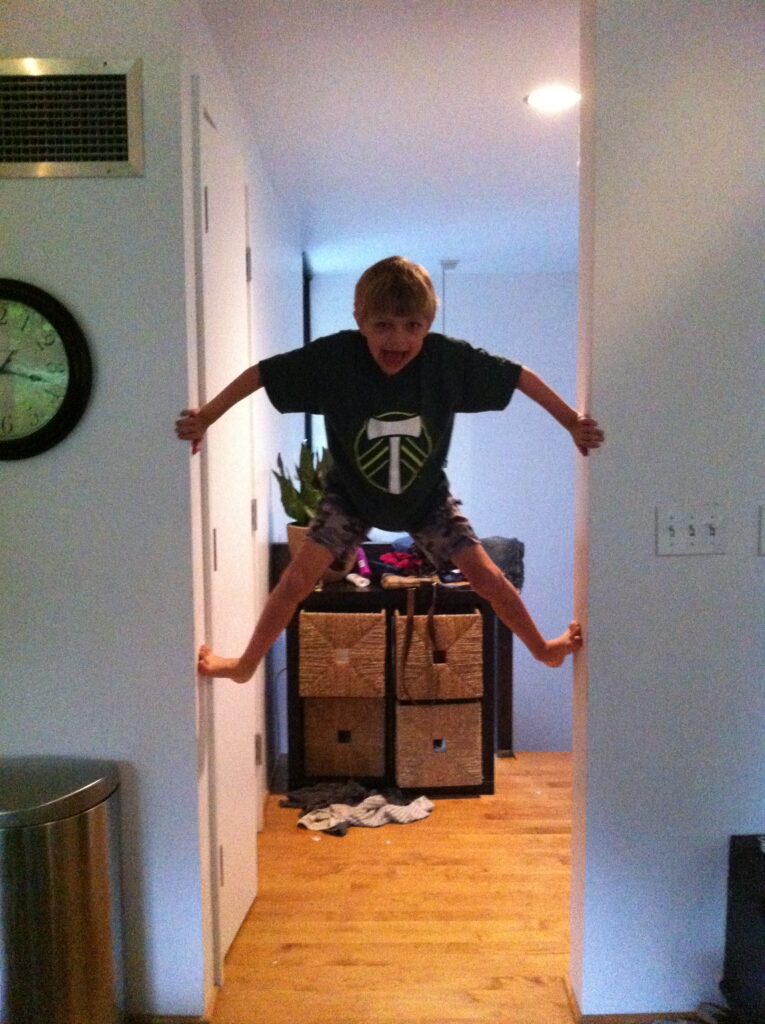
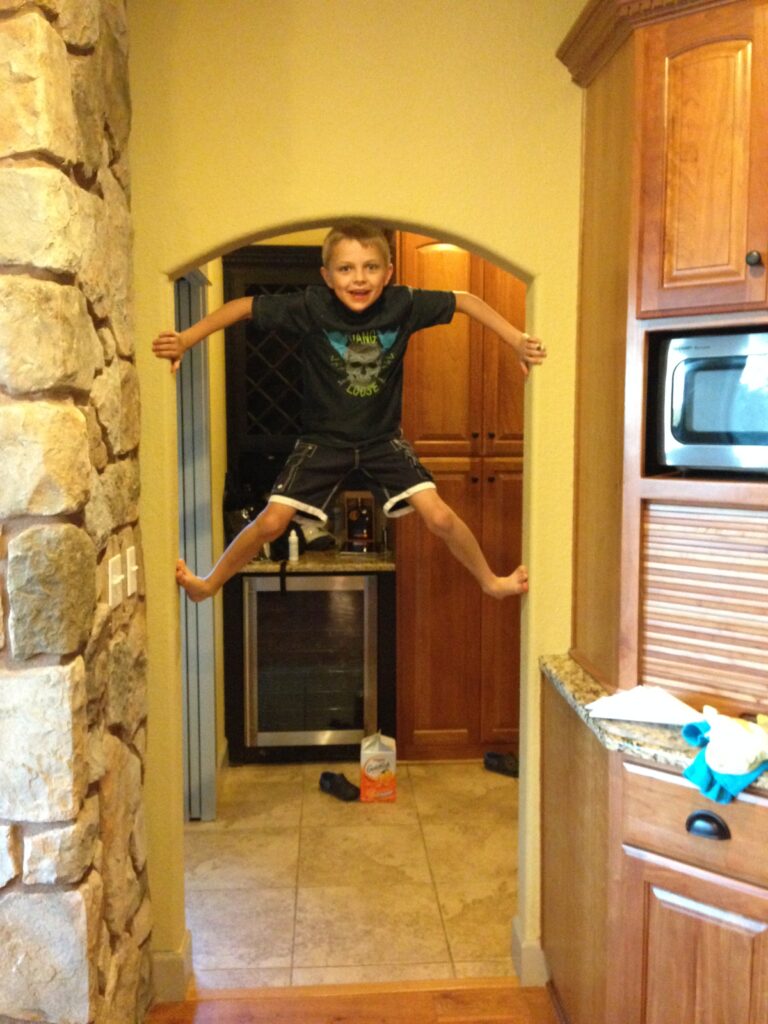
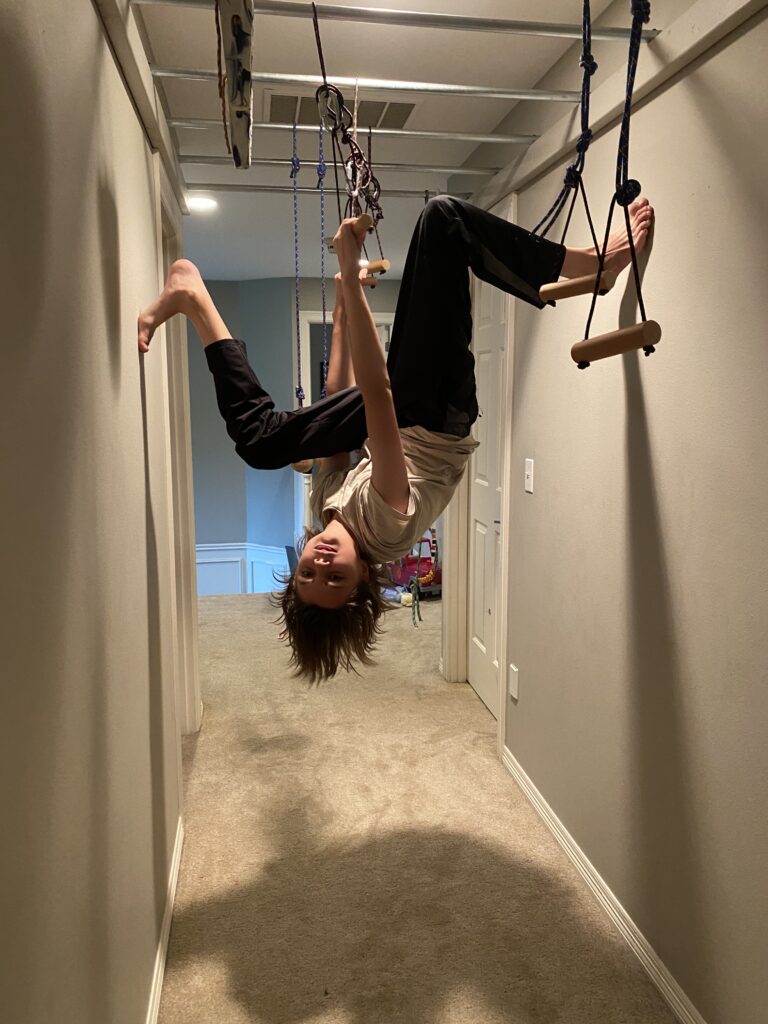
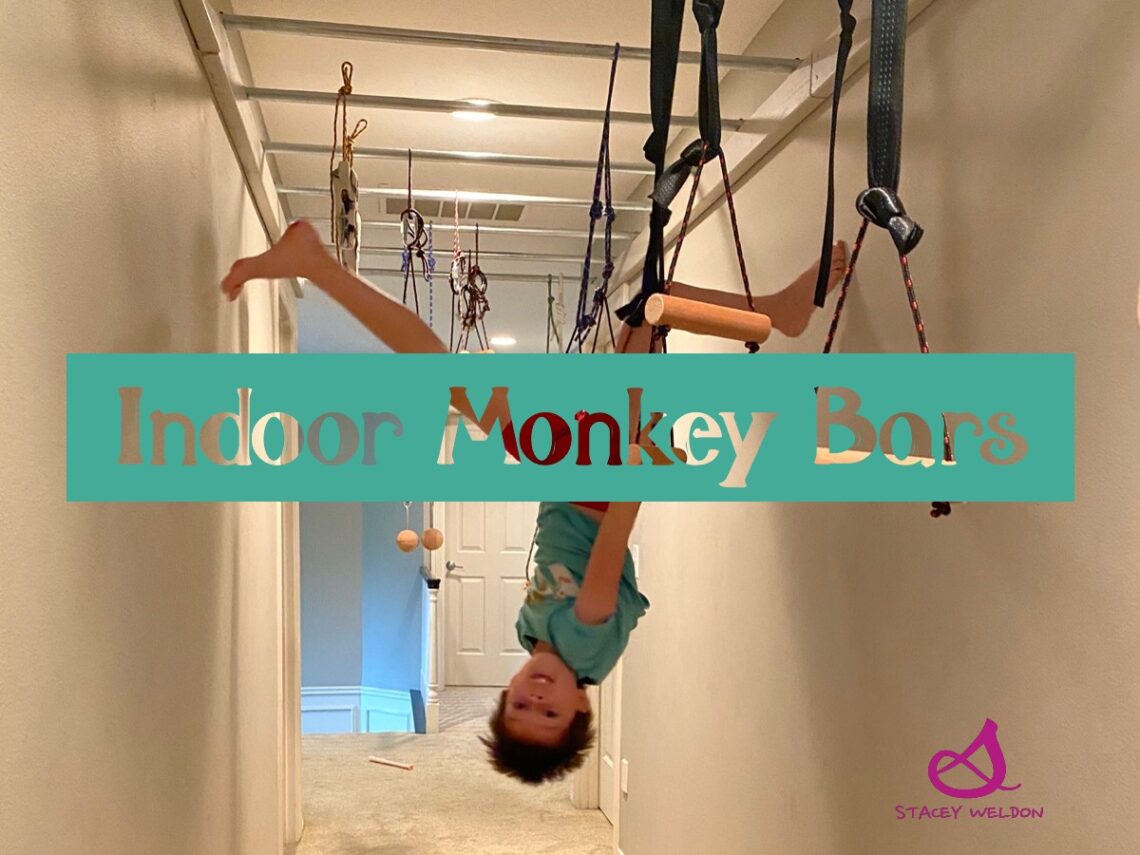
We have a long hallway in between our bonus room and the rest of the house. One day, while walking down it, I realized it would be a perfect place for some monkey bars! We needed something for the kids to climb because they were quite literally climbing the walls.
Supplies:
- 2×4 lumber (We used a total of four, two on each side. You will need the length of your monkey bars x2)
- 3/4-in x 10-ft galvanized steel pipes OR you could buy them pre-cut, if you can find a length that works for you, like THESE
- 3/4-in galvanized 2-hole pipe straps
- 3-in screws
- Paint for 2×4’s (optional)
Tools:
- Tape measure
- Level
- Safety goggles
- Stud finder
- Drill and right-angle drill attachment – We only needed this because our bars were close to the ceiling and I couldn’t get the drill in the tight space. Here is the one we bought and I’ve been using it for other projects too:

- Pipe cutter
- Saw (circular/miter/hand – anything that can make basic cuts)
Steps:
First, I figured out how we wanted the spacing of the bars. We decided to place them 15″ apart- close enough together for little arms to reach, but far enough apart that heads couldn’t get stuck between them.
I cut 2×4’s to length and secured them down the hallway, using 3-1/2″ screws into every stud as attachment points.
I painted over the 2×4’s using extra wall paint we had on hand. You could also use a completely different color to make it stand out more.

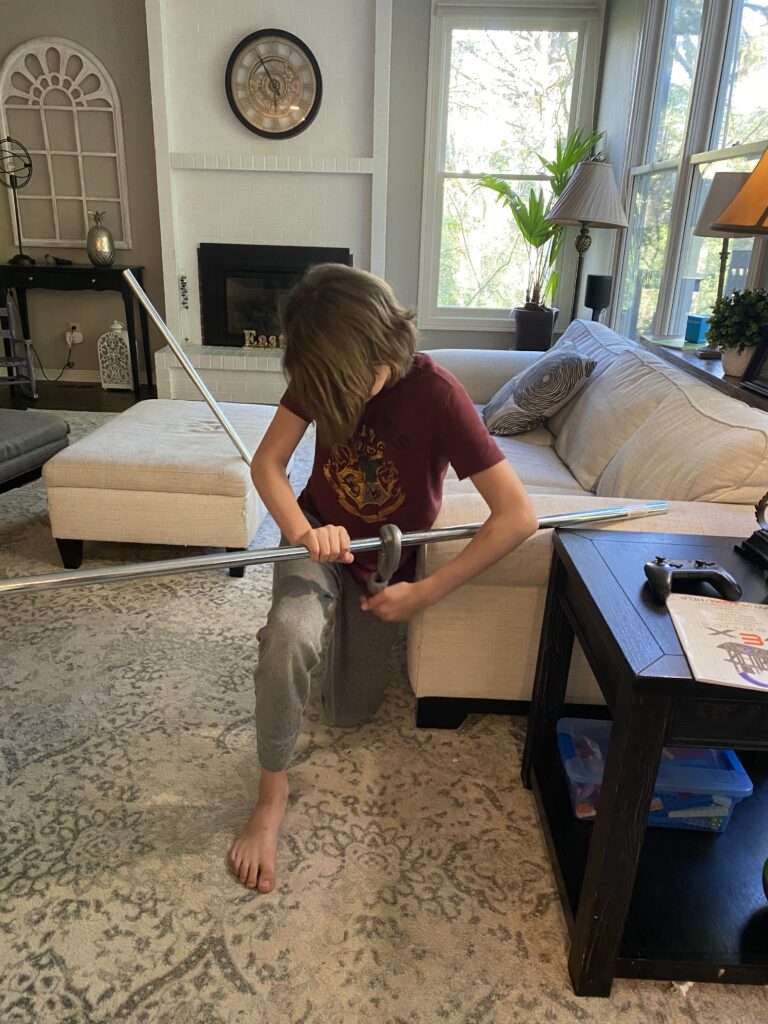
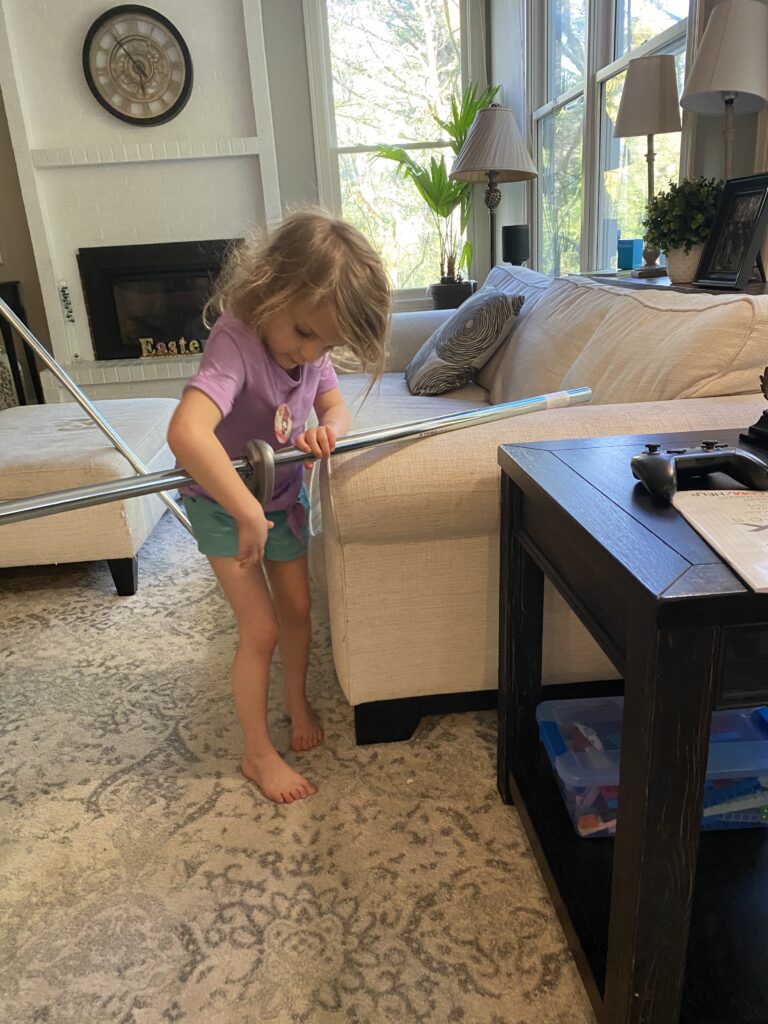
Next, I cut the pipe just a hair less than the width of our hallway, using a pipe-cutting tool. Be careful. The ends of the cut pipes can be sharp. This didn’t matter for us because they were going right up against the walls but if you’re planning a different design, you might want to grind the ends for safety.

The kids loved this part. I barely had to do any cutting.
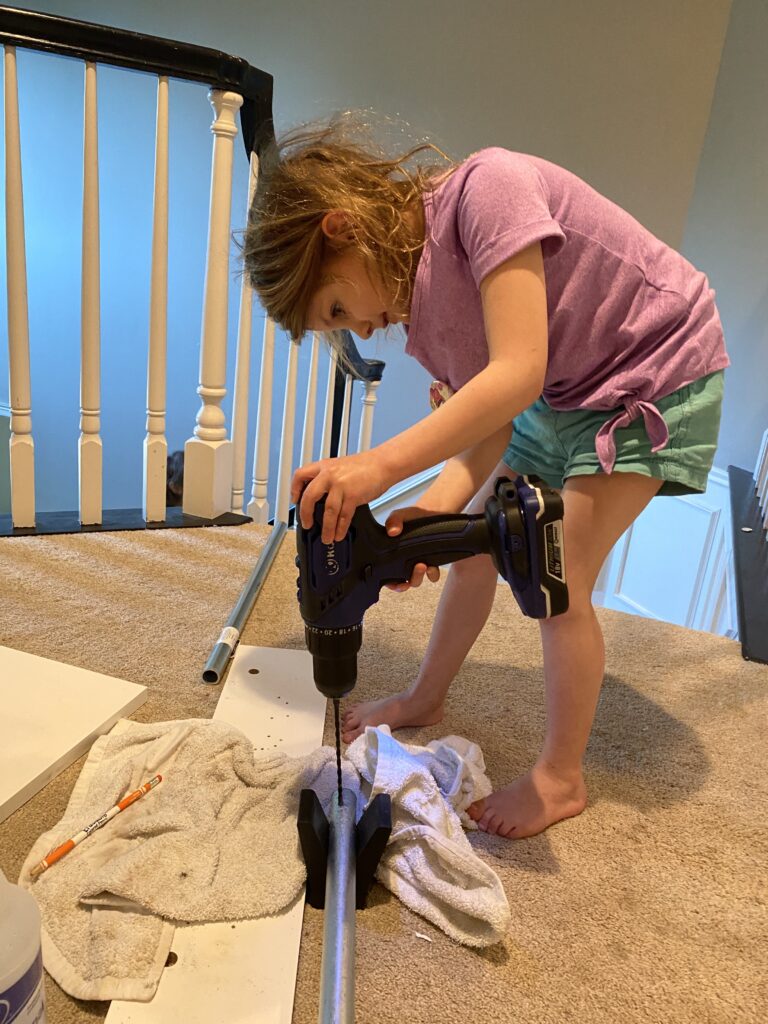
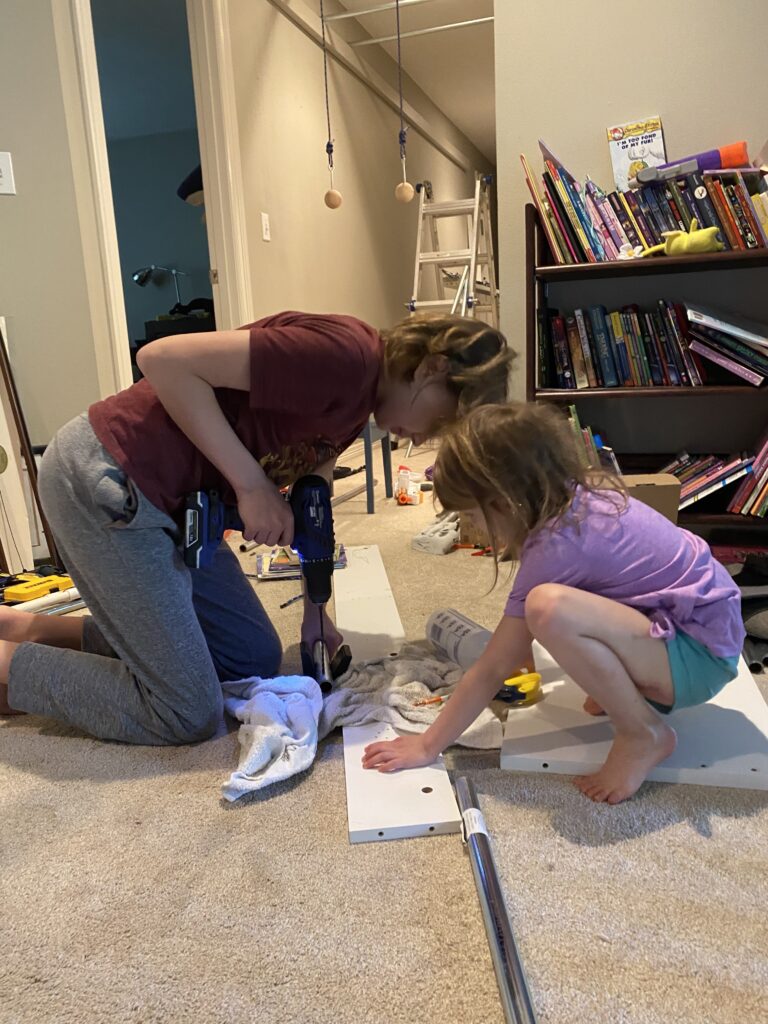
The next step was drilling holes into the bars. This was the most tedious part, in my opinion. Since we don’t have a drill press (yet), we did the best we could. This worked out since the holes didn’t have to be too precise.
Make sure you don’t let the drill bit get too hot while you’re working or it will snap. You can keep it cool by adding a little oil or by occasionally misting it with water while you’re drilling. Take your time, and if your bit gets too hot, take a break.
After all of our holes were drilled, I used 3″ screws to attach the bars to the top of the 2×4’s. I was worried the bars might come loose with the torque placed on them while swinging so I attached pipe straps on top for extra stability. I didn’t get a shot of this step but these are what I used:

I tested them out before the kids to make sure they were safe.

We attached an old bunkbed ladder on the wall for the little ones to reach.

Finally, it was time for testing!
We decided that we could use some other hanging features for an added challenge.
I found many great ideas online for indoor monkey bars. The best part about DIY is your imagination!


